
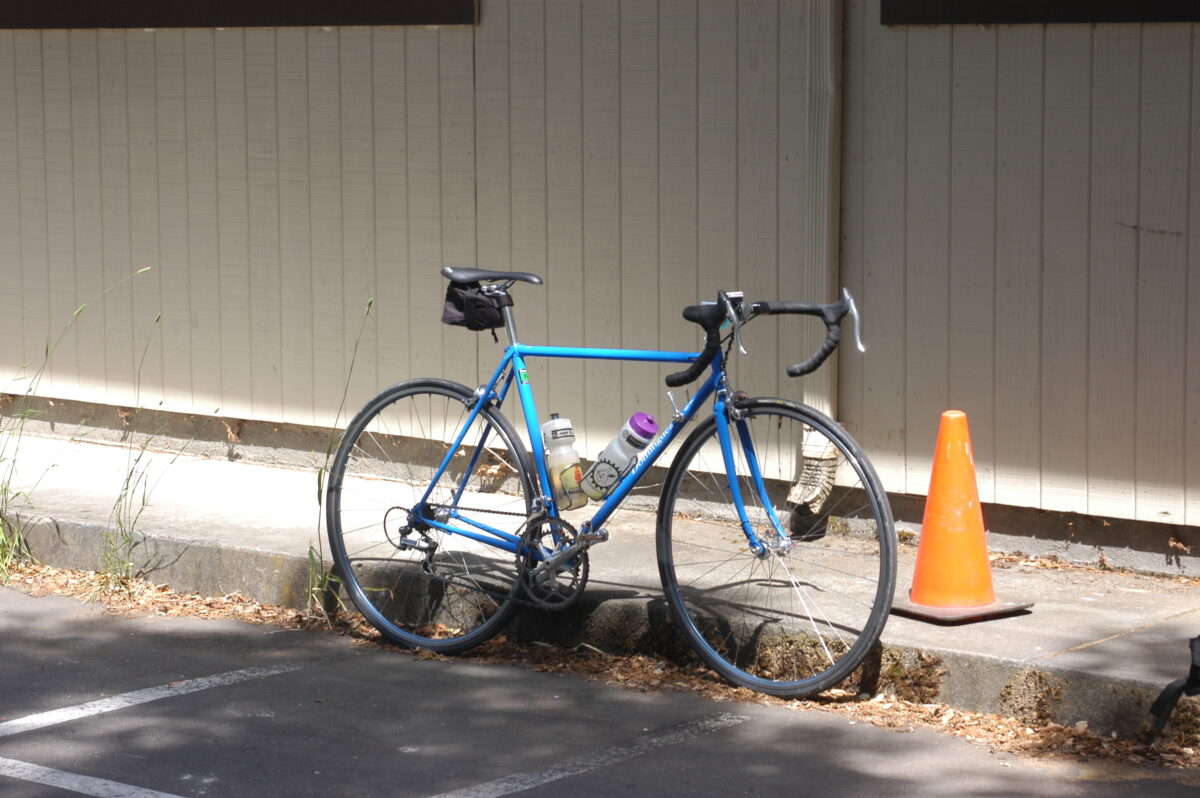

A custom bicycle built to see whether I could recreate the handling, road feel, and climbing ability of a 1985 3Rensho Super Record. It is built for practice, learning, and quite a lot of fun.
Background
After riding fixed-gear exclusively for the last ten years or so, I decided to build up a bicycle with a freewheel and more than one gear option, just for a bit of variety. It should make for more relaxing travel down steep hills, too.
Never one to throw anything out, I opted to refurbish many parts from my “spares” box for this bicycle. It uses many old and used parts, as well as a few new ones.
Dura-Ace has always been near and dear to me and I had more than enough “spare” Dura-Ace parts to build a complete bicycle, including a set of six-cog cassette road wheels. The hubs and cassette were in near-new condition (with “only” around 15,000 miles on them) and they hadn’t been ridden since having been rebuilt with blue Mavic OpenPro rims in 1996.
A few parts were necessarily new to supply the parts I didn’t have.
The Plan
The final design for this bicycle encompasses my requirements for durability, reliability, and ride quality. The ride was to be comfortable (necessitating good fit and balance) for rides less than six hours, yet quick-handling and rigid enough for standing climbing – more of a criterium bicycle or short-duration road race bicycle with provision for fenders to accomodate rainy-day group rides. Since this was to be my bicycle, that really meant an unloaded, fast, day-touring bicycle. Most of all, I wanted it to feel like my 1985 3Rensho Super Record, but with space for fenders.
With these requirements, knowledge of the rider (this me), and a good idea of the completed whole in mind, I selected suitable tubes and findings.
The numbers were entered in the tried-and-true spreadsheet to generate the cut list and fixture set-up settings, verified against a 1:5 scale CAD drawing. A full-scale drawing was not made on the drafting table this time – I was being lazy.

Findings
Outside of my imagination, a frame never just falls together and is magically done. There is a lot of labor involved. How much labor is entirely up to the builder: through his/her choice of tubing, findings, and bicycle parts; through his/her self-imposed standard of quality and acceptability; through his/her level of experience and adaptability.
In my case, I chose to build this frameset with lugs and make extensive use of stainless steel, although not polished.
The lugs and bottom bracket shell are Nagasawa-style castings purchased from Kookie Bikes (Australia), acquired at NAHBS 2006. These are good-quality castings made by Hitachi, but did entail a lot of clean-up and shaping to fit the vision in my mind of their finished state.

I slotted the bottom bracket shell by drilling out the six lozenge-shaped indentations on the underside and cleaning up the cut-outs with a file. This was done out of whimsy rather than any functional purpose (although, they provide good drainage!).

The edges of the bottom bracket shell tube sockets and lugs were rounded and thinned – they turned out to be quite (literally) sharp!

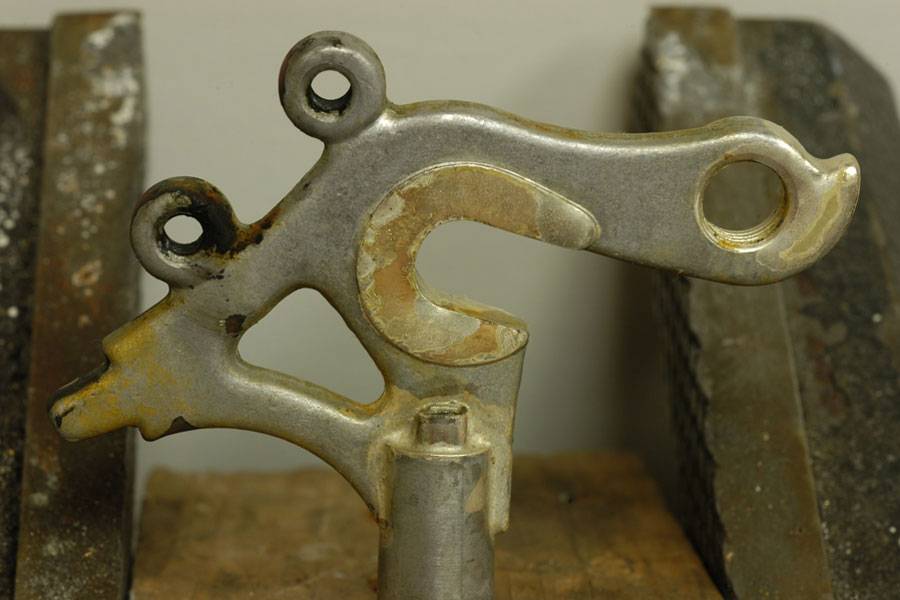
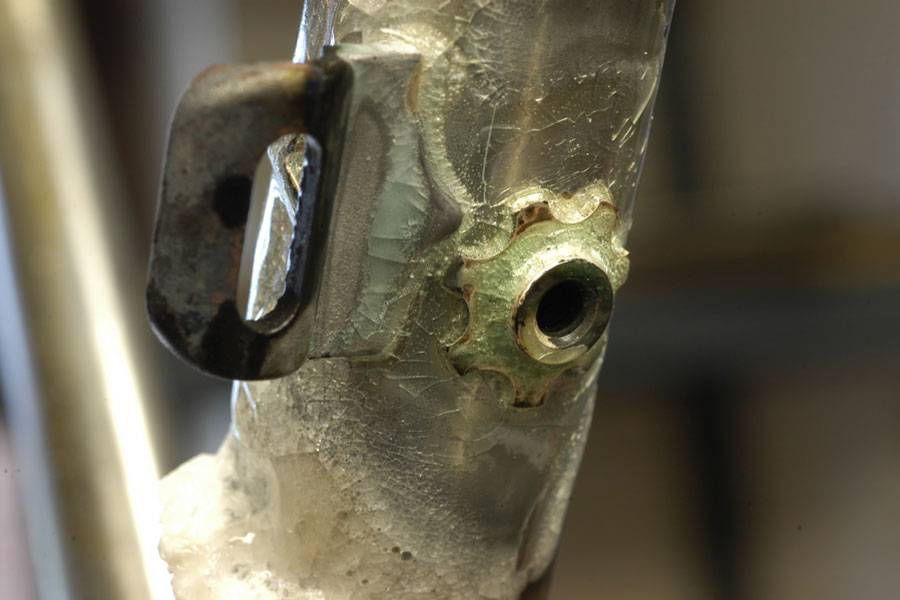
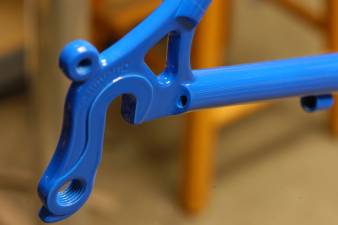
The Shimano SF-22 vertical dropouts are cold-forged and of high quality. They have two eyelets for a rack and fender and the faces are machined. However, they did require some (a very little) clean-up. I left the clamping surfaces “as-is”, without stainless, but did file them smooth to remove manufacturing marks and scratches. One set of eyelets was removed, leaving one set for fenders. Matching Shimano SF front fork ends were used and went through the same clean-up and facing. While I was brazing the dropouts in place, I also attached the rear derailleur cable stop.

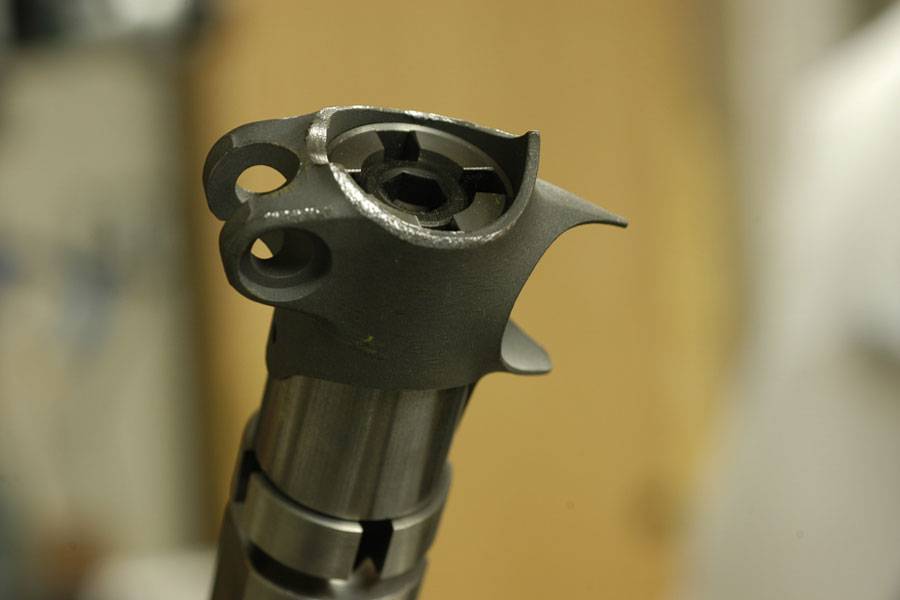
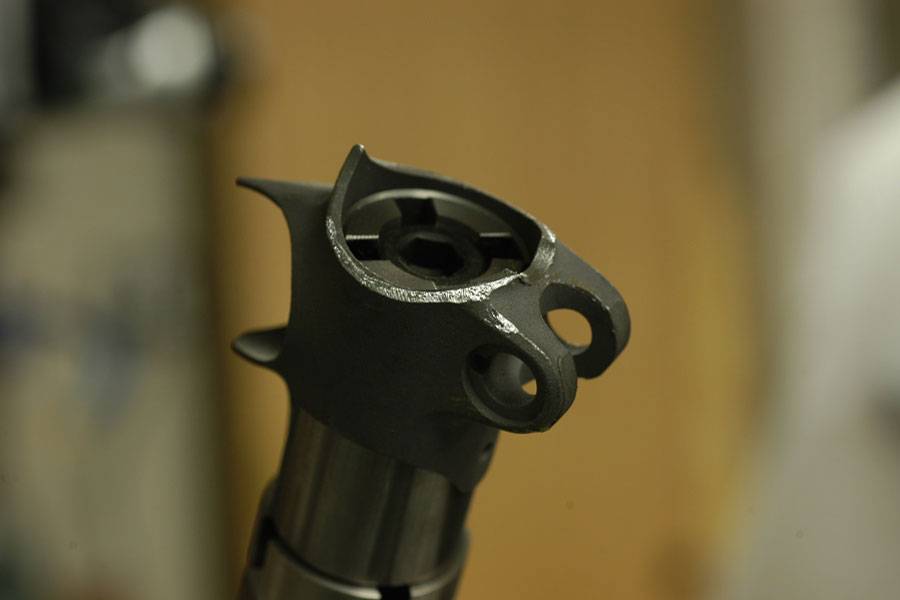
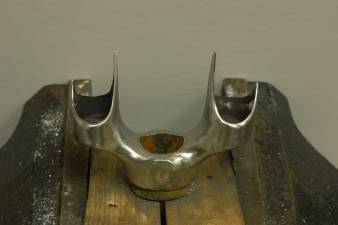
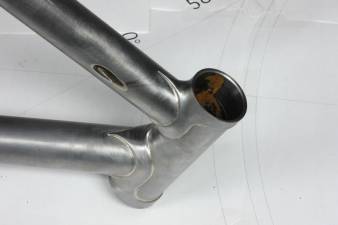
The fork crown and seat stay caps are stainless steel and required a lot of sanding in order to achieve a satisfying surface finish, although they would not be polished. As with the seat stay caps and crown, all the other stainless steel parts were to be painted over, even the clamping faces.

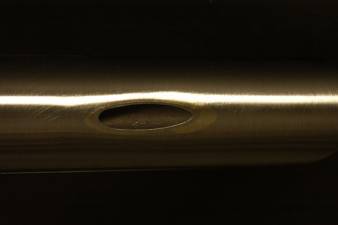
Before coping the chain stays, I prefer to braze the dropouts in place. I used pieces of ovalized 3.2mm ø tubing to fill the space on either side of the dropout tangs: this makes for an evenly shaped vent hole. Slots for the tangs were rough-cut using a hacksaw and then finished with jewelers half-round and round files.

All the tubes were machine-coped on a mill using the rigid Anvil fixtures.














Brazing
Before brazing the main triangle, the internal rear brake cable guide was brazed into place in the top tube.

The seat tube, down tube, and chain stays were tacked in the Anvil fixture. While still hot, they were removed from the fixture and finish-brazed in the Park stand. Their alignment was checked on the Bringheli alignment table after cooling (only a slight cold-setting of the seat tube was needed).
The head tube and top tube were tacked in the Anvil fixture next. However, the top tube was only tacked at the head tube (not to the seat tube) so that the head tube could move during cooling without adding stress to the rest of the frame. Again, the frame was removed hot from the Anvil fixture and finish-brazed in the Park stand. After cooling, alignment of the entire frame was checked on the table (no cold-setting needed). The top tube was finish-brazed in the Park stand immediately afterward.
After brazing the main triangle, the front derailleur, water bottle, and shift lever bosses were brazed into place.

Because there was no room to mount a cable guide plate (too many holes!), I brazed two stainless steel tubes to the underside of the bottom bracket shell to use as cable guides.

The chain stay bridge was brazed in place after verifying the alignment and spacing of the dropouts was 2mm over-dimension. Brazing the bridge in place pulled the chainstays into their final position to just a hair under 131mm, letting the back wheel drop into place without scraping the dropout faces. The vertical dropout alignment was right on, too, and the back wheel ended up centered between the stays.
The seat stays were prepared to accept the stainless steel caps (sections of 1″ tube), assembled, shaped, slotted, and brazed in place. They were attached at the seat cluster first, using 56% silver to create a smooth fillet between the seat stay ends and the seat lug. Their attachment to the dropouts went quickly afterward.

Just to keep in practice, I attached the rear brake bridge using nickel-silver rod (bronze). That went very quickly and turned out neat!
The fork was finished last. The blades were raked and cut to near-final length; ends slotted and fork ends brazed in place. Then, the blades were cut to final length and brazed to the fork crown. The computer sensor mount was made on the lathe from CrMo rod. The computer sensor guide was made from a brake cable guide and slotted – it turned out a little too large, but would do. The fork was brazed entirely using 56% silver filler.




Alignment
Aside from the cold-setting and alignment checks performed on the alignment table during building, alignment was checked after the bottom bracket and head tube were faced to final dimensions prior to being sent to the painter. Everything was aligned and no further cold-setting was needed.
Final Finishing
Clean-up of the lug shore lines was done with sandpaper, jewelers and riffler files, and elbow grease. Not much clean-up was needed (surprisingly) around the head tube. Everywhere else, the clean-up was a lot to none. The dropouts and fork ends required the most time, since I went a little over-board with the silver.
The fork crown was faced and more threads added along the length of the stainless steel steerer. The seat tube was reamed and honed after the seatpost clamp was split. All the threads were chased: bottom bracket, water bottle bosses, fender eyelets, and rear derailleur hanger. Finally, surface rust was removed from the entire frame using detergeant, cold water, a scrub pad, and more elbow grease. Everything was towel- and compressed air-dried to minimize further rusting until it could be zinc phosphate-dipped.
Painting
The zinc phosphate rust inhibitor and DuPont finish were applied locally through long-time local builder Terry Osell, using his painter. The paint is a single color DuPont polyurethane. I applied the decals and clear coat afterwards. It’s not a Joe Bell finish, but it is pretty and durable and inexpensive.
Upon returning from the painter, the frame was degreased in the areas where decals and paint were to be applied. All my decals were made for me by Screen Specialty Shop, North Carolina.
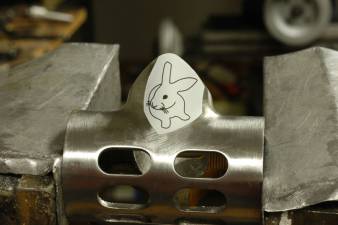
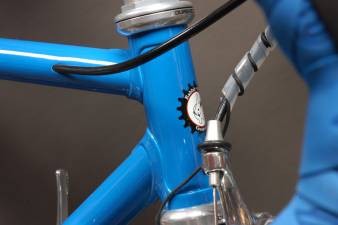
The “Dominguez” dry-transfers were applied to each side of the down tube. A masking tape alignment strip was applied to position the decals symmetrically. The dry-transfer “Hand-made” decal and “2006” overlay were applied to the front side of the bottom of the seat tube. The dry-transfer “Rabbit-Proof Guaranty” was applied to the front side center of the head tube. The “Element 26” self-adhesive mylar film was applied to the top front side of the seat tube. Finally, the “American Blue” gold-color dry-transfer was applied to the left outside face of the chain stay. Several lacquer clear coats sealed everything in place. The frame was left to cure for a week.




Assembly
When it was time for assembly, water pipe insulating foam was cut to length and applied to the frame to protect it during assembly. Then, the drive side of the bottom bracket shell (only, since no lockring is installed) and the ends of the head tube and crown were lightly faced to remove paint build-up, and the corresponding bearing assemblies were installed.
The cup threads of the bottom bracket (BB-7410) were thoroughly cleaned as they had seen a lot of mileage over the years. Other than that, the rest of the parts were ready to install as-is. I was amazed at the light weight of the new Dura-Ace (9-speed) chain! I hope it lasts. The drivetrain is nearly silent. Almost like a fixed-gear. Except, now I can coast down hills.
Parts installation was straight-forward. I used black liquid electrical tape to secure the computer sensor cable within the sensor cable guide: this made for a tidy appearance. I would like to install fenders, but will have to wait until I make or buy a set.




Conclusion
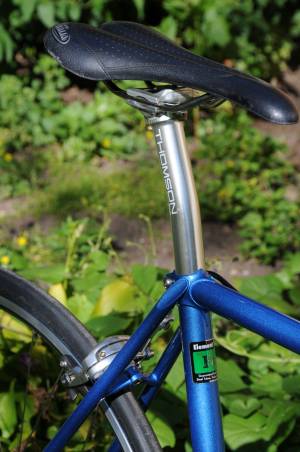
From a meter/yard or more away, the paint looks good. The ride is everything I had hoped, but is a bit more stable than my 1985 3Rensho Super Record. It does climb just as well and is a bit more comfortable.






Afterwards
This frame became a test platform for various forks and parts over the years.
The first build-out (2006) used most of the Dura-Ace parts from my 1988 Stan Johnson road bicycle:
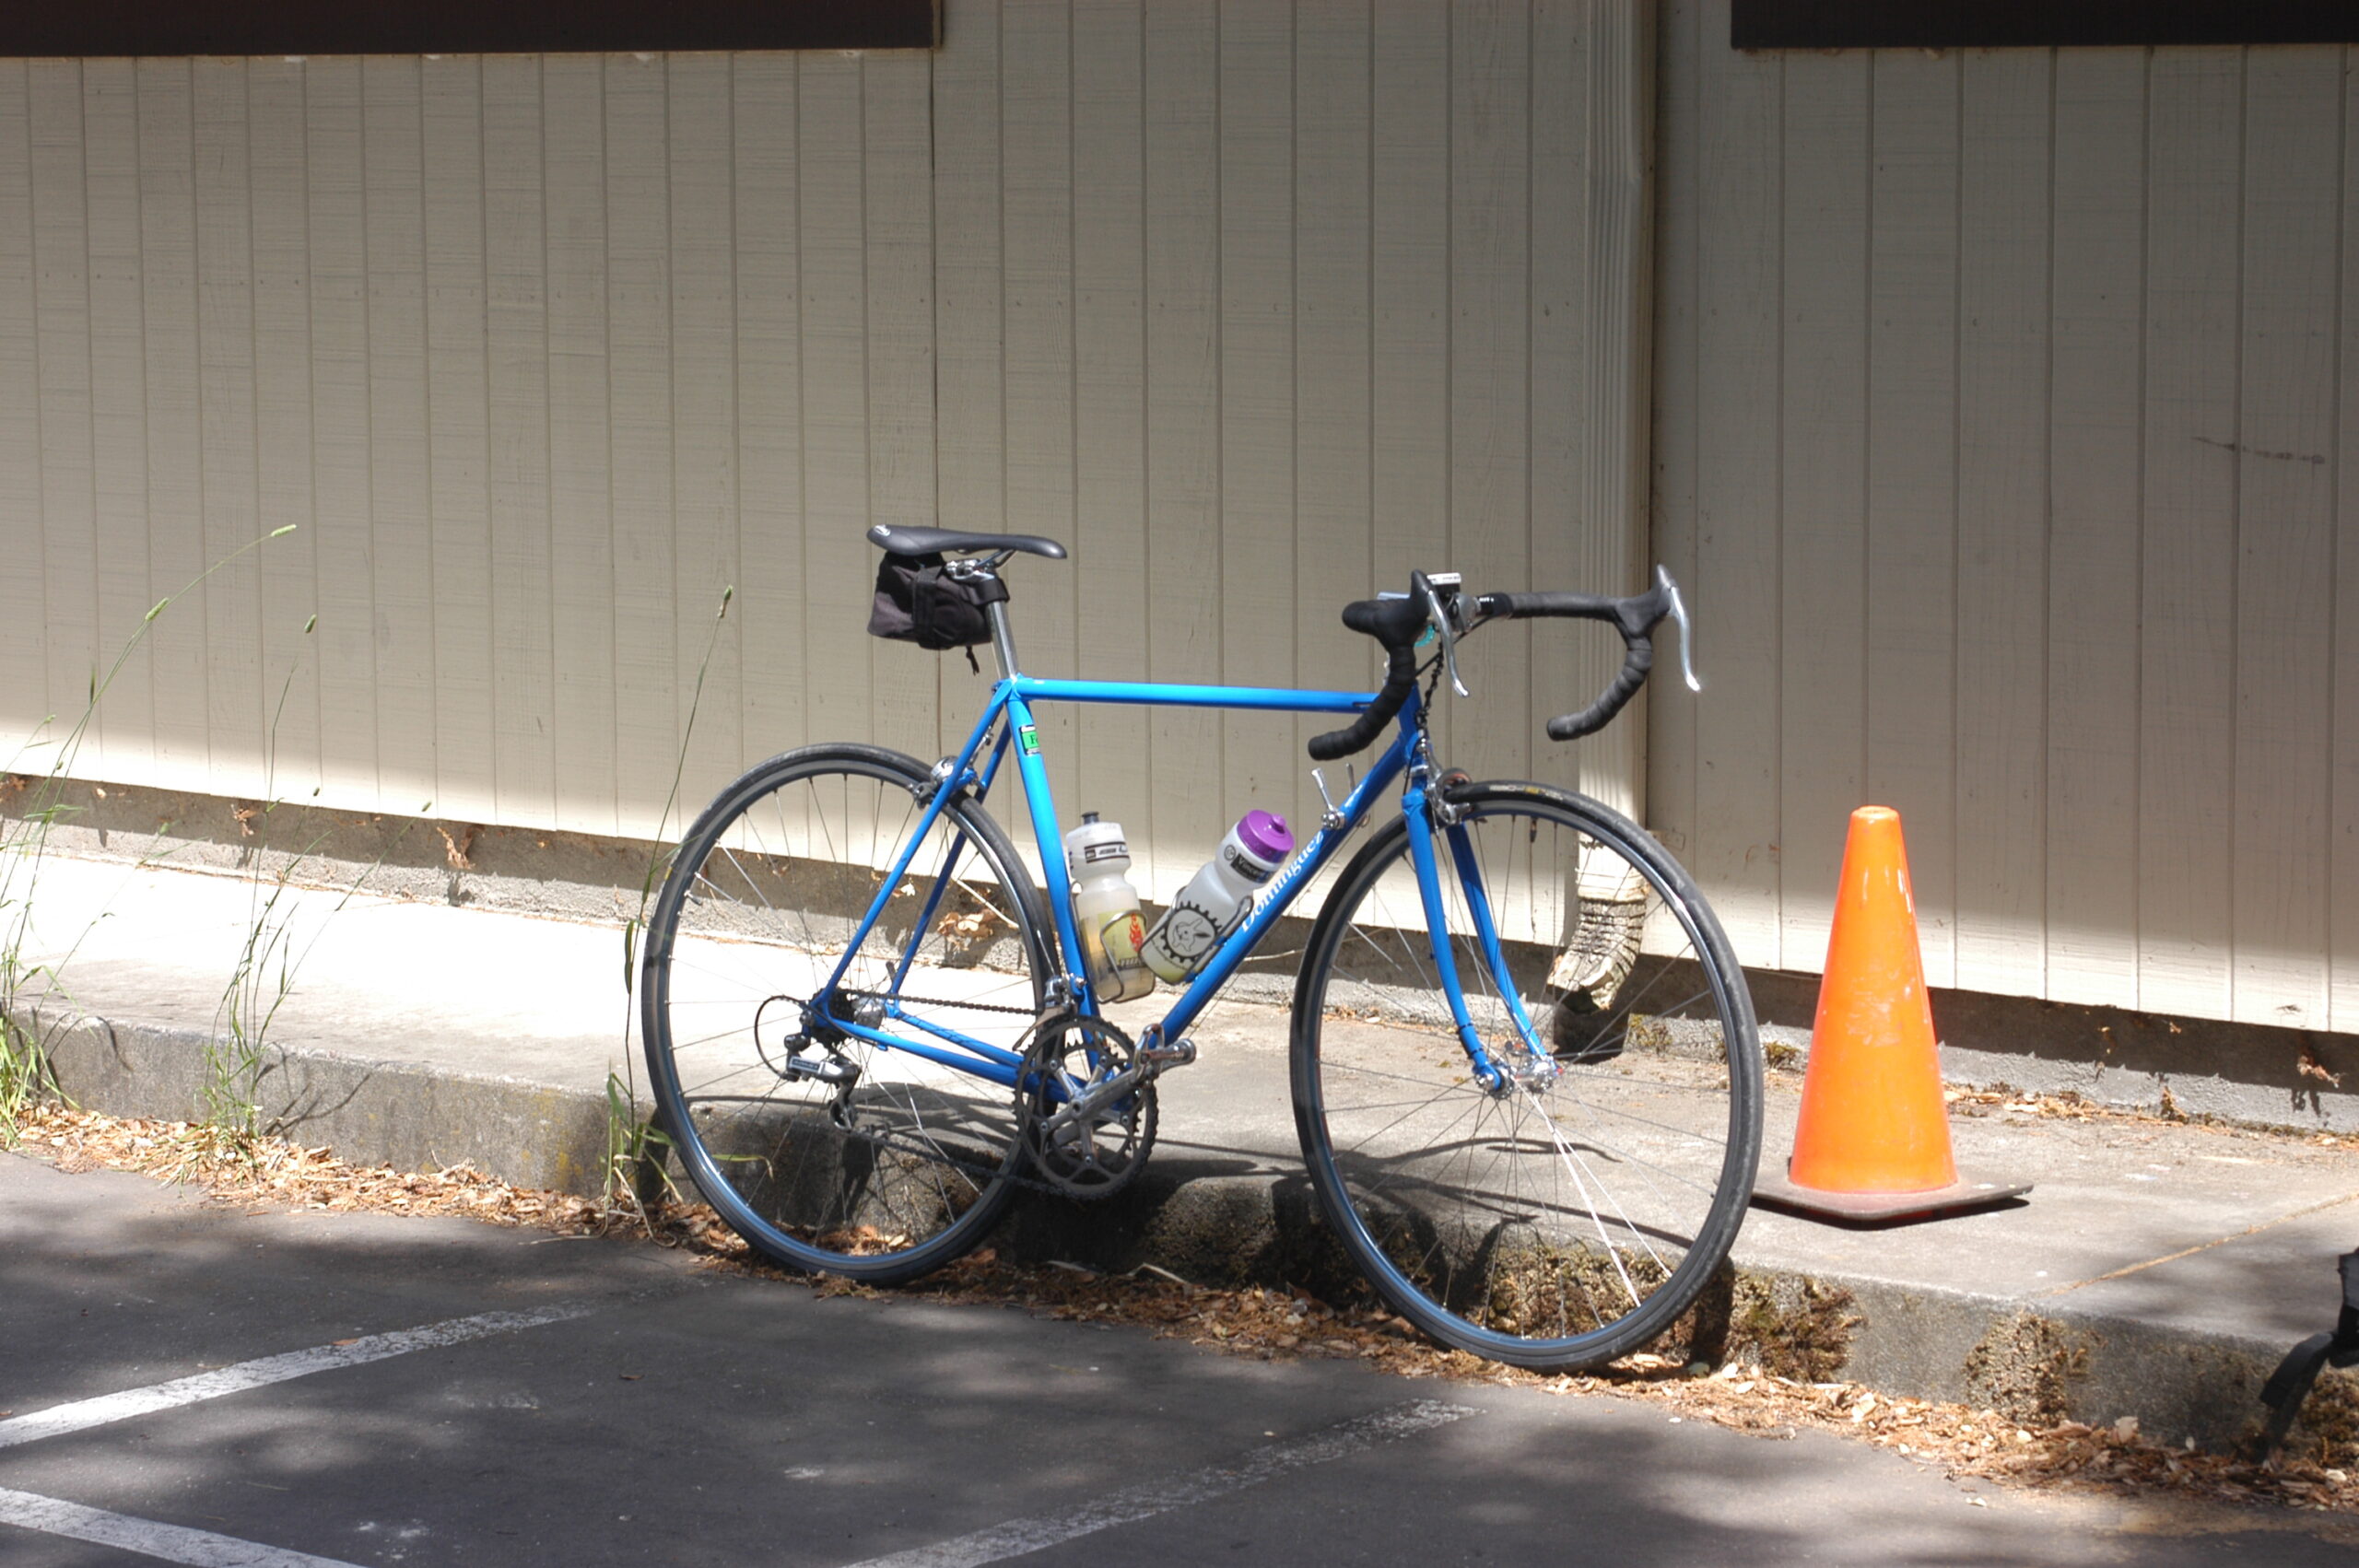
Outfitted with Campagnolo/T.A. drivetrain, 13-23T cassette, Phil Wood wheels, no fenders (!), lights, and lots of rain for Paris-Brest-Paris 2007:

Testing out a newly built fork, clamp-on stem, Thomson seatpost, and a Campagnolo Record crankset after new paint (2008):

This was a brief test (2009) of Campagnolo Record parts fitted to this frame:

Refitted with a 13-21T six-cog cassette in the final configuration (2010), until the bicycle was stripped of parts (2016) and the frame was recycled (2024):
| Part | Description |
|---|---|
| Saddle | Selle Italia SLK |
| Seatpost | Thomson - 27.2mm, silver, set-back |
| Handlebars | Ritchey Pro, 44cm |
| Brake Levers | Shimano Dura-Ace (BL-7402) - Al alloy, grey, SLR, aero |
| Brake Levers | Cane Creek - inline |
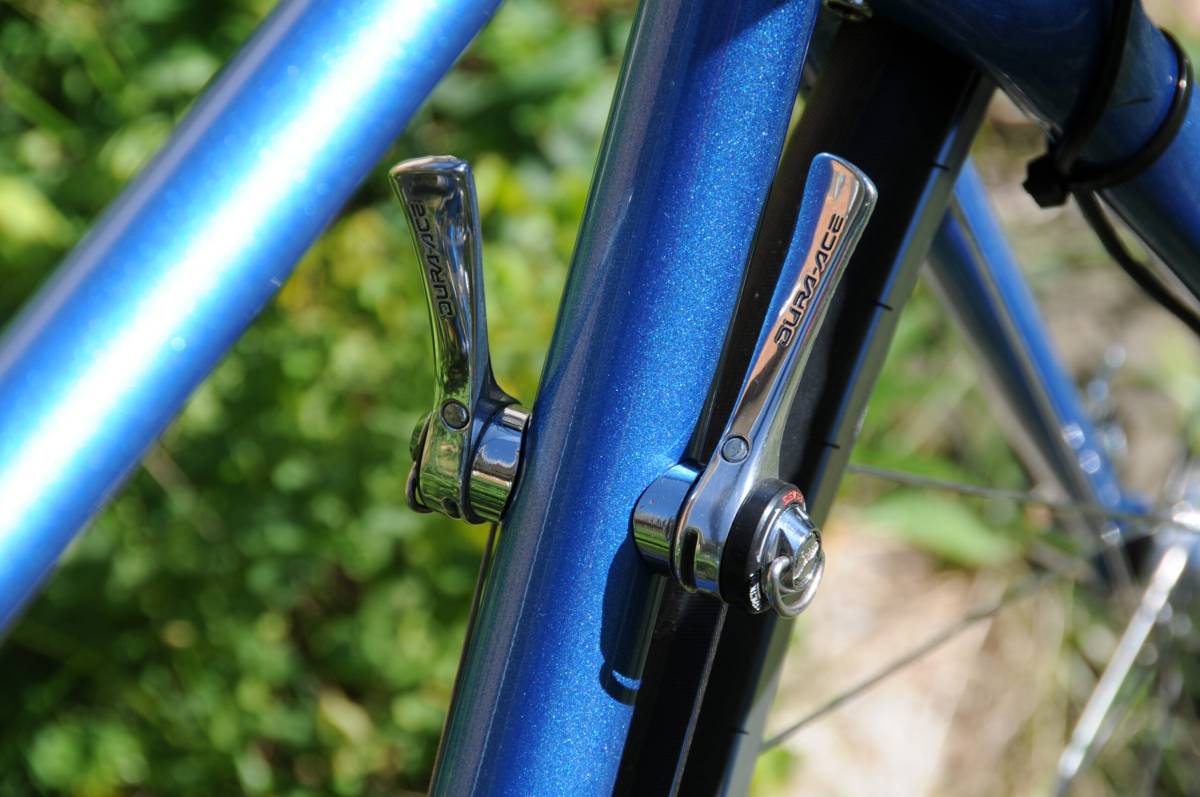
| Shift Levers | Shimano Dura-Ace (SL-7400) - 6-speed, down tube |
| Handlebar Tape | Cinelli Cork Ribbon, black |
| Handlebar Ends | Velox - rubber, black |
| Stem | Ritchey Pro - 90mm |
| Headset | Cane Creek - threadless, silver |
| Brakes | Shimano Dura-Ace (BR-7403) - Al alloy, silver, SLR dual-pivot |
| Tires | Vredestein Fortezza - 700c x 25mm (24mm) |
| Inner Tubes | Michelin - 700c x 20-25mm, Presta valve (40mm) |
| Rims | Mavic OpenPro, 700c x 18mm, blue, 36-hole |
| Spokes | DT Swiss - stainless steel, brass nipples |
| Hubs | Shimano Dura-Ace (FH-7401/HB-7400) - 36-hole, 130/100mm |
| Cassette | Shimano Dura-Ace (CS-7400), 13-21T, 6-speed |
| Chain | Shimano Dura-Ace (CN-7700), 9-speed |
| Crankset | Shimano Dura-Ace (FC-7410) - 180mm |
| Chainrings | Shimano Dura-Ace (FC-7400) - 39/53T |
| Bottom Bracket | Shimano Dura-Ace (BB-7410) - 103mm JIS square-taper |
| Pedals | Shimano PD-7800 - Al alloy, grey, SPD-R |
| Dérailleur - Rear | Shimano Dura-Ace (RD-7402) |
| Dérailleur - Front | Shimano Dura-Ace (FD-7410) - braze-on |
| Water Bottle Cages | Velo-Orange Moderniste - stainless, polished |
| Computer | Planet Bike Protegé 8.0 |

Throwing out a perfectly good frame is not something I would can do, even if there were many details that made it unsuitable for my re-use or for sale as-is. So, in what way was this frame recycled…? I’ll thank you in advance for waiting patiently for that long-winded tale until next year (2027).