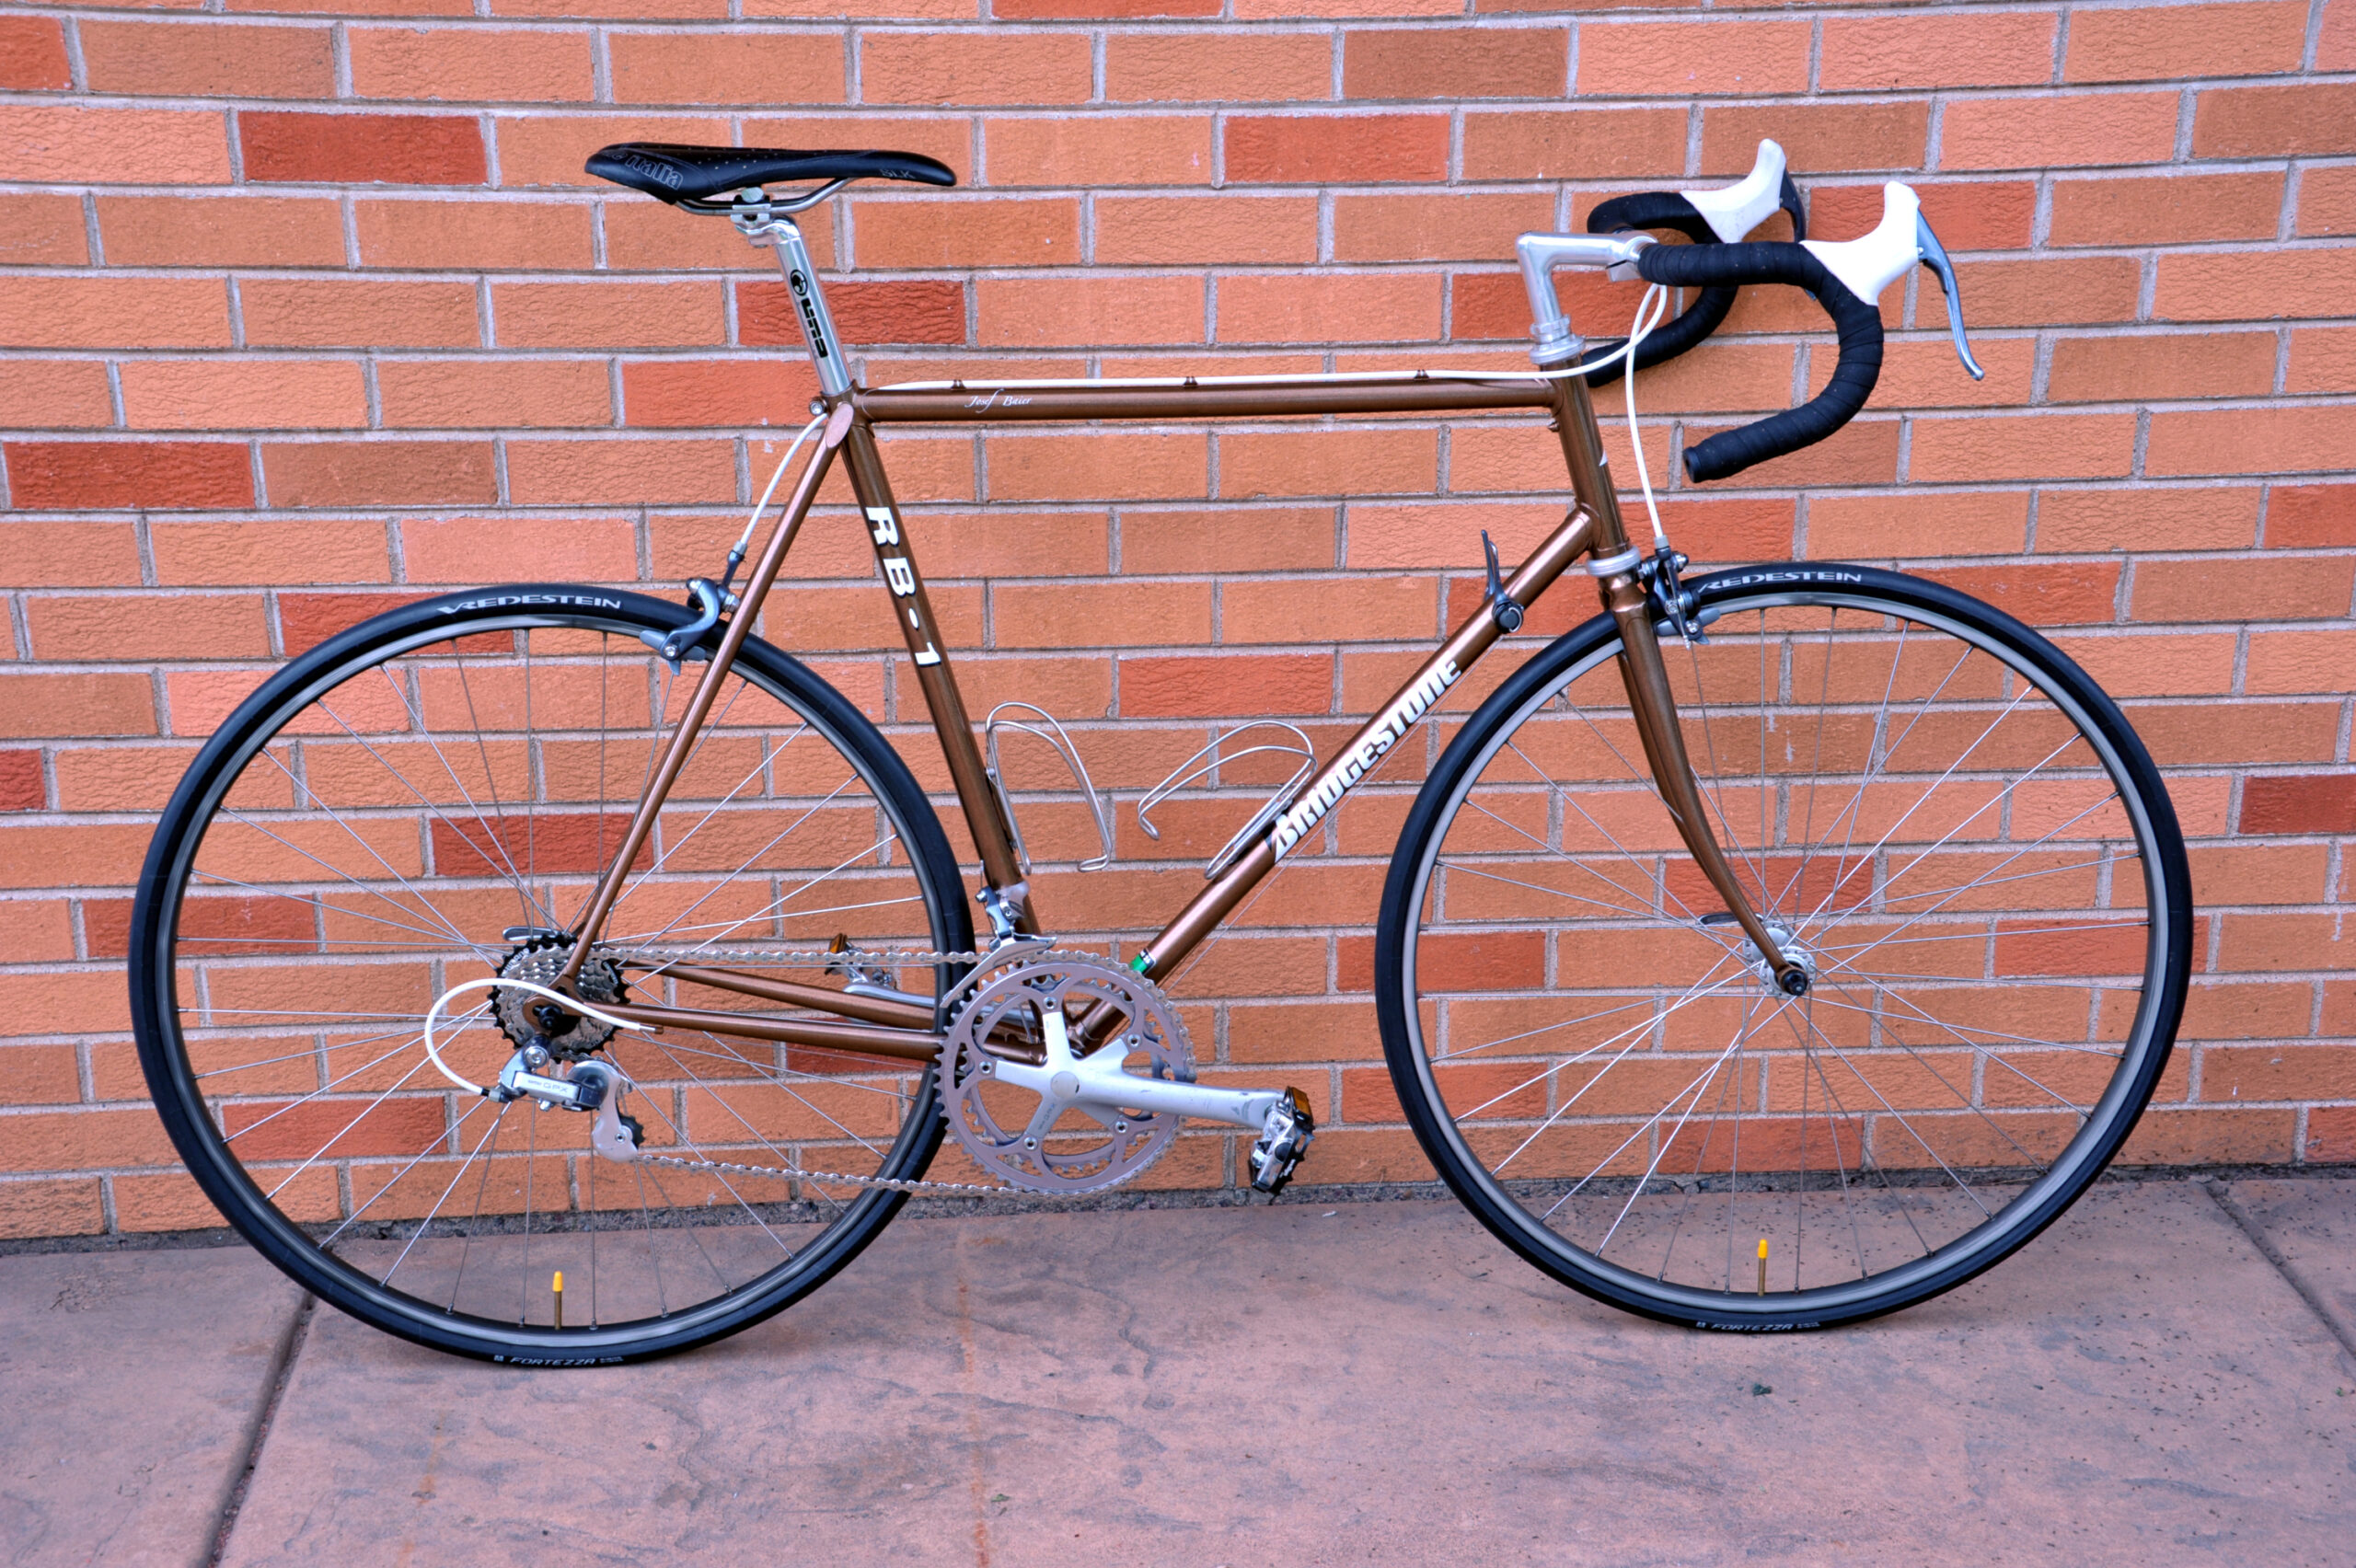
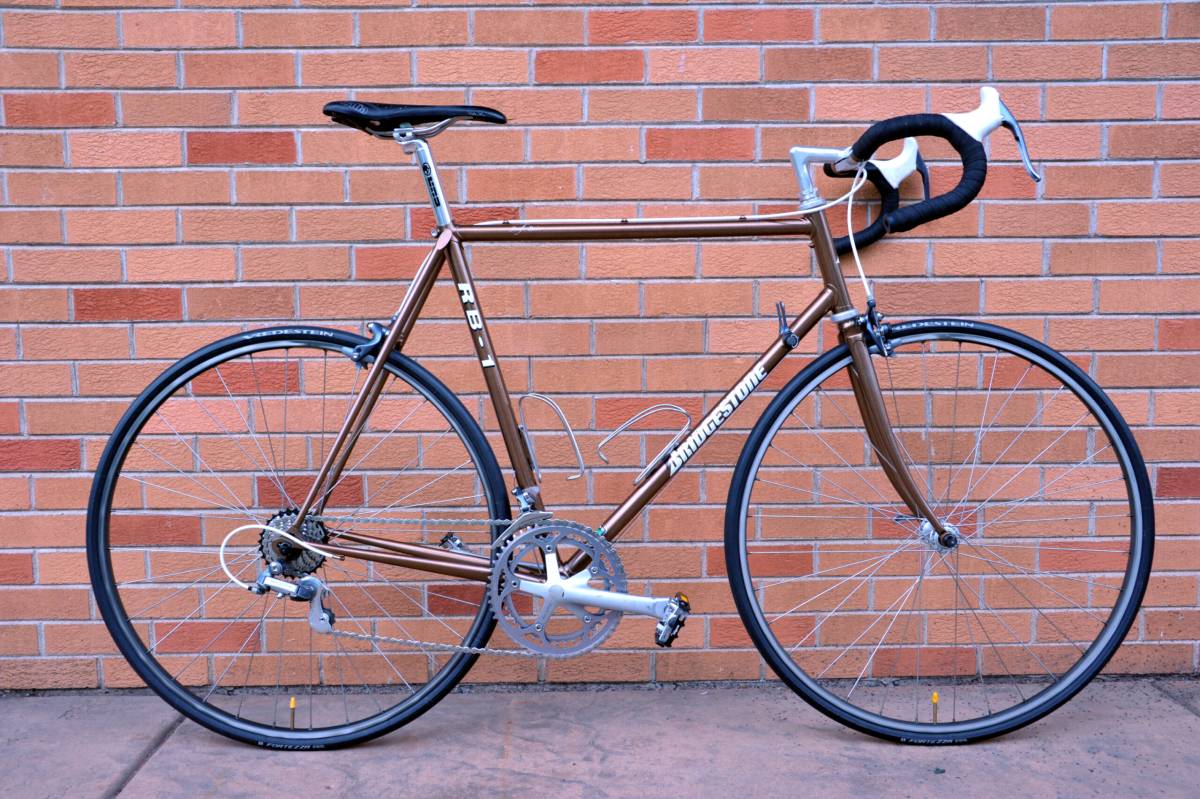
Restoration of a 1989 Bridgestone RB-1 road racing bicycle. The subject of the restoration was built around the 20,209th frame manufactured during October of 1988 by Bridgestone, Japan. The model year is 1989. Most of the parts are as originally equipped.

Description
The Bridgestone RB-1 was a mid-level road racing bicycle from Bridgestone, just after the aluminum-framed Radac 2100 (Ultegra) and the top-level Radac 3100 (Dura-Ace). The frame was high-quality: built with Ishiwata triple-butted CrMo tubing, “Italian-cut” lugs, and SunTour horizontal “micro-adjust” dropouts and fork ends without eyelets.

The Bridgestone RB-1 was originally outfitted with SunTour GPX components. It was available in a solid scarlet red or a two-tone white/black paint scheme.
History
This Bridgestone RB-1 bicycle was purchased from the original owner in Chippewa Falls, Wisconsin, during the spring of 2024, with nearly all the original components.
New owner, Jo, found this bicycle for sale on Craigslist and we went out to meet the original owner to look at the bicycle. It functioned well enough for a test ride and most of the parts were in acceptable condition. Most importantly, it fit Jo well and he seemed delighted with it.
The condition of the bicycle was acceptable: there were no dented tubes and the frame was in good alignment; the paint was in good condition; there were no signs on the parts of scrapes or bending from crashes.
However, there were some issues typical of long-unused bicycles: the seatpost had corroded into place due to galvanic corrosion; subsequent efforts by the previous owner to forcefully remove or adjust the seatpost had damaged the seatpost and the binder lug; dropout adjusters were bent; the plastic covers for the quick-release nuts were missing; the bearing grease in the bottom bracket, hubs, and headset had solidified; the brake pads were cracked and dry; the chain was heavily rusted; the smallest cog on the freewheel had excessively worn and broken teeth; the small chainring was heavily worn; the “white” brake hoods were grey and black with mold and dirt; the spokes were loose and the wheels were out-of-true and out-of-round; the entire bicycle hadn’t been serviced or cleaned in decades.
Overall, a good prospect for an involved, yet simple and enjoyable restoration.
Restoration
The frame and fork were restored to like-new function, but not to original condition and appearance. Every effort was made to refurbish the existing parts to like-new function and as close to like-new appearance, when possible.
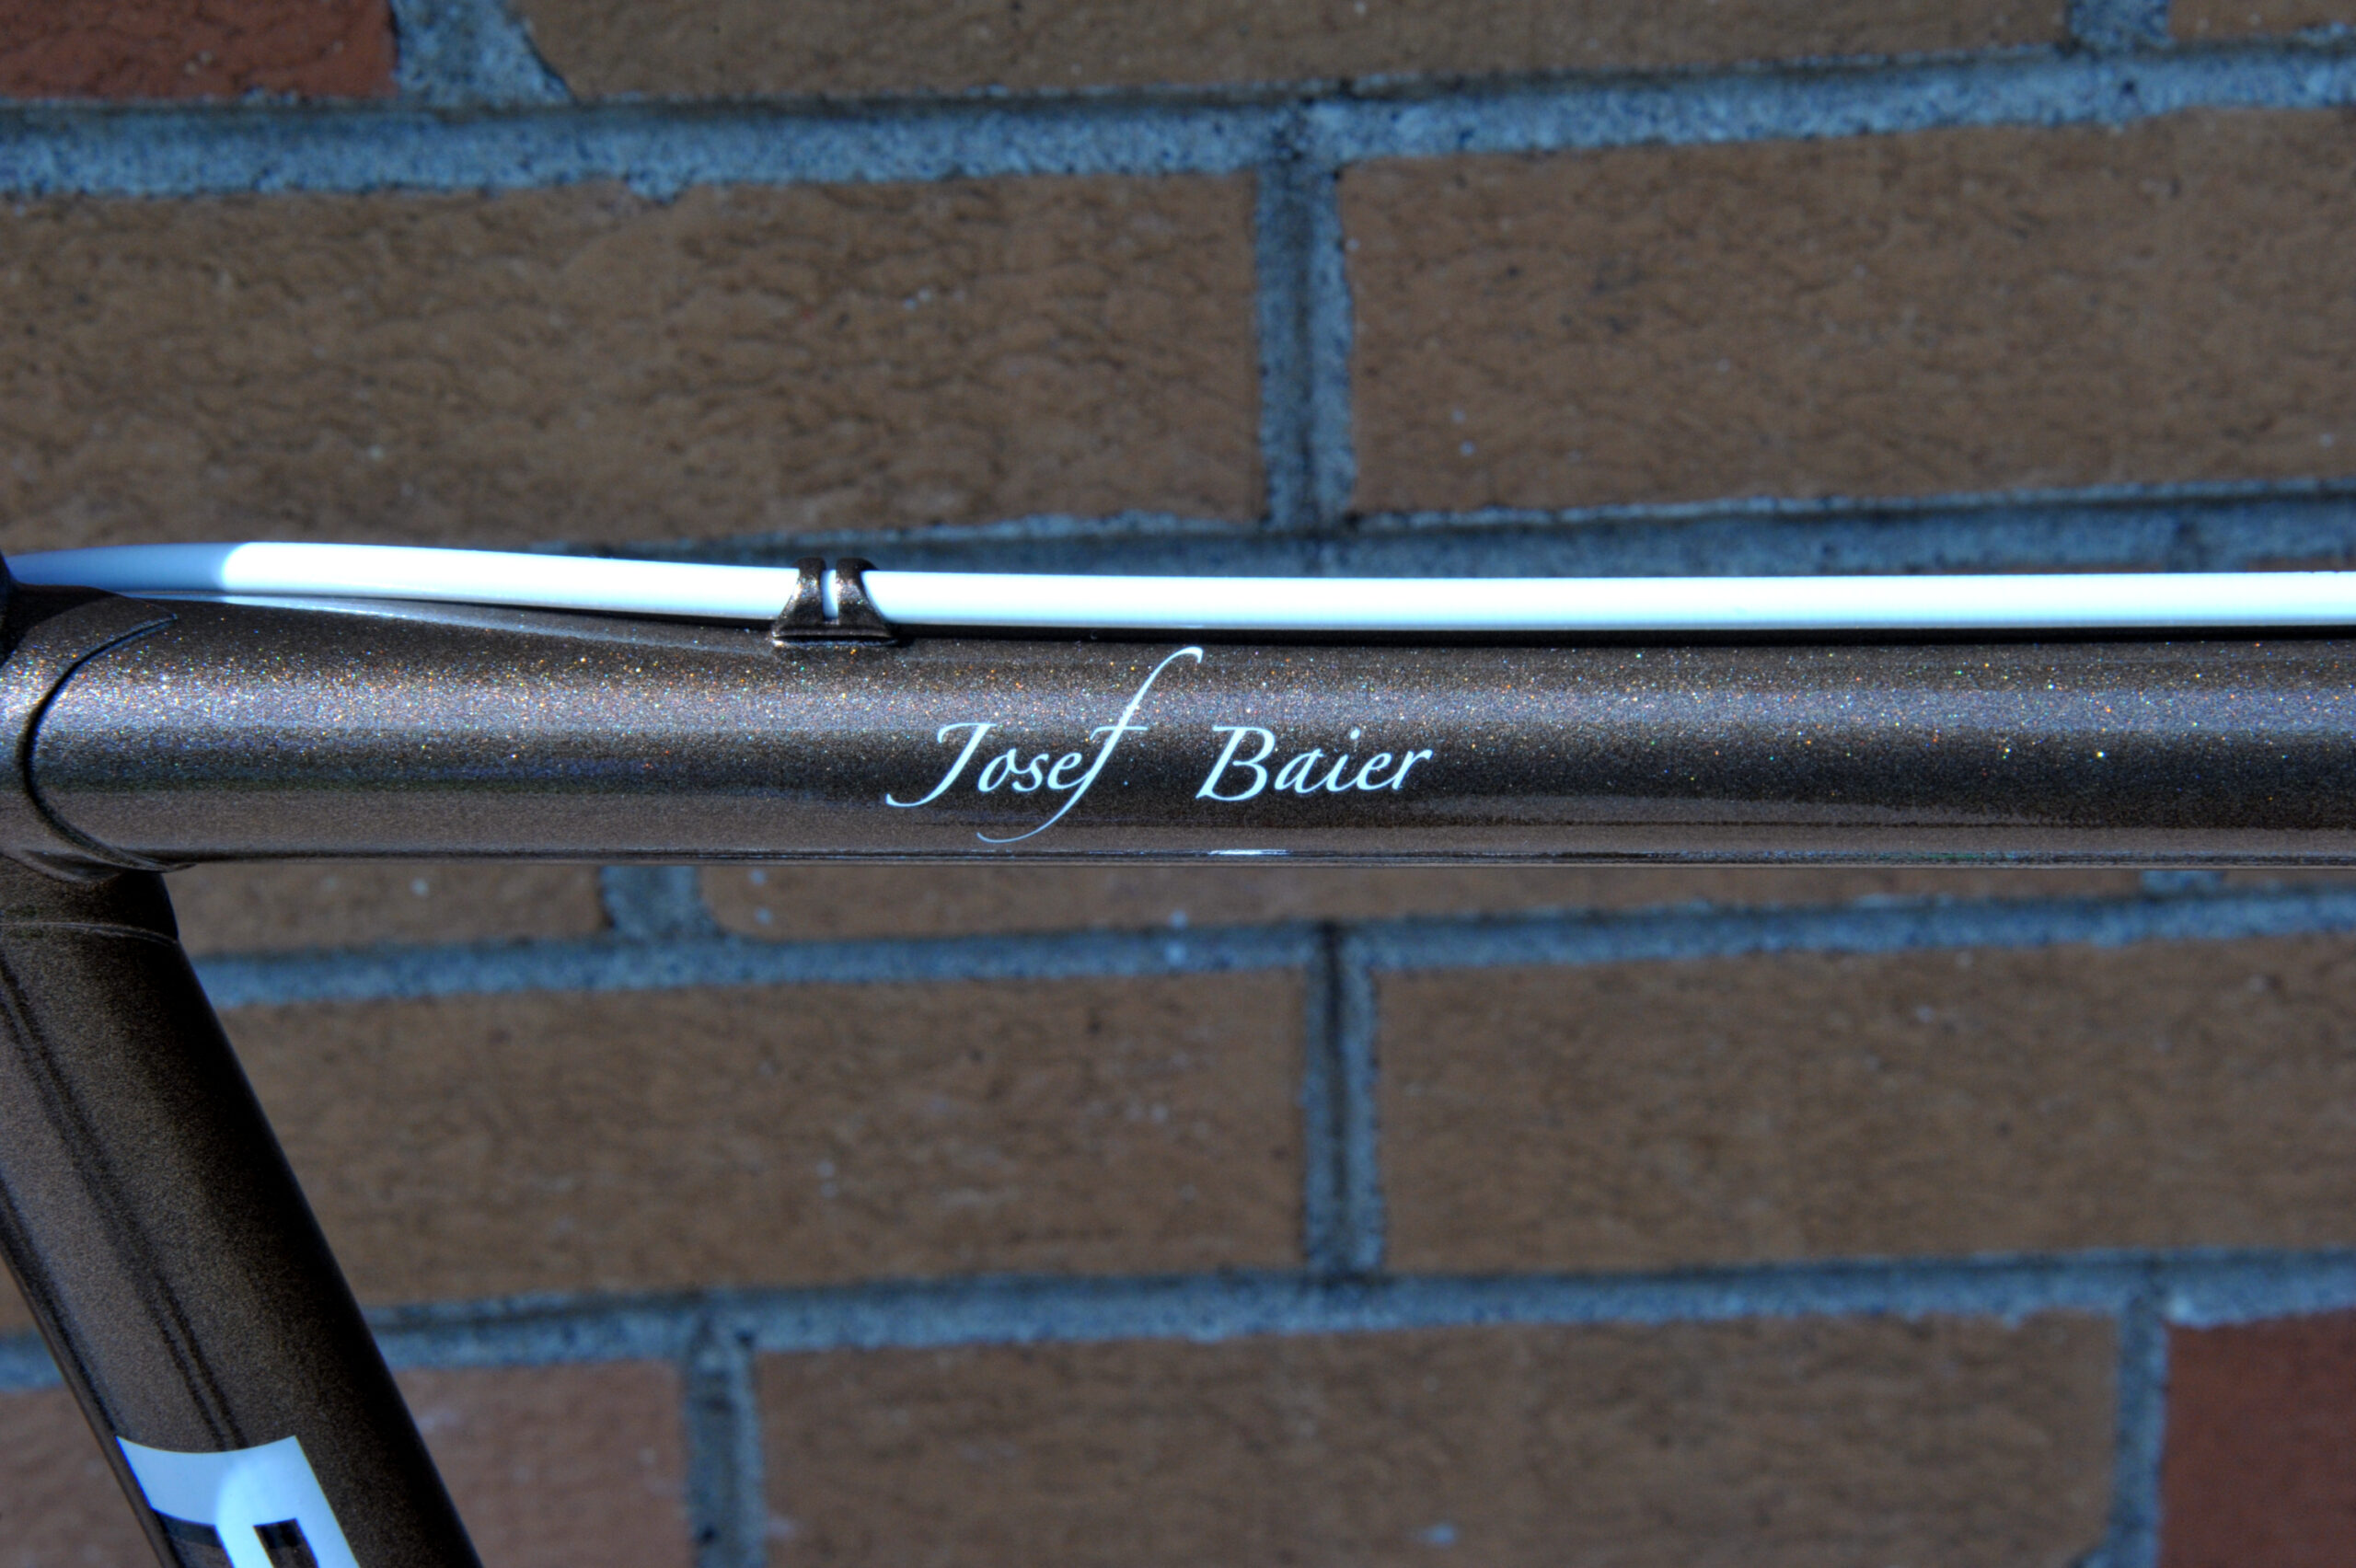
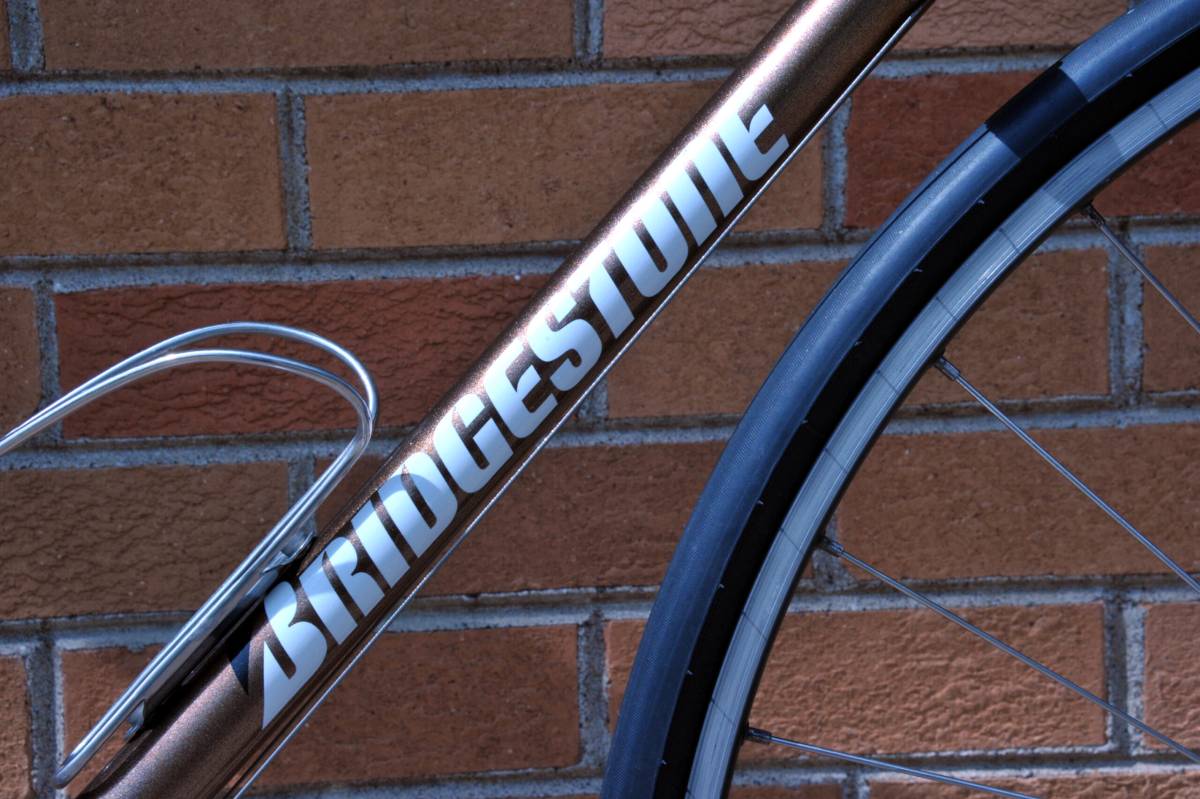
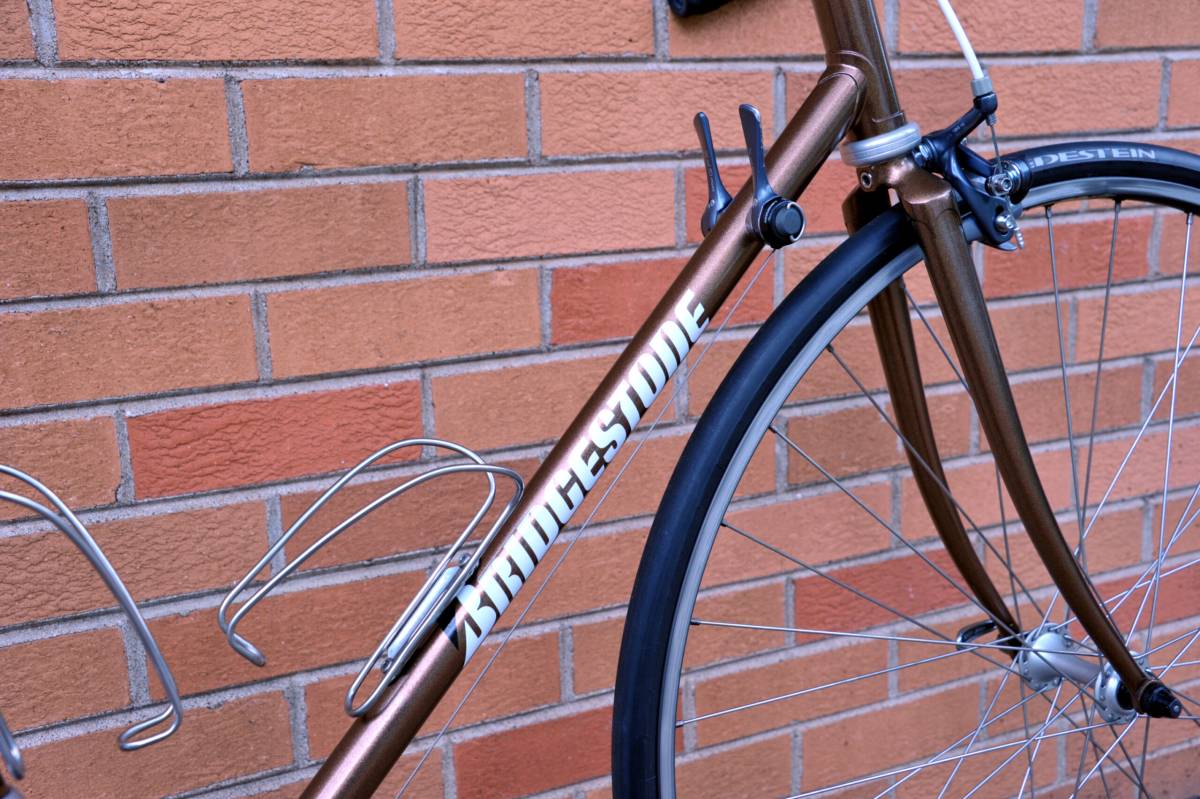
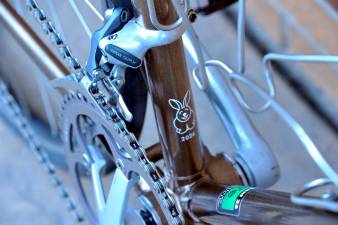
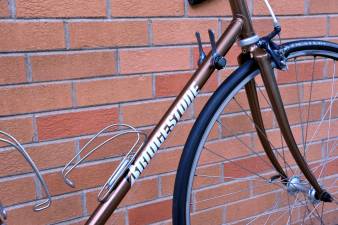
The restoration did not aim to make this bicycle look showroom-new, nor did it attempt to retain the original color scheme and graphics. This bicycle is meant to be ridden and enjoyed by the owner, Jo. It’s his bicycle: Jo chose mocha metallic paint (wet, not powder-coat) with white contrasts and lettering, his name written out on the left side of the top tube (Snell Roundhand typeface).
The Frame
Before I could do anything with the frame, all the parts had to be stripped from it. The seatpost was stuck and could not be removed using a reasonable amount of force. Rather than trying to brute-force the seatpost from the seat tube, and risk damaging the frame, I placed a little bit of phosphoric acid in the seat tube. After an hour, it had worked its way between the seatpost and the seat tube. A gentle twist later, the seatpost came out in one piece; the frame was undamaged. I washed and degreased the frame, then honed the seat tube to remove any remaining internal rust and burrs.
The frame and fork were alignment-checked (both were okay: not in need of cold-setting). The frame and fork were then taken to Paul Wyganowski to be stripped of paint and to be soaked in a hot zinc phosphate solution to remove any existing corrosion, which also applies a coating of zinc to the steel (inside and out) and acts as a rust inhibitor. Back at my workshop, the frame was inspected for damage, cracks, and dents: only the previously noted damage to the seat binder needed to be addressed. The damage was superficial, so a fix was only needed for appearance.
I cleaned up the damage on the seat lug binder with a file: it wasn’t too severe and just needed smoothing over. I could have rebuilt the damaged area with bronze, but it was not necessary.
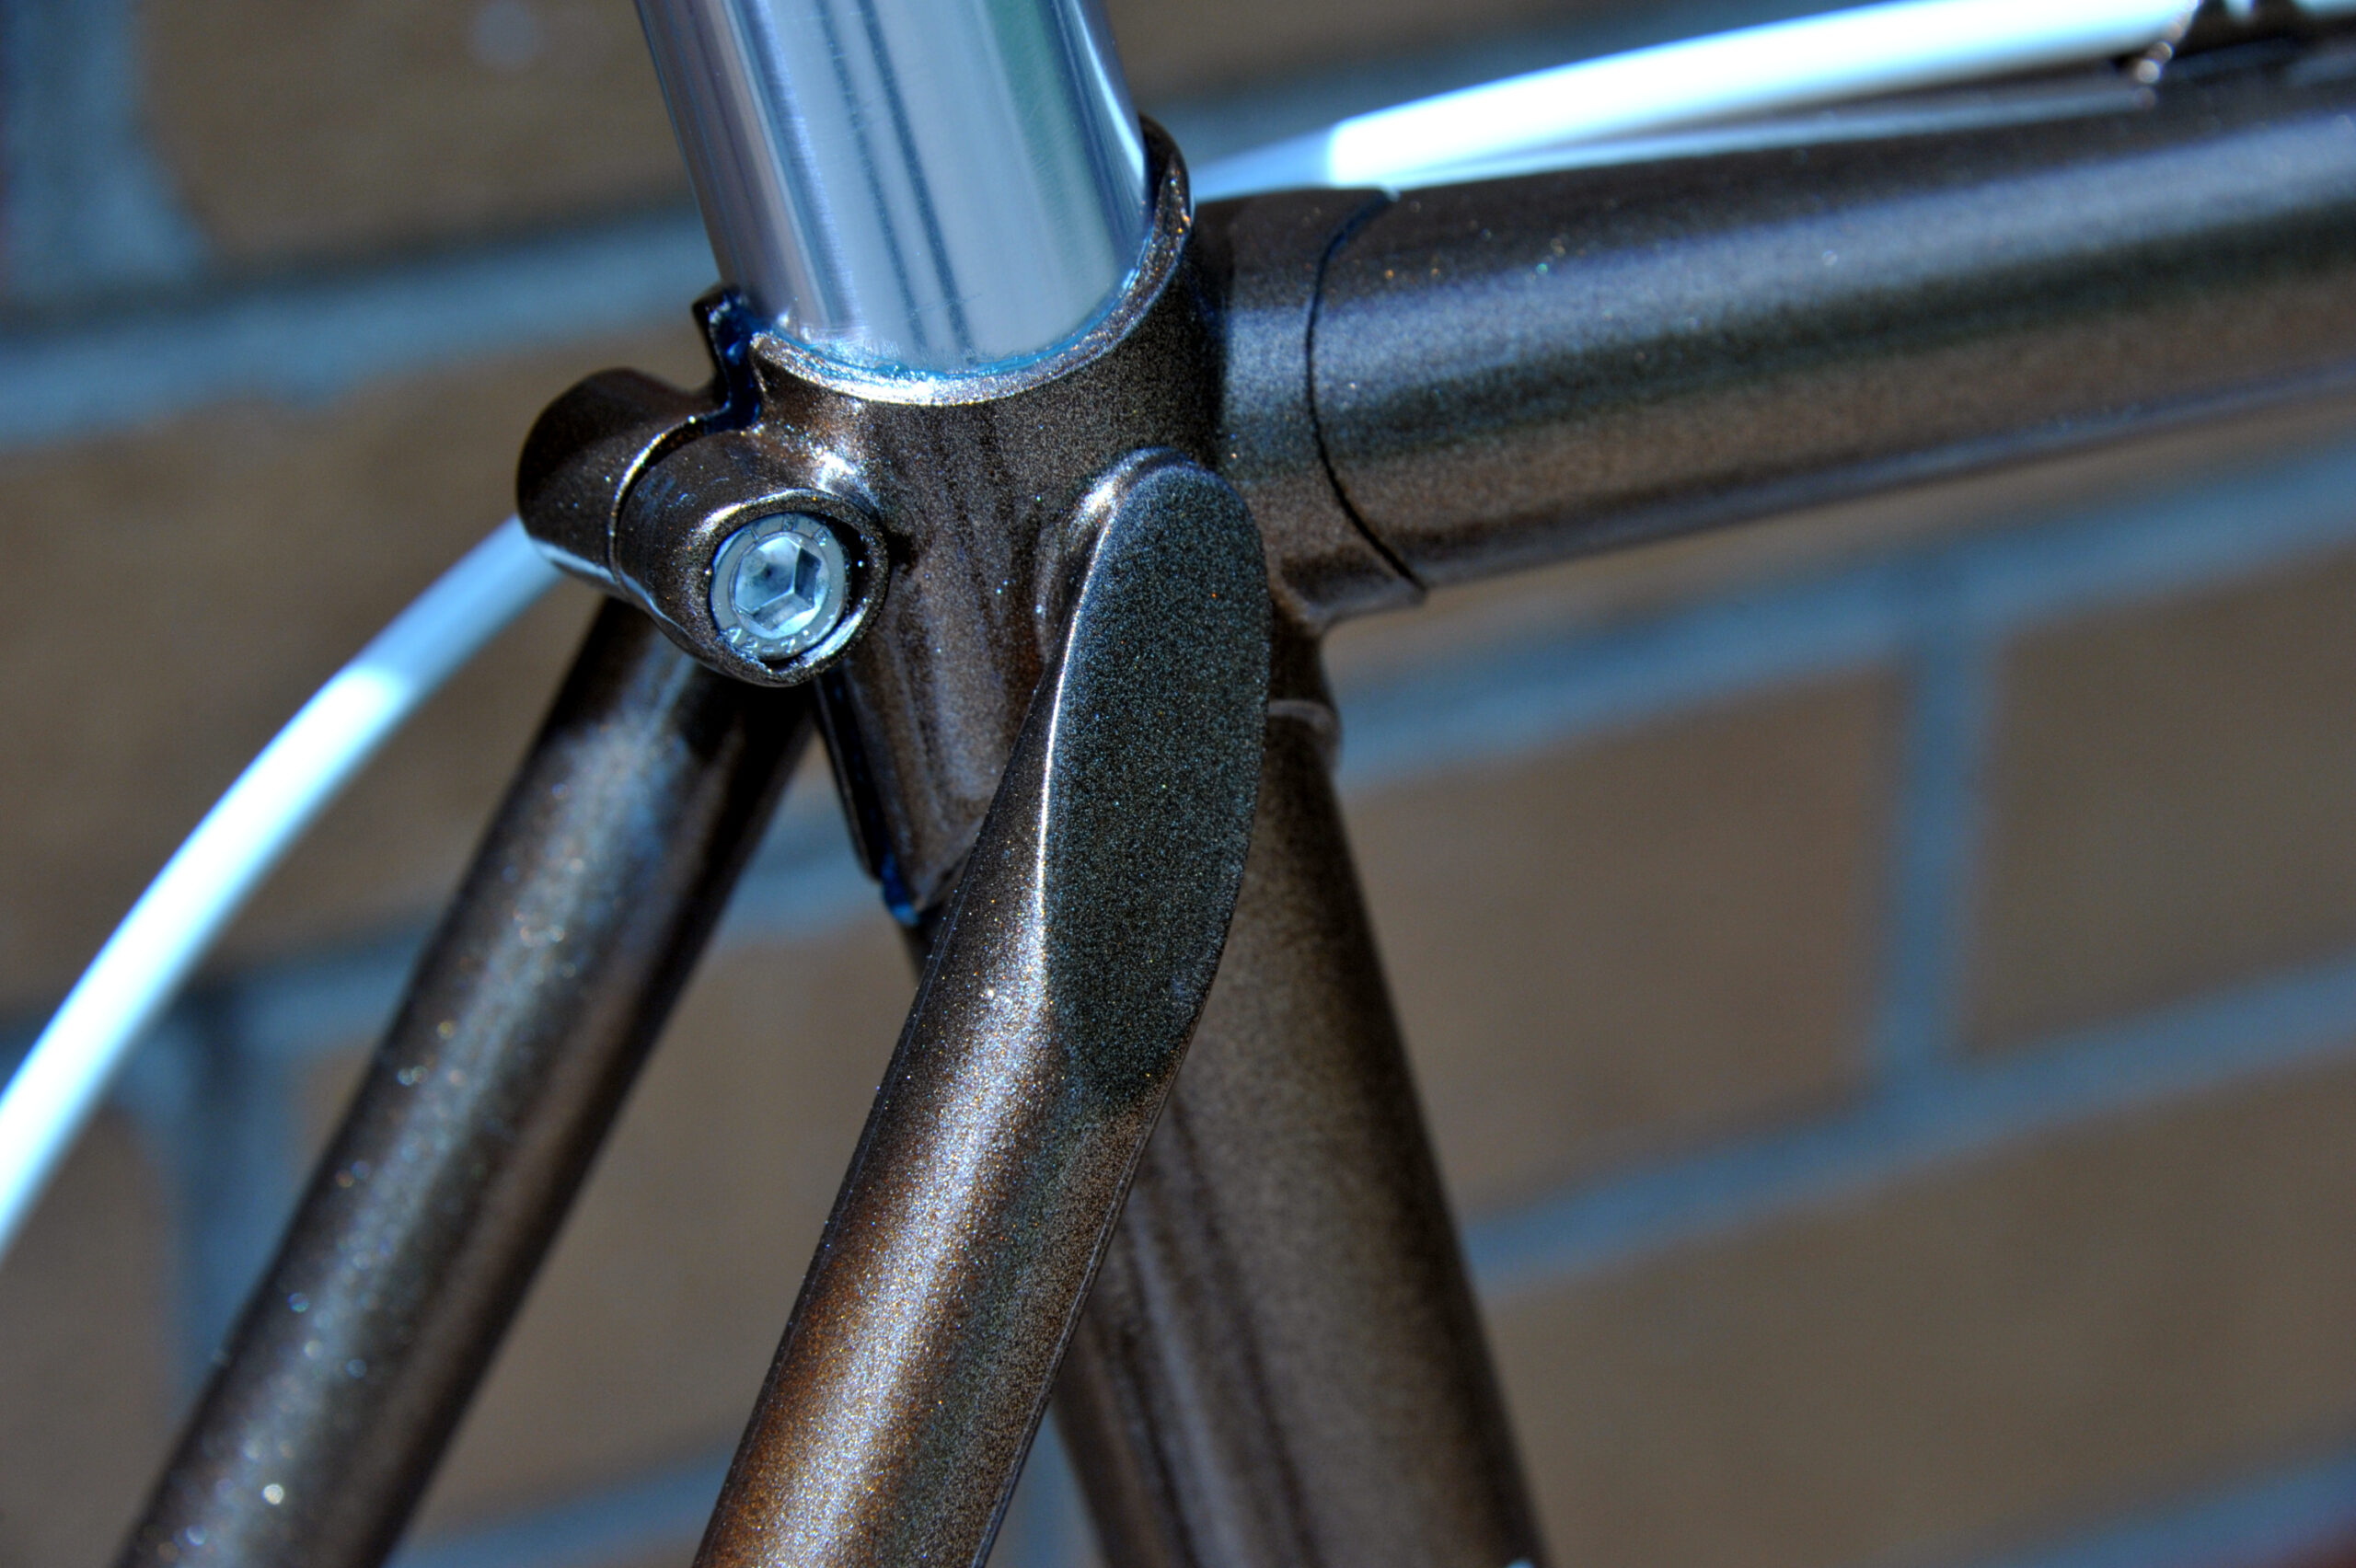
Before repainting the frame, I chased all the frame and fork threads: dérailleur hanger, dropout adjusters, bottom bracket shell, water bottle bosses, steerer tube, etc.

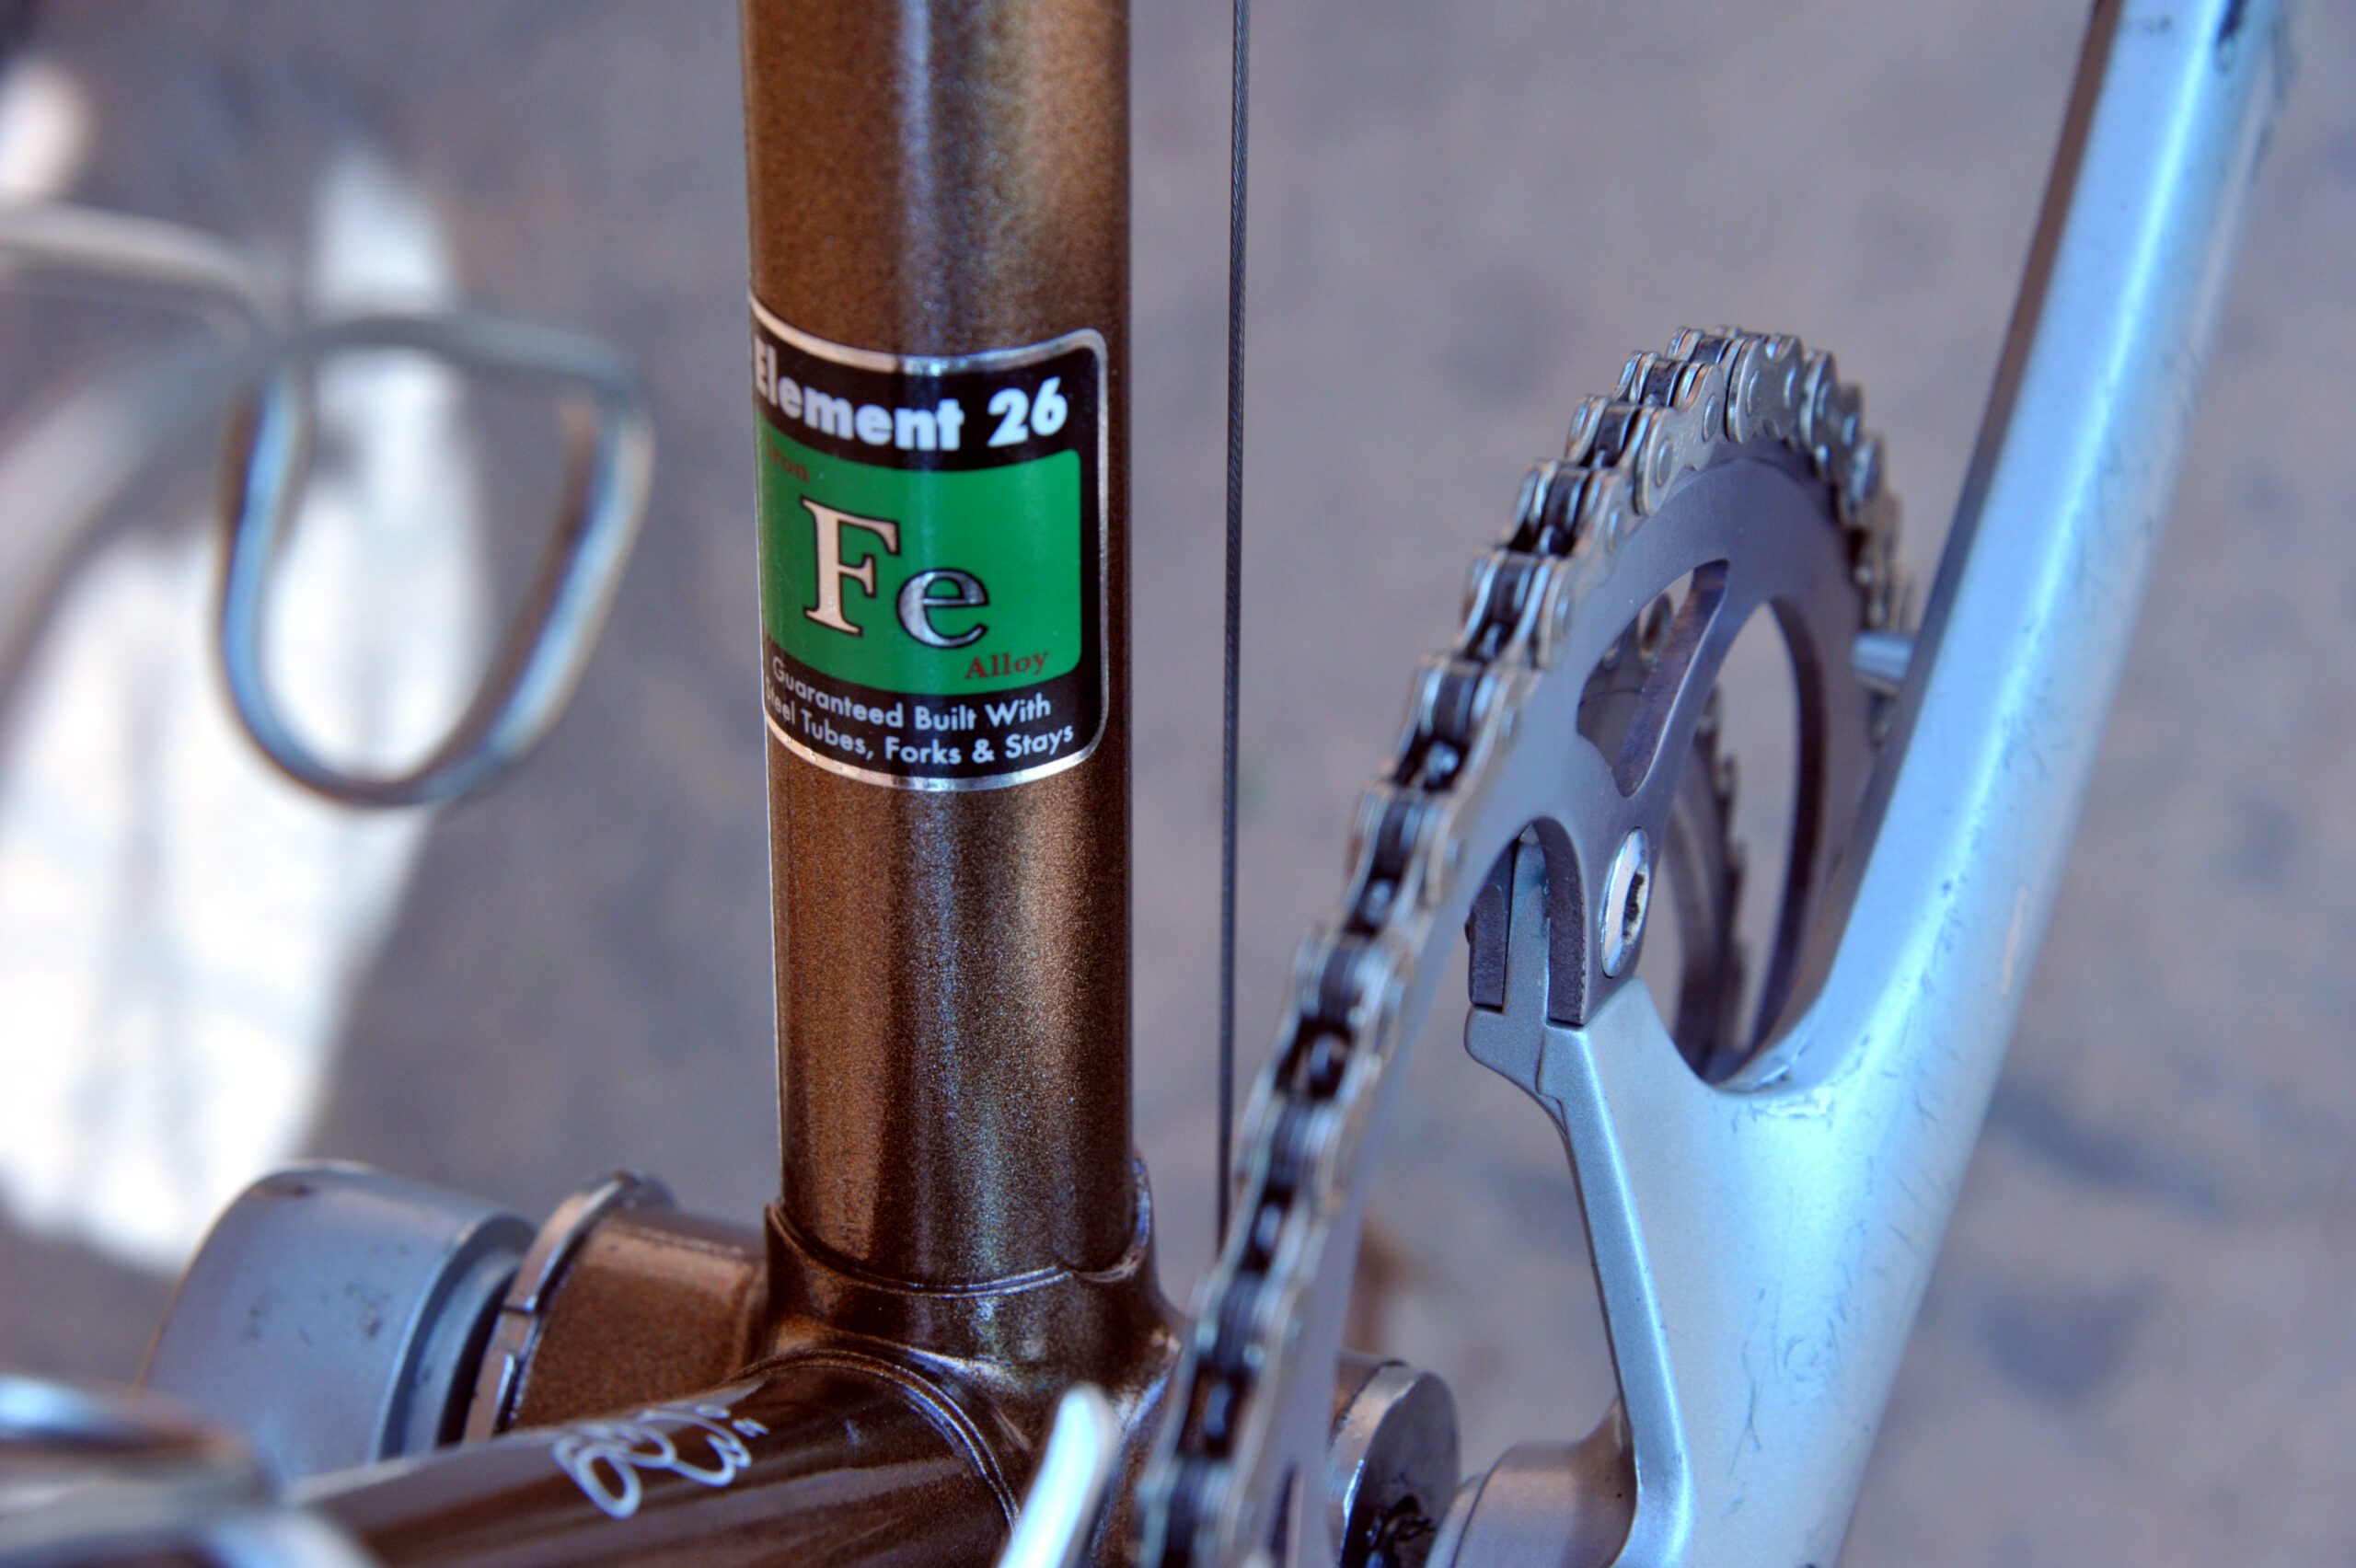
After degreasing the frame and fork, white primer was applied. Three light coats of mocha metallic were applied, wet-sanding between coats. The coverage was excellent and uniform overall. I put down a single coat of two-part clear over the color, waited six hours, then wet-sanded. The Bridgestone decals are dry transfers, each element a single piece, so those went on quickly. The owner name was dry transfer as well, but each letter was placed individually and took quite a while and some patience to put on. Authentic tubing decals were not in the budget, so I placed my generic “Element 26” self-adhesive mylar decal on the down tube face. To the seat tube face near the bottom bracket shell, I applied my happy bunny seal of approval and year of restoration dry transfers, which signify a refurbished frame.
Finally, two coats of two-part clear were placed over the decals and the clear-coat was left to cure.
Facing the bottom bracket shell, the head tube, and the fork crown were done after the clear-coat had cured for a week. All frame and fork threads were chased again to remove any primer and paint overspray.
The Wheels
Long before I had the frame and fork stripped of paint, I left the wheels with Paul Wyganowski for truing, if possible; for rebuilding with new rims and spokes, if not. He was able to restore their geometry to good-as-new condition using the original rims and spokes.
Organic solvent had to be used to remove the stubborn rim strips (some kind of adhesive tape), and the hubs had to be disassembled to their component parts, before everything could be degreased and washed: decades of road grime scrubbed and washed away. The bearing races and cones had little sign of use, with no signs of Brinelling. I replaced the bearings, repacked them with grease, and adjusted the cones just right.
I replaced the nuts on the quick-release skewers with a used set (Shimano) from my spares bin.

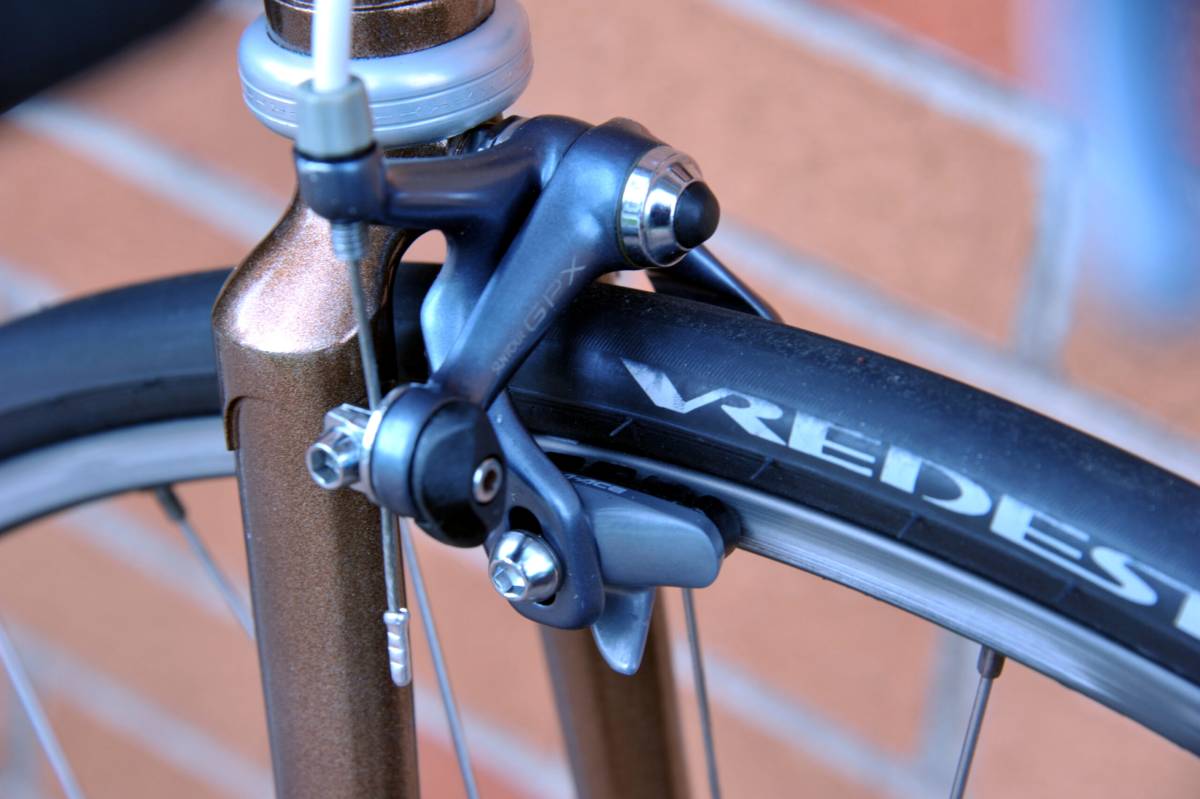
The bicycle came with some nearly new Bontrager 700C x 25mm (23mm actual) tires that had super-stiff sidewalls. I tried them out: the ride quality was unacceptable. Some like-new Vredestein 700C x 25mm (25mm actual) tires, a pair of FSA rim strips, and serviceable (never punctured) Michelin inner tubes from my spare parts stash made the wheels good as new!
The Drivetrain
The freewheel was in hopeless condition: the smallest cog was worn out, as well as missing teeth; the next smallest cog was also worn out; the threads appeared to be corroded beyond my ability to remove them from the freewheel body. It was simpler to replace the freewheel with one I had on-hand, although I had no more seven-speed SunTour freewheels of suitable size.
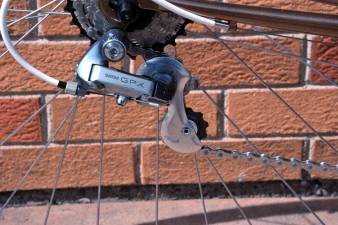
The SunTour GPX rear dérailleur has a 26-tooth maximum cog size, but this can be tweaked to work with a 28-tooth cog. I happened to have a used Shimano 7-speed freewheel in excellent condition (13-28T). Yes, it works in friction and indexed mode, too!
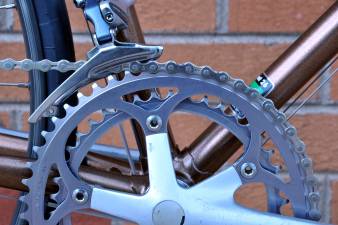
The large outer chainring was in like-new condition already, having hardly been used, so it only needed a scrub and wash. The small chainring was excessively worn, however, and there was insufficient budget to replace it now. Flipping it around was an interim fix for a few thousand miles, until a replacement could be had. This does leave the chainring bolts proud on the inner face of the chainring, but it works and does not negatively affect shifting.

The bottom bracket bearing assembly cleaned up to look and function like-new. The bearing races and spindle had little sign of use, with no signs of Brinelling. I replaced the bearings, repacked them with grease, and adjusted the cups just right. The lockring had no signs that the bearings had ever been serviced after initial installation.
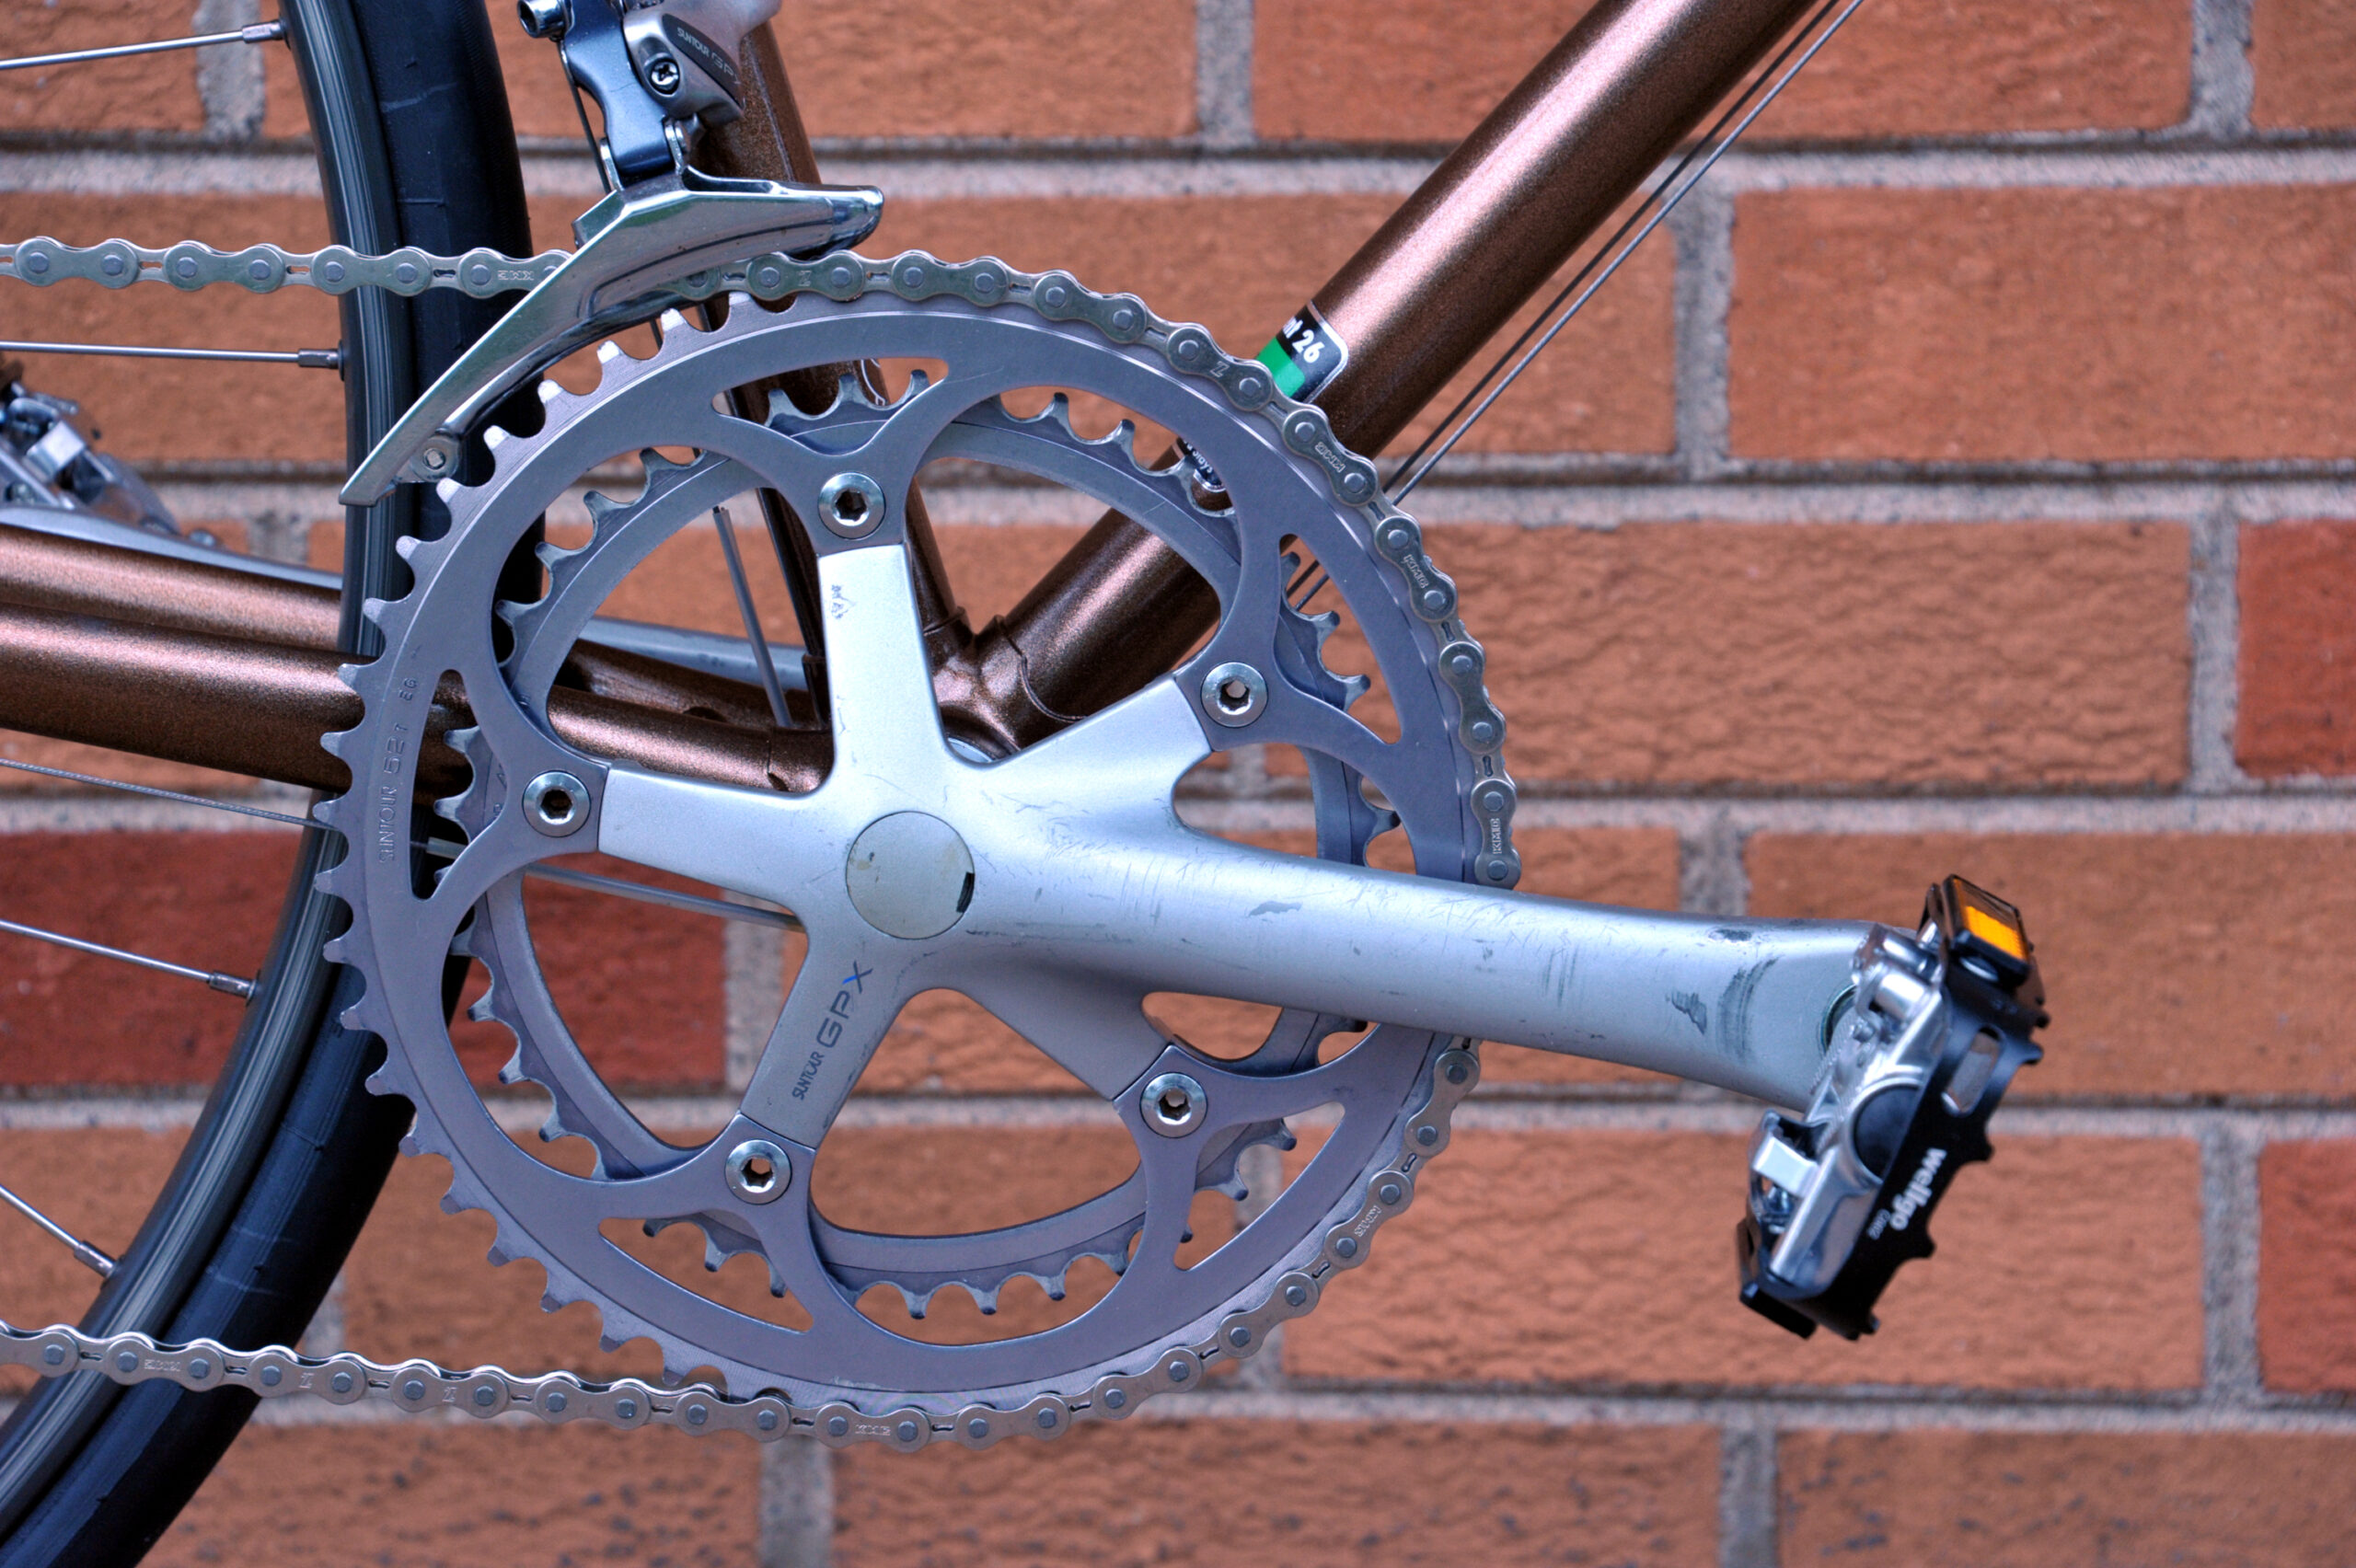
The crankset was scuffed and had a few gouges from curb-strike (or similar) on the ends of the crank arms, as well as wear and tear on the crank arm faces, but it cleaned up very nicely.

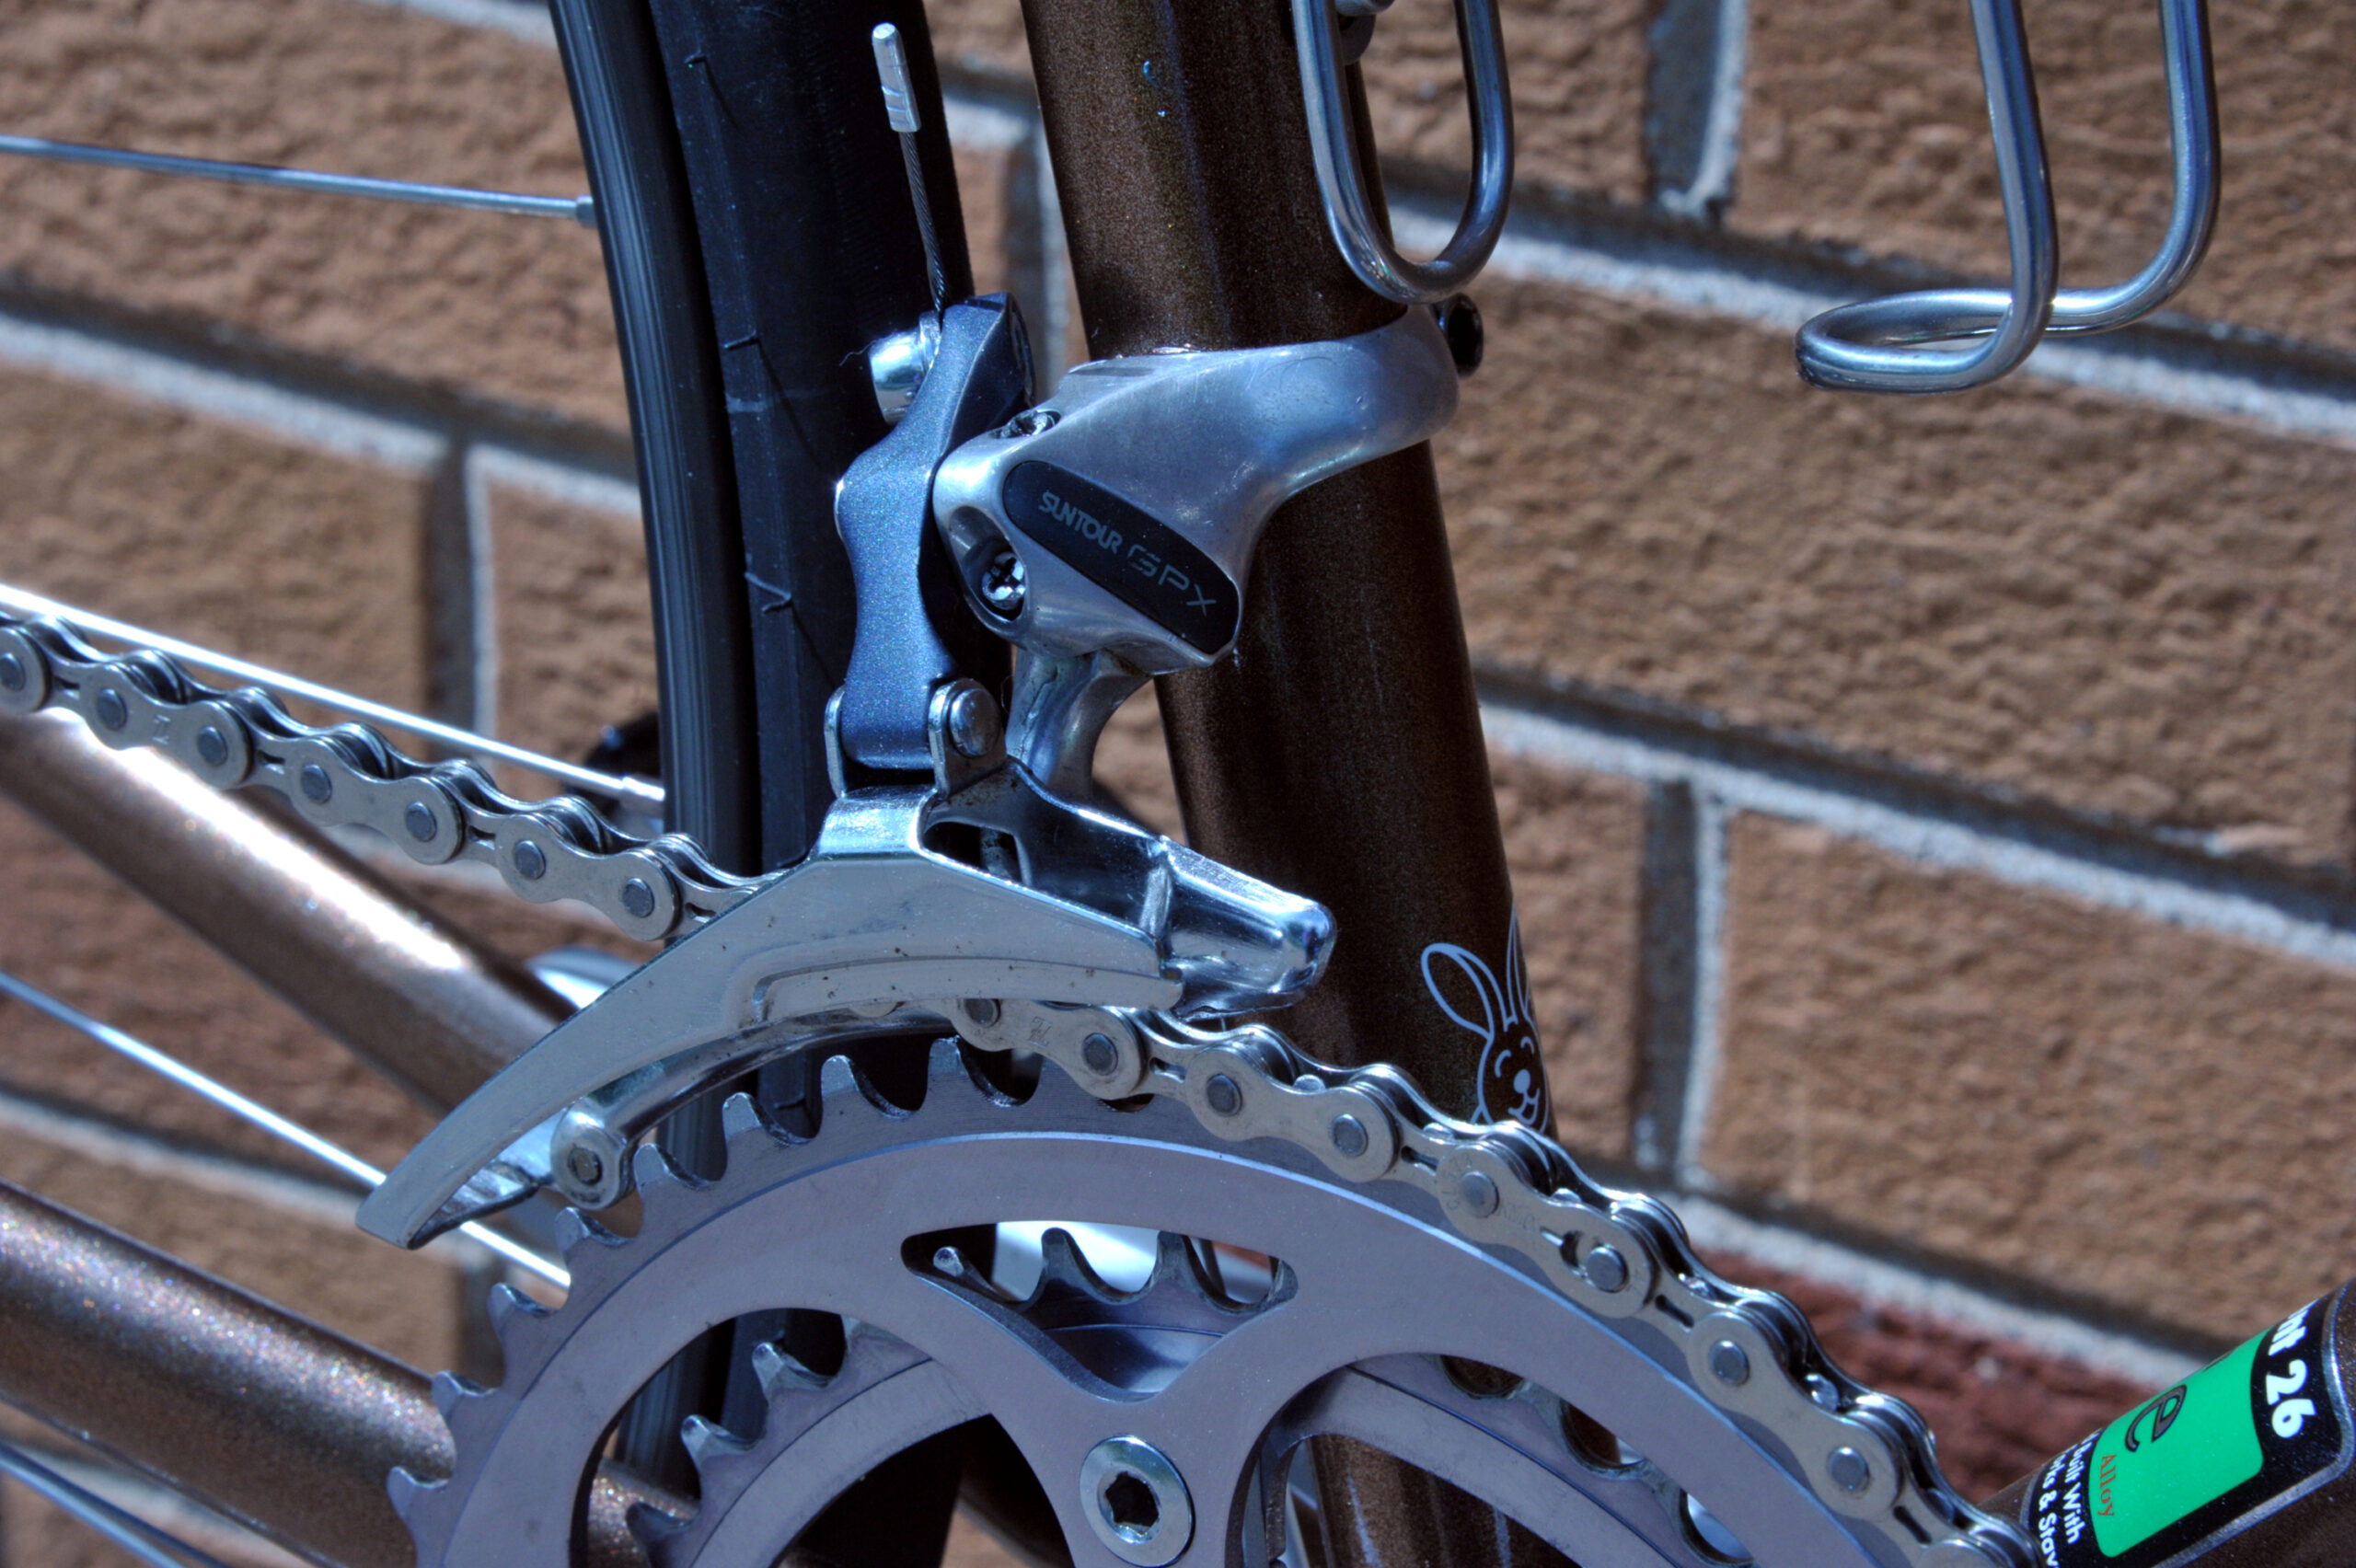
Both SunTour GPX dérailleurs were disassembled as much as possible, degreased, scrubbed, and washed. A little bit of metal polish brightened up scuffed areas. Painted areas were left as-is. Both dérailleurs were lubricated and reassembled. Functionally, good-as-new! Appearance: well-loved.
The chain was replaced with a new KMC 5/6/7/8-speed chain.
All shift cables were replaced with Shimano stainless steel cables. The rear dérailleur cable housing was replaced with a short length of SIS-compatible, delrin-lined, white Velo-Orange housing.
The Human Interface
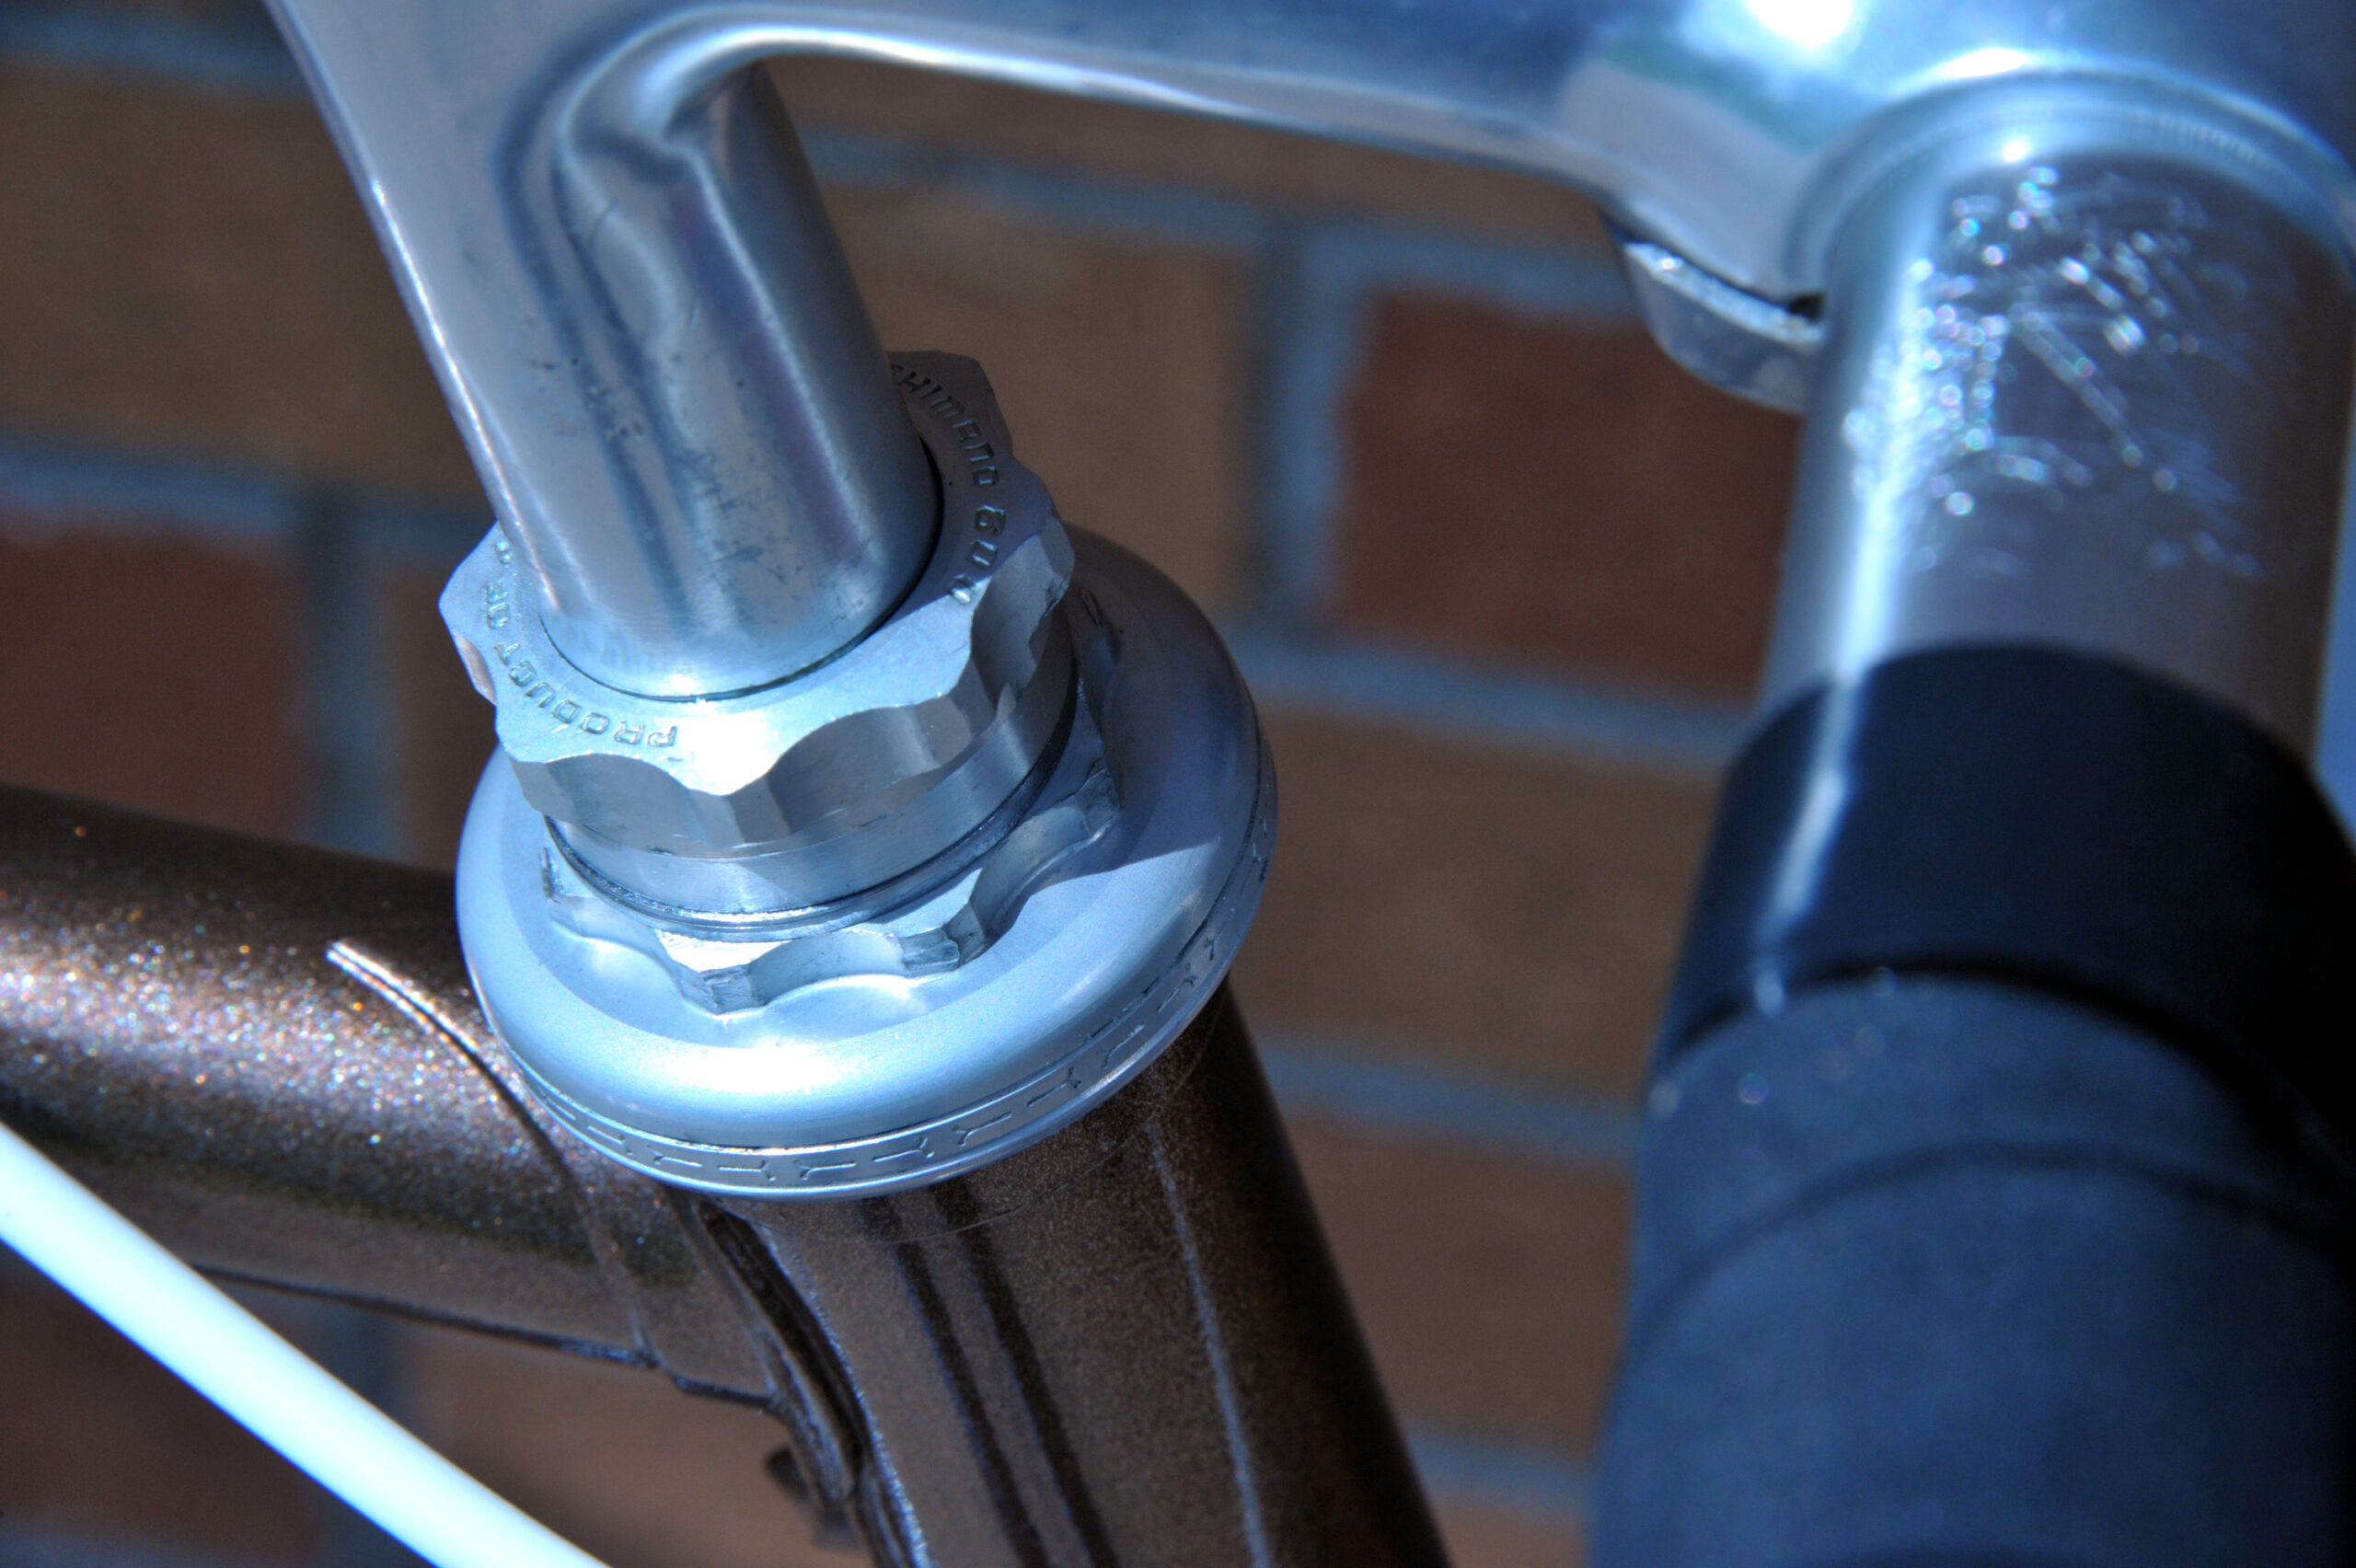
The bearing races on the headset were completely rusted and Brinneled. I replaced the headset with a good-as-new, loose-bearing Shimano 600EX “Arabesque” (HP-6200) headset from my used parts stash.

The SunTour GPX shift levers were completely disassembled for degreasing and cleaning. The internals then received a light coating of grease and were reassembled.

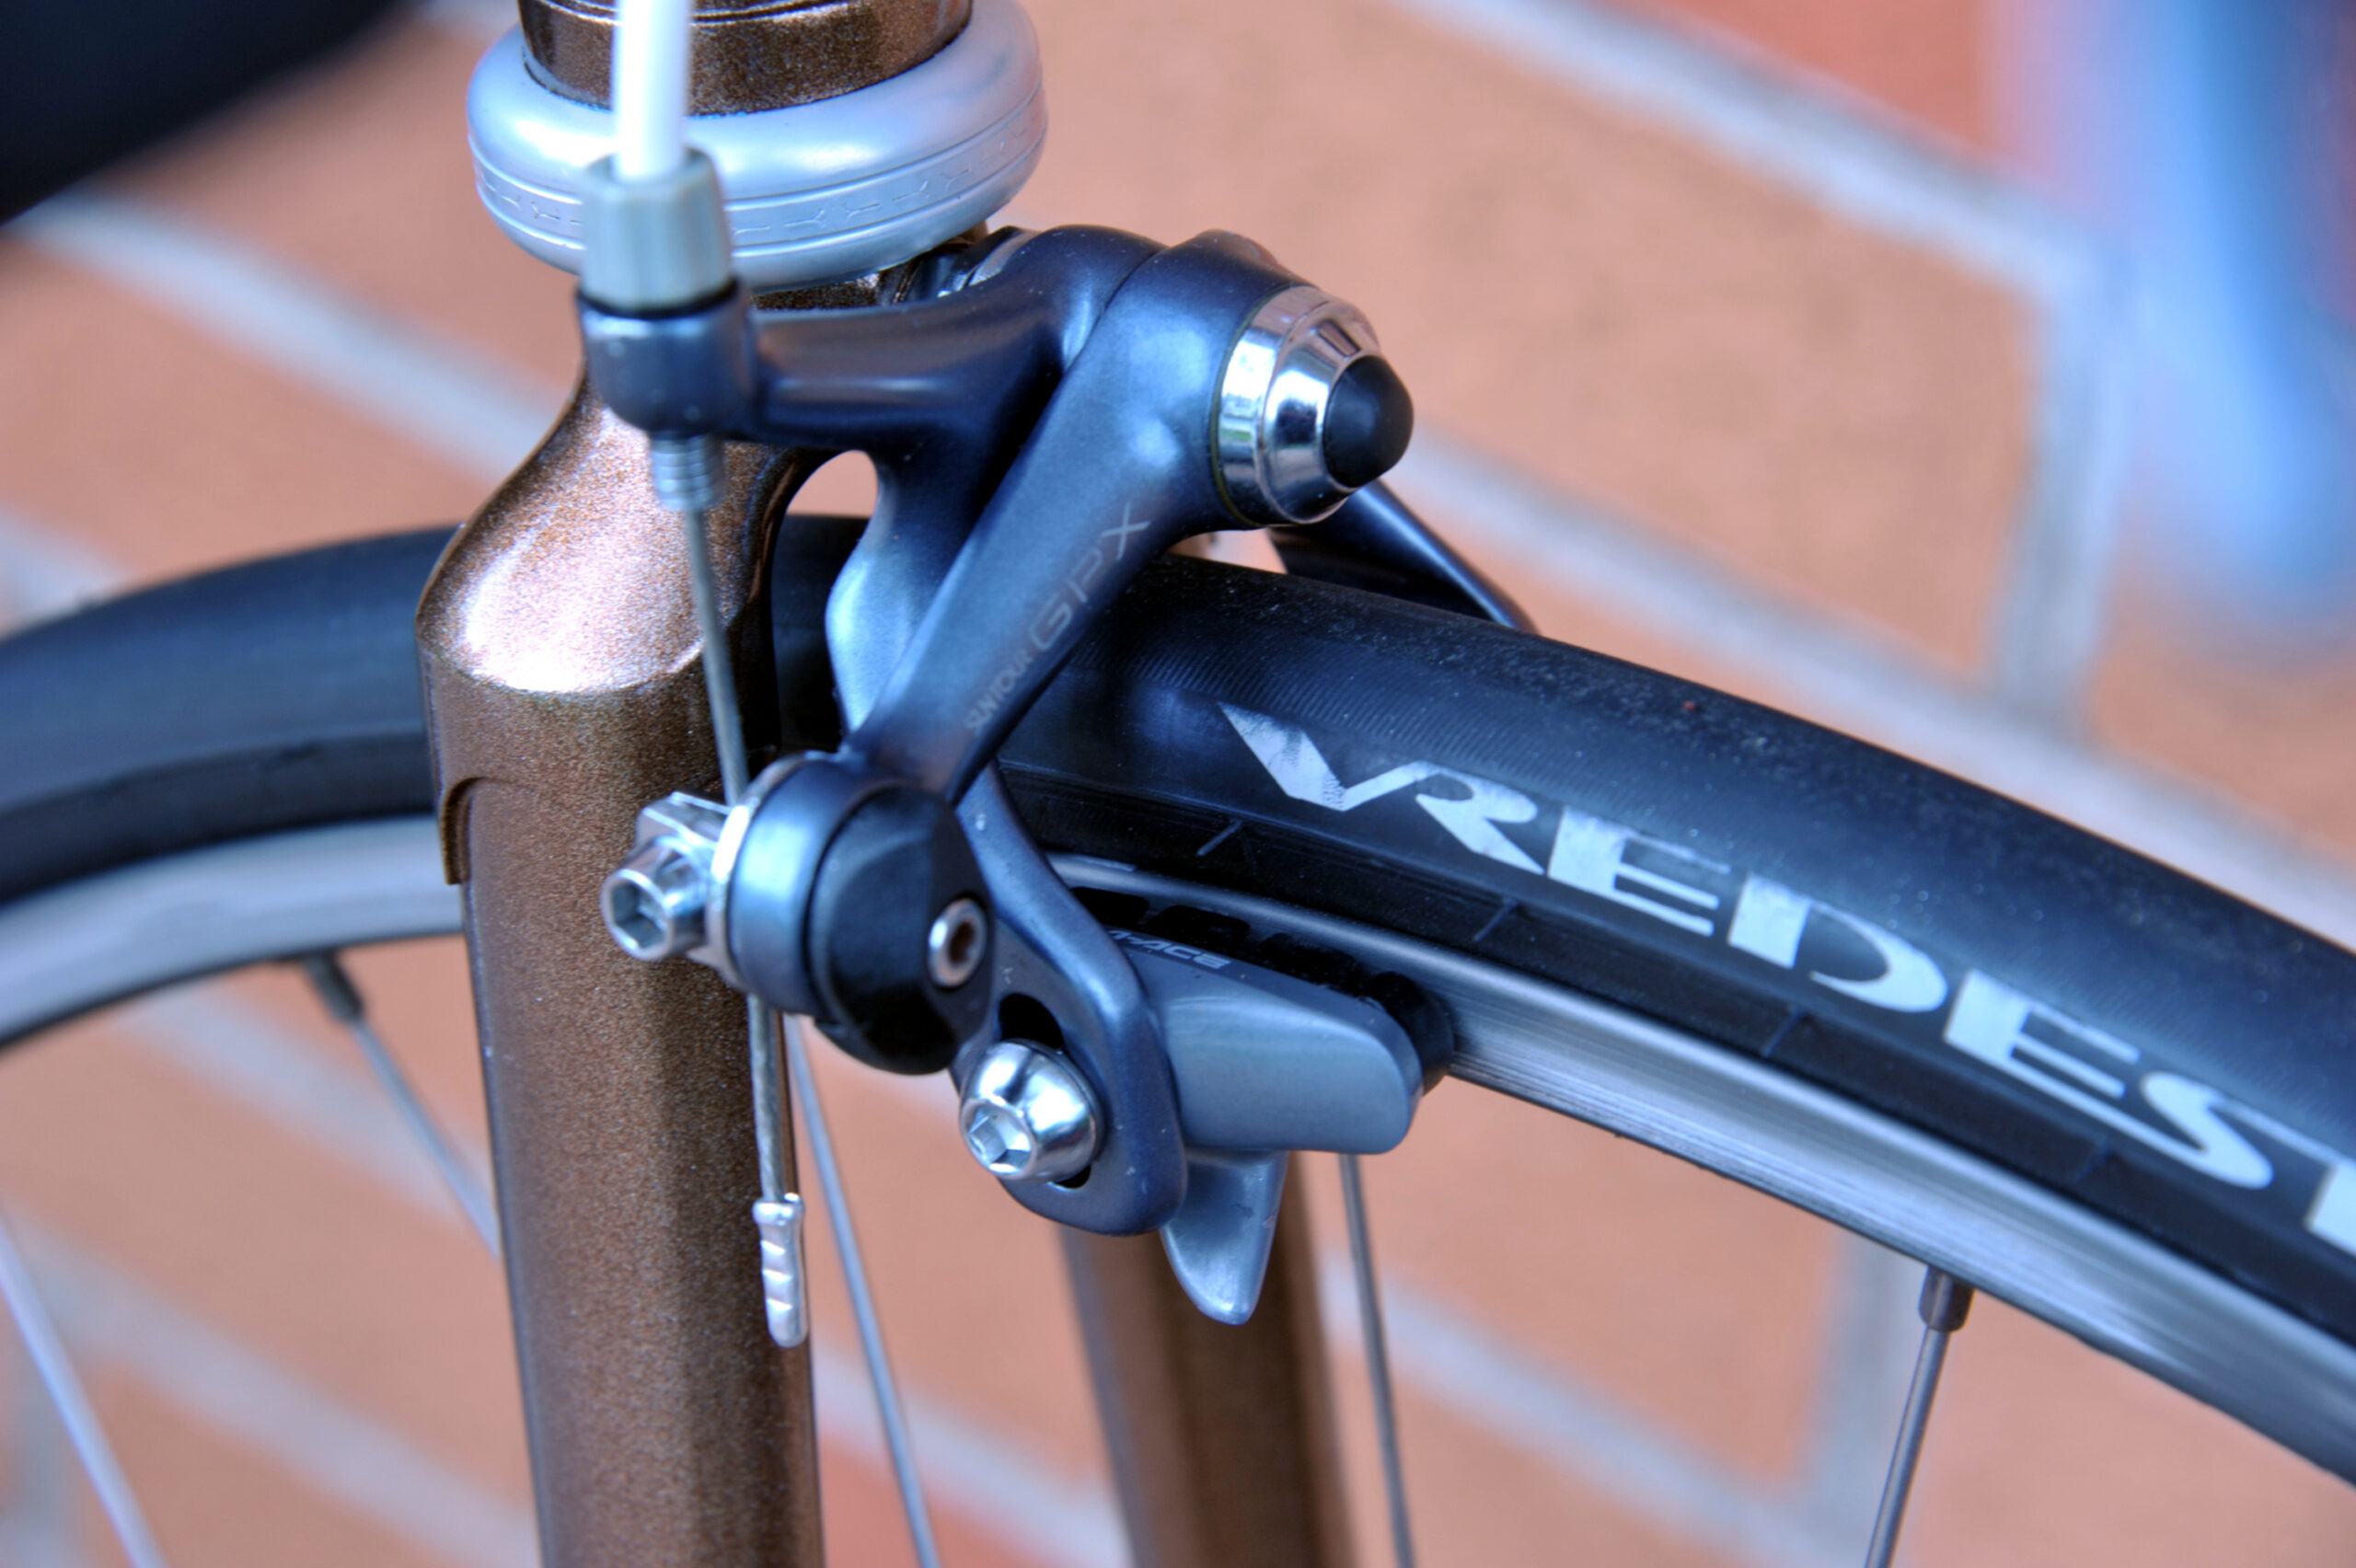

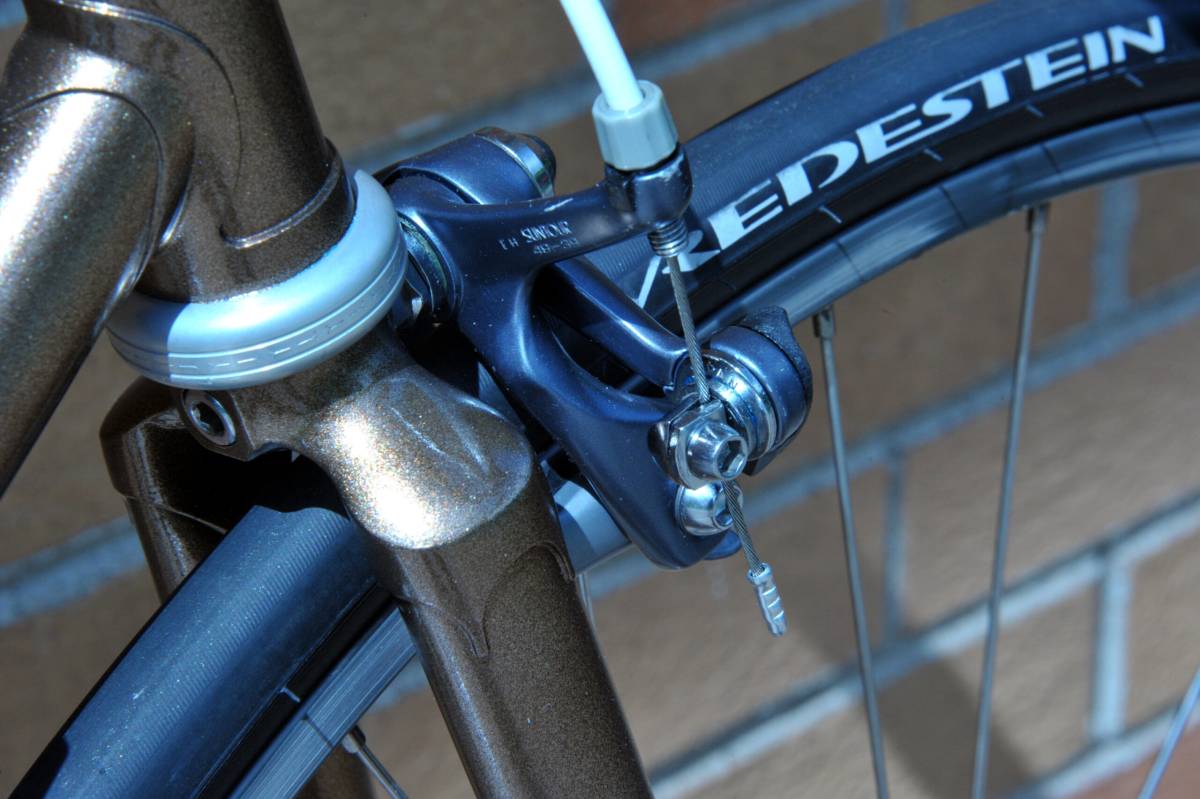
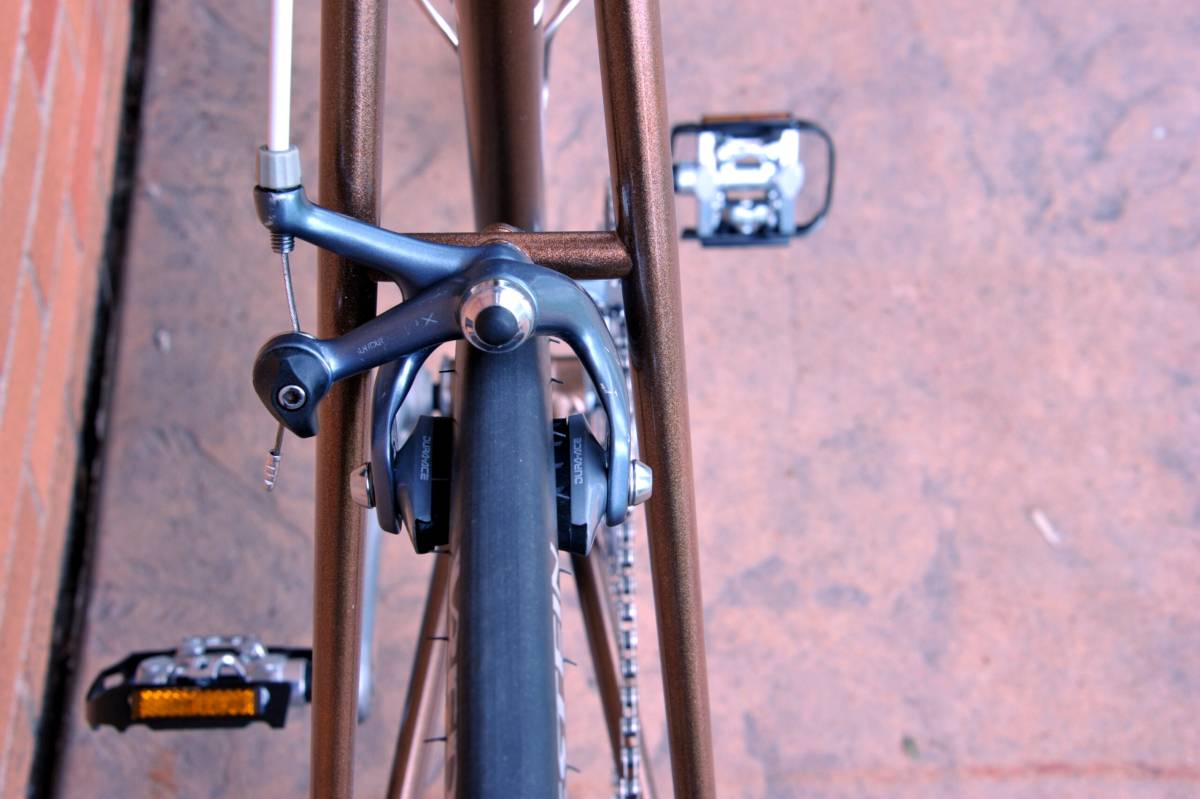
The SunTour GPX brakes were caked with road grime and the quick-releases were seized. To renew them, the brakes were completely disassembled. The helical caliper springs were given a fresh coat of grease; quick-release ratcheting mechanisms were similarly lubricated; the pivot bolts and nuts were polished; rubber bolt covers and adjusting barrels scrubbed. The brake calipers were then reassembled and adjusted. New Shimano Dura-Ace (BR-7400) brake shoes and pads were installed: not OEM for this bicycle, but they work well just the same.
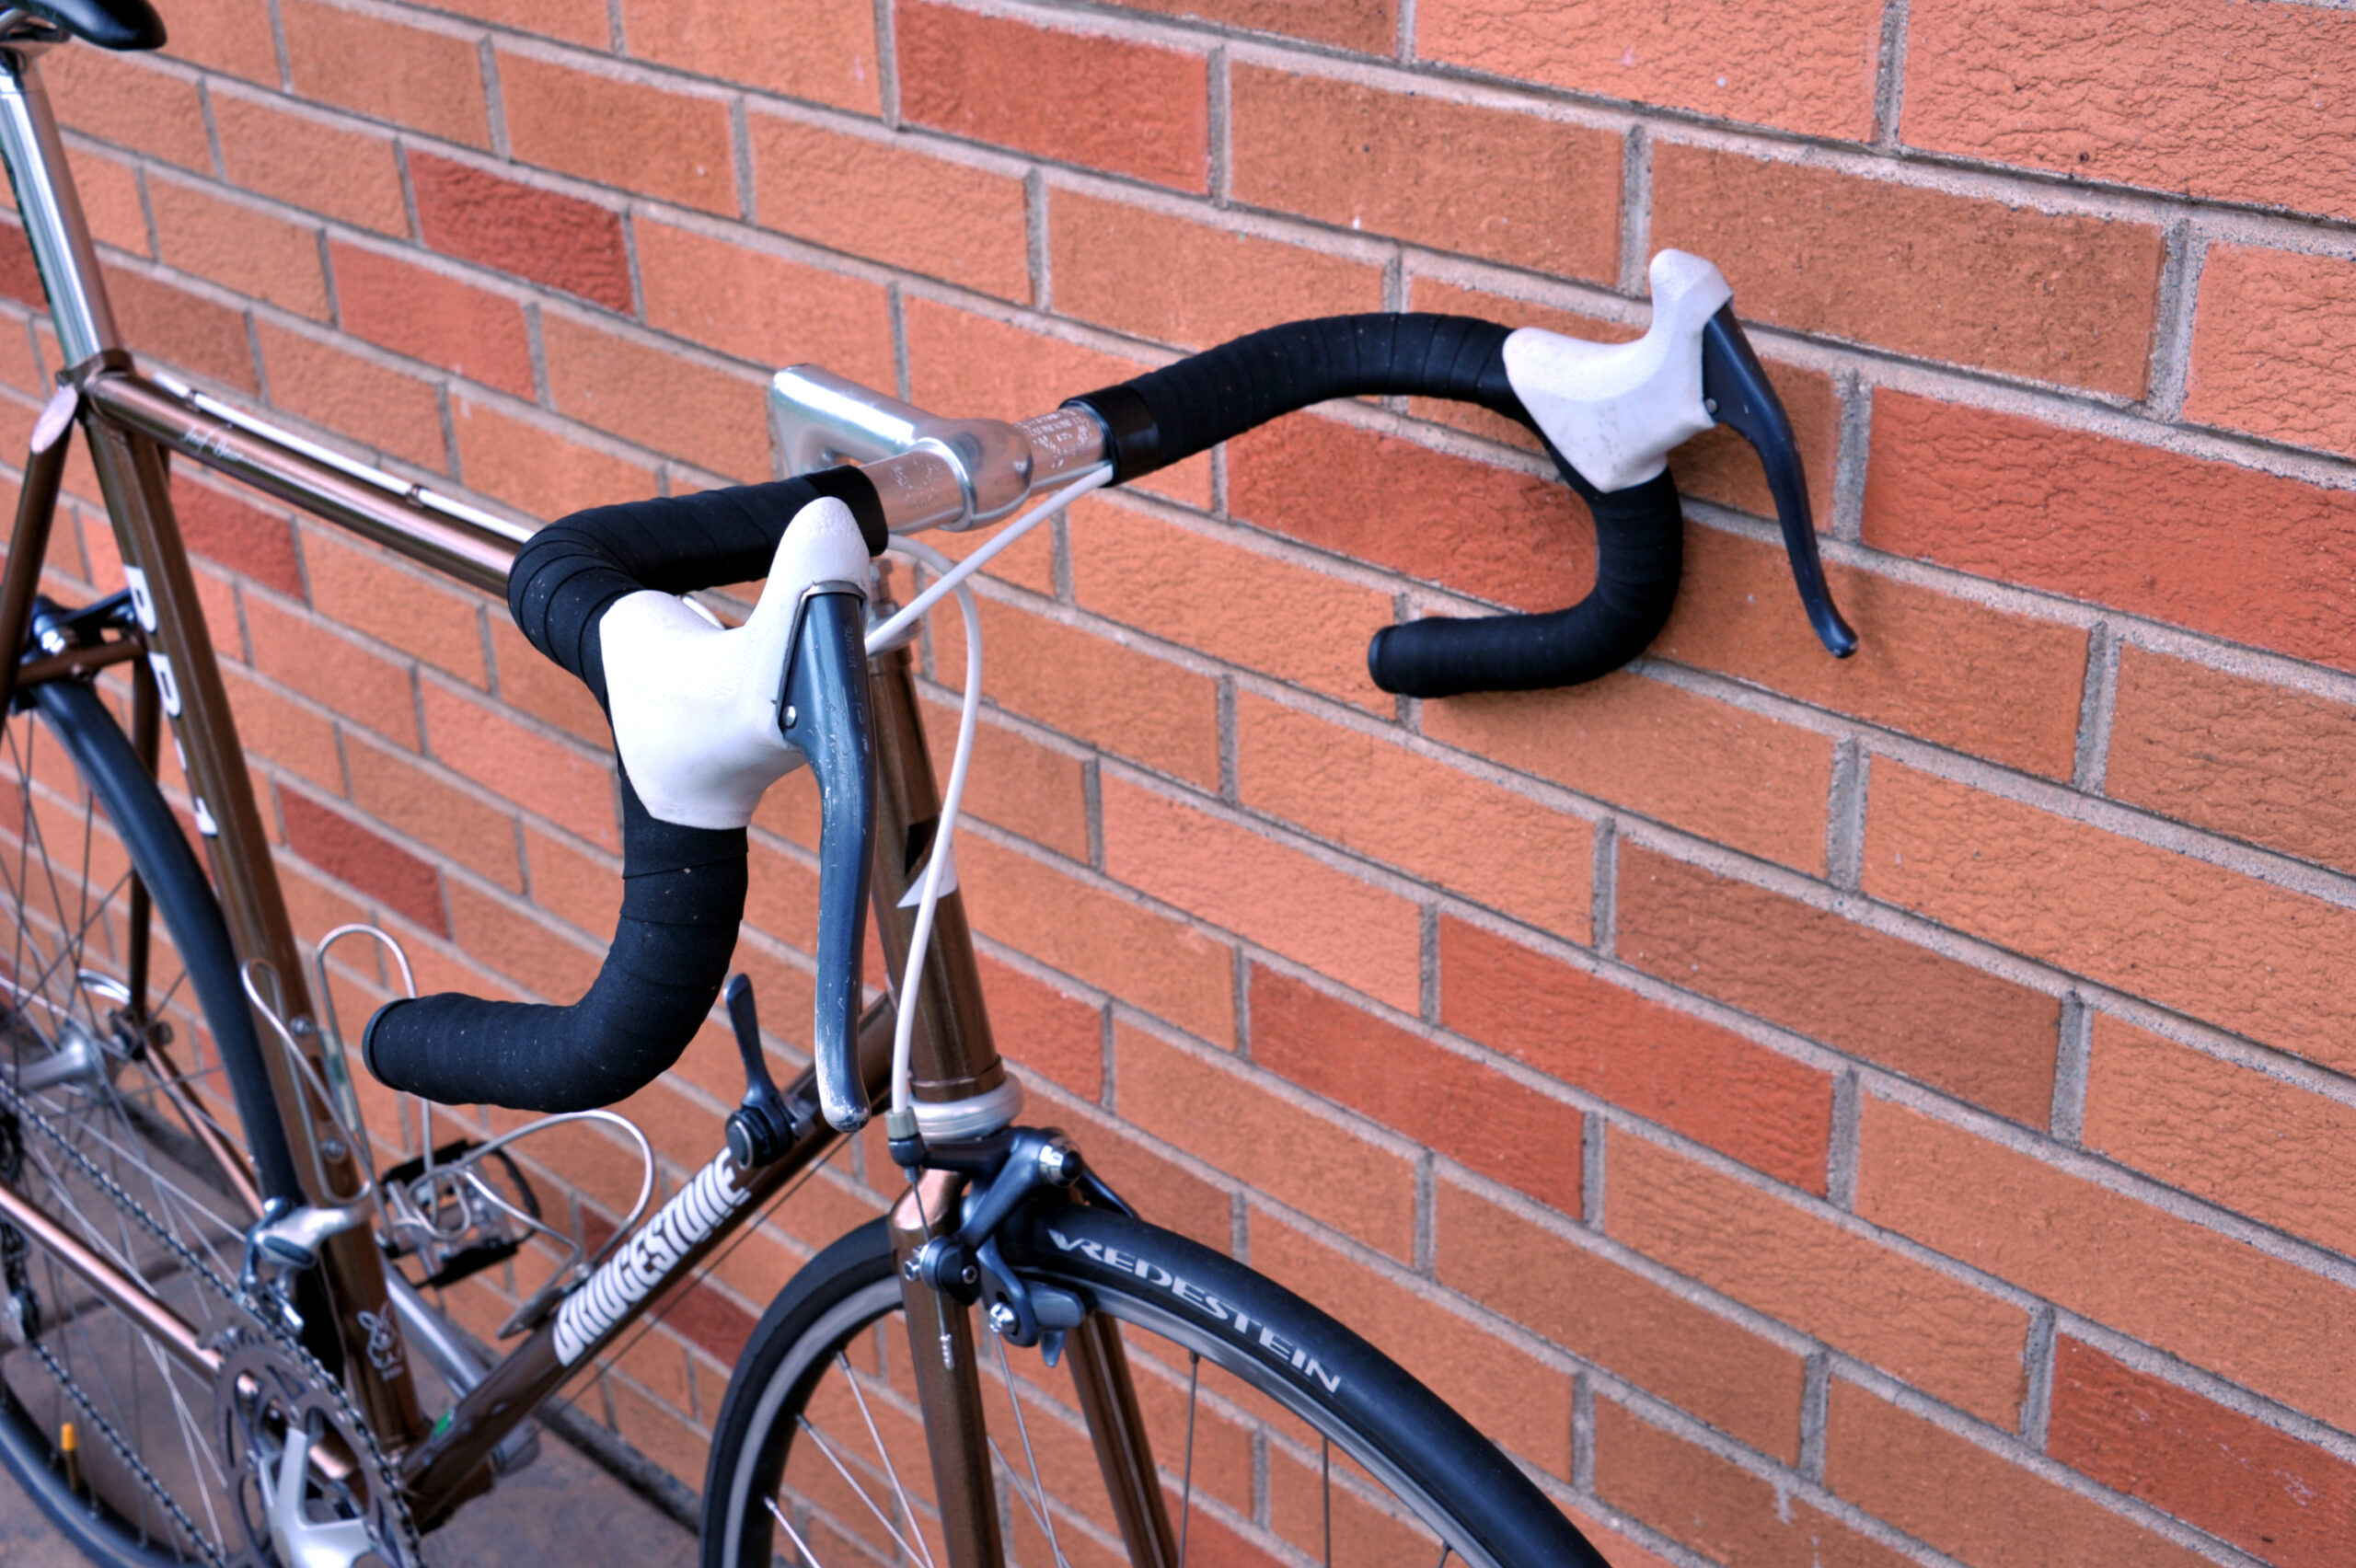
The brake levers were completely disassembled for cleaning, the brake hoods disgusting beyond compare. The brake hoods were washed and degreased, before being soaked in bleach for two days to remove most (not all) of the mold and stains: they are now mostly white again. Keep your bicycles clean, people! And your hands cleaner.

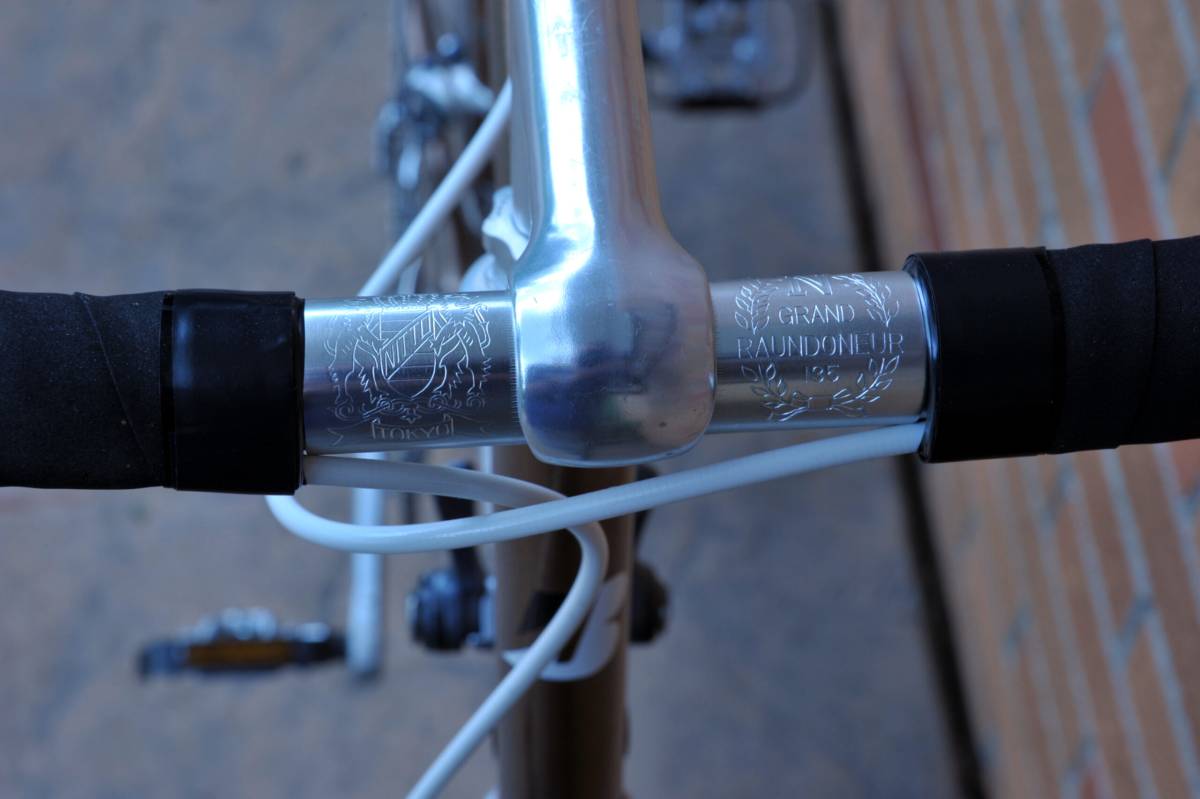
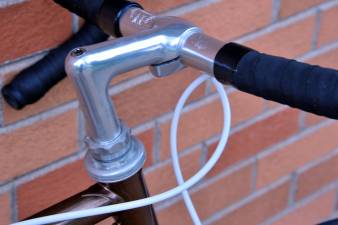
The quill stem was so terribly gouged where it met the steerer that I didn’t feel comfortable reusing it, for safety reasons. Serendipitously, I had the same make, model, and suitable length of stem in my spares stash, but in good condition. A bit of metal polish brightened it up. The handlebars were too narrow (39cm) for Jo, so they were replaced with new, 45/42cm Nitto “Raundoneur” (B136AA) handlebars. Definitely not original equipment, but certainly suitable and very comfortable. I used black Bike Ribbon synthetic cork tape to wrap the handlebars. A set of period-correct Velox rubber (but not original to the RB-1) plugs finished off the steering controls.
All brake cables were replaced with Shimano stainless steel cables. The brake cable housings were replaced with a delrin-lined, white Velo-Orange housings.
The cheap, steel rattrap pedals were replaced with donated (Jo says, “Thanks, mom!“), good quality WellGo platform/SPD pedals, so Jo has the option to use his sneakers, boots, or cycling shoes.
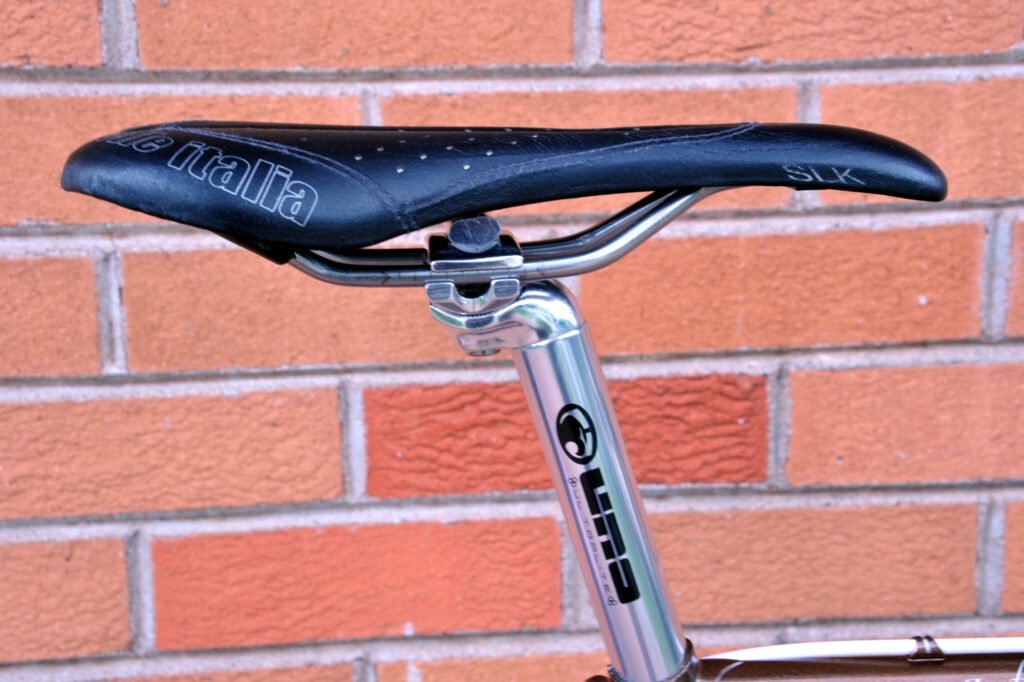
The badly damaged SR La Prade seatpost was scrapped. I found an inexpensive, good quality Kalloy Uno seatpost in the correct diameter (26.8mm). Looks nice, too.
The saddle on the RB-1 was originally an Avocet racing saddle. Sadly, that saddle had been replaced long ago by the original owner. The replacement was a too-wide, extra-padded thing unsuitable for any length of time in the saddle. Jo had been riding Italian leather (Selle Italia SLK) on his single-speed for several years now, so it would have been painful to put his bum on anything less…I just happened to have another just like it in my used parts stash. After all, once you find a comfortable saddle, it’s imprudent to risk saddle sores to try something else.
Here’s the full parts list:
| Part | Description |
|---|---|
| Headset | Shimano 600EX (HP-6200) - Al alloy, silver, 1" (26.4mm CRS), threaded |
| Stem | SR Aerox - Al alloy, silver, 80mm |
| Handlebars | Nitto Randonneur (B136AA) - Al alloy, silver, 45/42cm x 25.4mm |
| Handlebar tape | Bike Ribbon - synthetic cork, black |
| Seatpost | Kalloy Uno - Al alloy, silver, 26.8mm ø, set-back |
| Saddle | Selle Italia SLK - leather/CrMo, black |
| Brakes | SunTour GPX - Al alloy, side-pull, dark grey |
| Brake cable | Shimano - stainless steel |
| Brake shoes | Shimano Dura-Ace (BR-7400) - rubber/Al alloy, black |
| Brake cable housing | Velo-Orange - Fe alloy/plastic, white |
| Brake levers | SunTour GPX - Al alloy, dark grey/white, aero |
| Shift levers | SunTour GPX - Al alloy, down-tube, friction/indexed |
| Shift cables | Velo-Orange - stainless steel |
| Shift cable housing | Velo-Orange - Fe alloy/plastic, white |
| Dérailleur – front | SunTour GPX - Al/Fe alloy, dark grey/chrome, clamp-on |
| Dérailleur – rear | SunTour GPX - Al alloy, long cage, dark grey/silver |
| Bottom bracket | SunTour GPX - Fe alloy, 114mm, JIS square-taper, silver |
| Crankset | SunTour GPX - Al alloy, 170mm, dark grey/silver |
| Chainwheel | SunTour GPX - Al alloy, 42-tooth, dark grey |
| Chainwheel | SunTour GPX - Al alloy, 52-tooth, dark grey |
| Chainwheel bolts | SunTour GPX - Fe alloy, chromed |
| Pedals | WellGo - Al alloy, silver/black, platform/SPD |
| Chain | KMC - Fe alloy, 3/32", silver, 5/6/7/8-speed |
| Hub – front | SunTour GPX - Al alloy, 32-hole, dark grey |
| Hub – rear | SunTour GPX - Al alloy, 32-hole, dark grey |
| Freewheel | Shimano - Fe alloy, silver/black, 13-15-17-19-21-24-28T |
| Rims | Wolber GTX - Al alloy, 32-hole, 700C x 19mm, grey |
| Rim tape | FSA - plastic, red |
| Tires | Vredestein Fortezza - rubber/kevlar, black, 700C x 25mm |
| Inner tubes | Michelin - butyl, black, 700C x 18-25mm |
| Spokes | Wheelsmith (Asahi) - stainless, 14ga., silver, 3x lacing |
Assembly
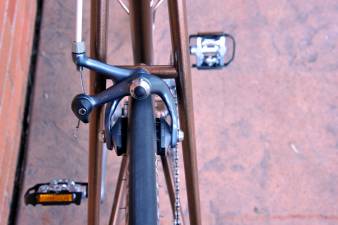
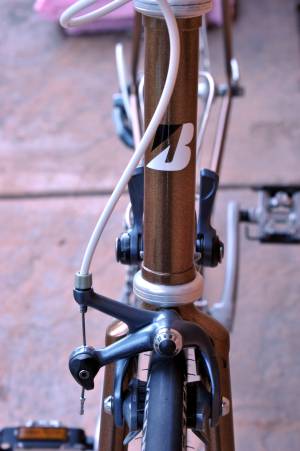
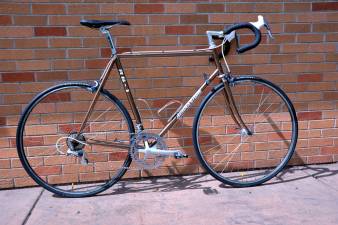
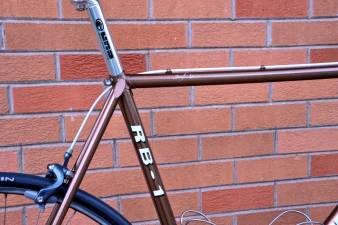
Assembly took place after the paint had cured and all the necessary parts had been renovated (or replaced, as needed). Everything went together without any issues. I think it turned out well:



























Postscript
A classic, sought-after, vintage steel bicycle now fit again for many more decades and thousands of miles of riding, and suitable for new or more modern parts when these wear out.
The best thing about it…Jo really likes it.