
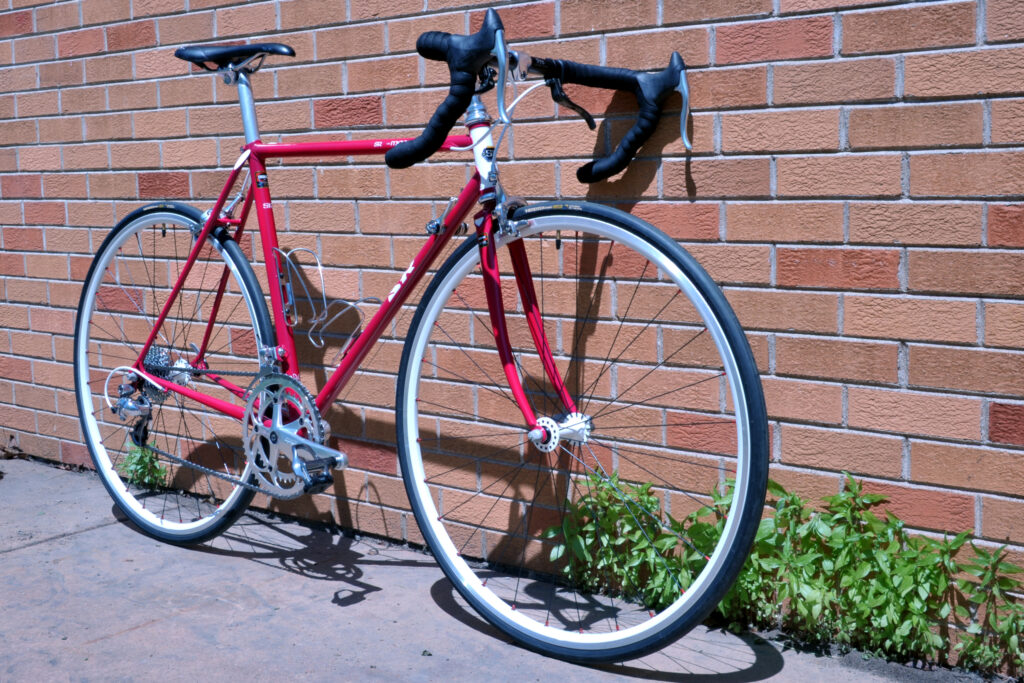

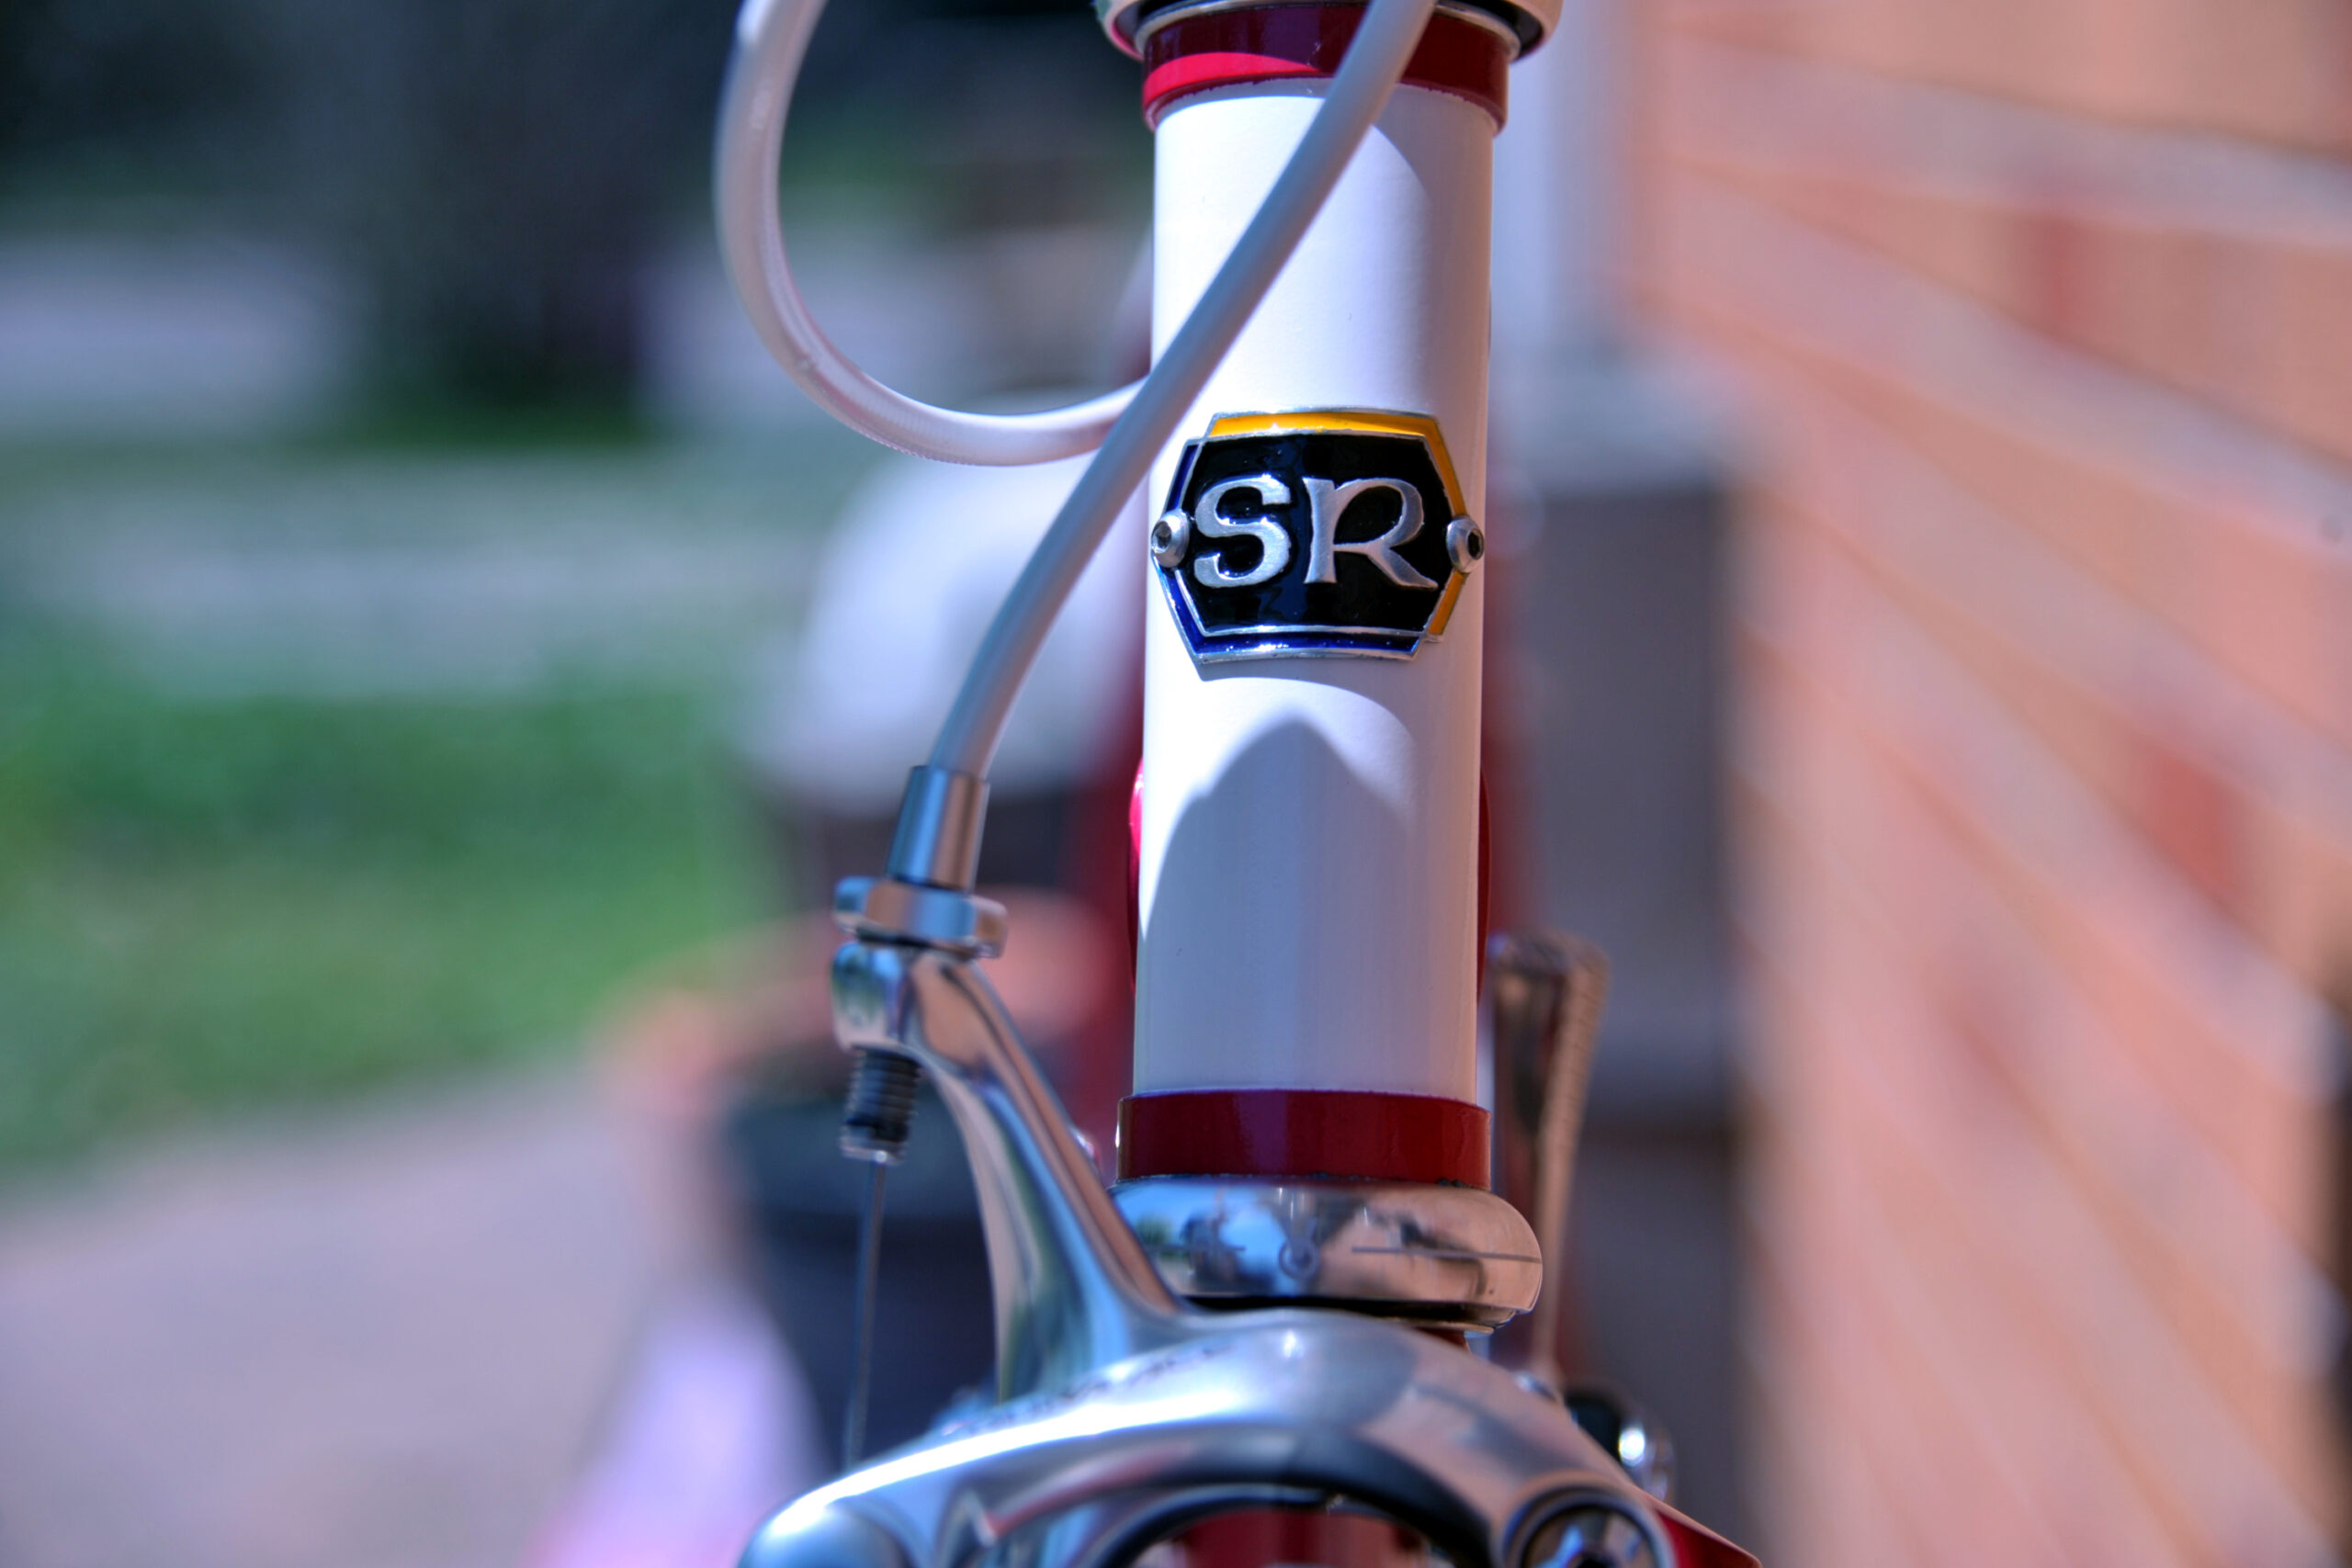
Renovating a relatively unknown brand of top-of-the-line, high-quality steel frame from the 1980s: SR Maxima. Modified and refitted with relatively modern components. A “resto-mod” in the contemporary idiom, but I prefer the label “neo-retro” (to wit: revived nostalgia). This is a long-winded, in-depth account of my first effort at renovating an old, second-hand, production steel frame. It’s a somewhat tedious read, so I won’t be offended if you skip the words and just look at the photos.
This project is not a period-correct restoration. I made no attempt to restore the frame or the bicycle to original, like-new factory specifications or to keep it period-correct.
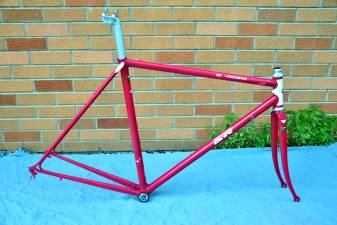
Rather, this is a renovation meant to bring new life to an otherwise un[der]appreciated frame: the frame is restored to original factory condition (fit, function, and finish). In addition, the rear triangle is respaced to accept 130mm rear axles; braze-ons are updated to be compatible with semi-current standards (will also work with mechanical, integrated brake/shift levers); rear brake cable routing is adapted to complement aero brake cable routing standards of the last forty years, but works well with traditional, non-aero routing.
This bicycle is meant to be ridden and enjoyed, but ridden and enjoyed as if brand new. The original SR Maxima was outfitted with the top-of-the-line SunTour Superbe Pro group. I could have outfitted it the same way with a bit of time, effort, and more money than I cared to unnecessarily spend on this project. However, I did attempt to match or exceed the quality and function of the SunTour Superbe Pro group of the time, but using more contemporary parts.
Although compatible with more modern components, this bicycle is fitted with mostly new, old-stock components more than a decade old, selected from those I had on-hand. Yes, I tried to make it beautiful as well, and it has many “retro” aspects, but my time machine is stuck in “forward” so I have to make do with the parts and resources I have. Should I find myself somehow back in the 1980s (timeslip?) with this bicycle, I’ll just pedal my anachronistic, not-period-correct bicycle faster to avoid capture by the temporally local men-in-black.
Background
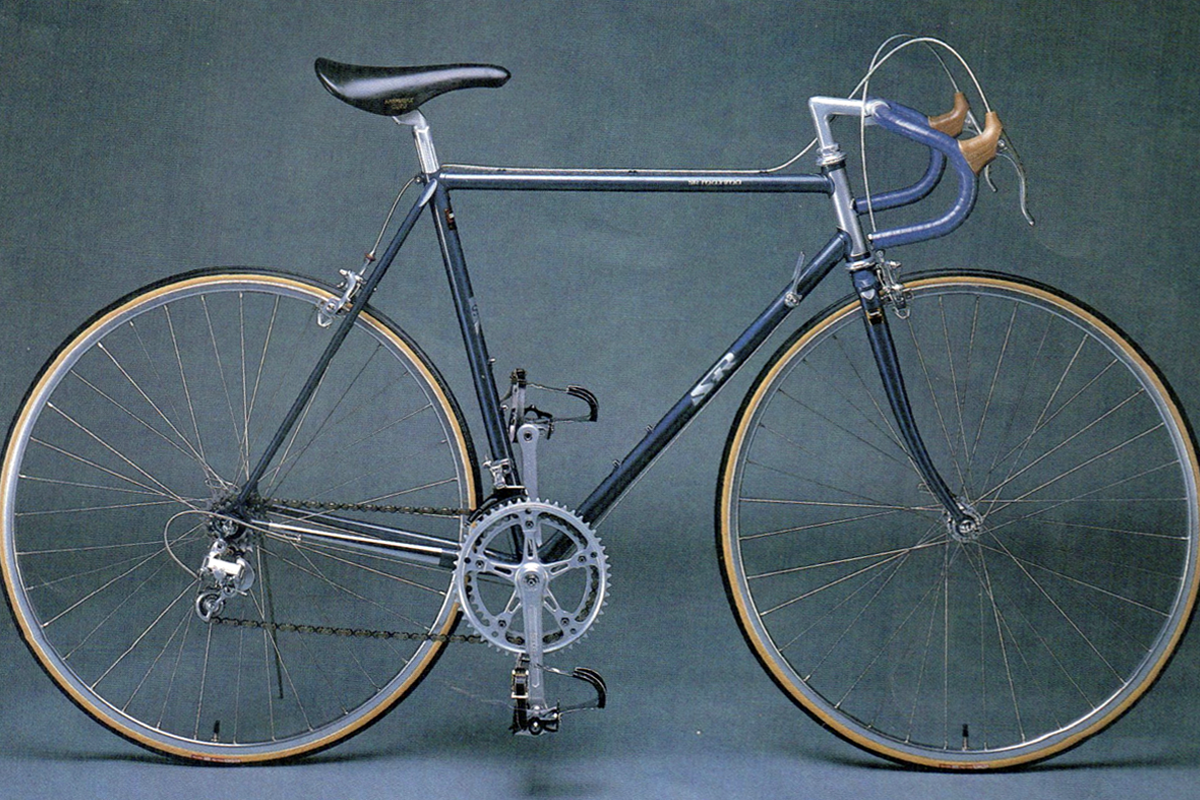
The SR Maxima was a top-of-the-line racing bicycle equipped with the SunTour Superbe Pro group. SR Bicycles was a bicycle brand warehoused and headquartered at Chula Vista, California, during the 1970s and 1980s. SR Bicycles imported and sold a range of high-quality bicycles at very reasonable prices: racing, touring, sport, exercise, commuting, trail, BMX. The bicycles were imported to the United States of America under the SR Bicycles name by Windsor Enterprises, Inc., to the Chula Vista location.
The low- to mid-range chrome-molybdenum steel frames were built by Miki of Sakai, Japan; the top-end SR Maxima frame was built by Araya Industrial Company, Limited, of Osaka, Japan; the bicycles were assembled by Sakai Export and fitted with Japanese components from SunTour, Shimano, Sugino, and Sakae Ringyo (also “SR” Sakae Ringyo, not related) for SR Bicycles, and then shipped to SR Bicycles in California for distribution and sale.
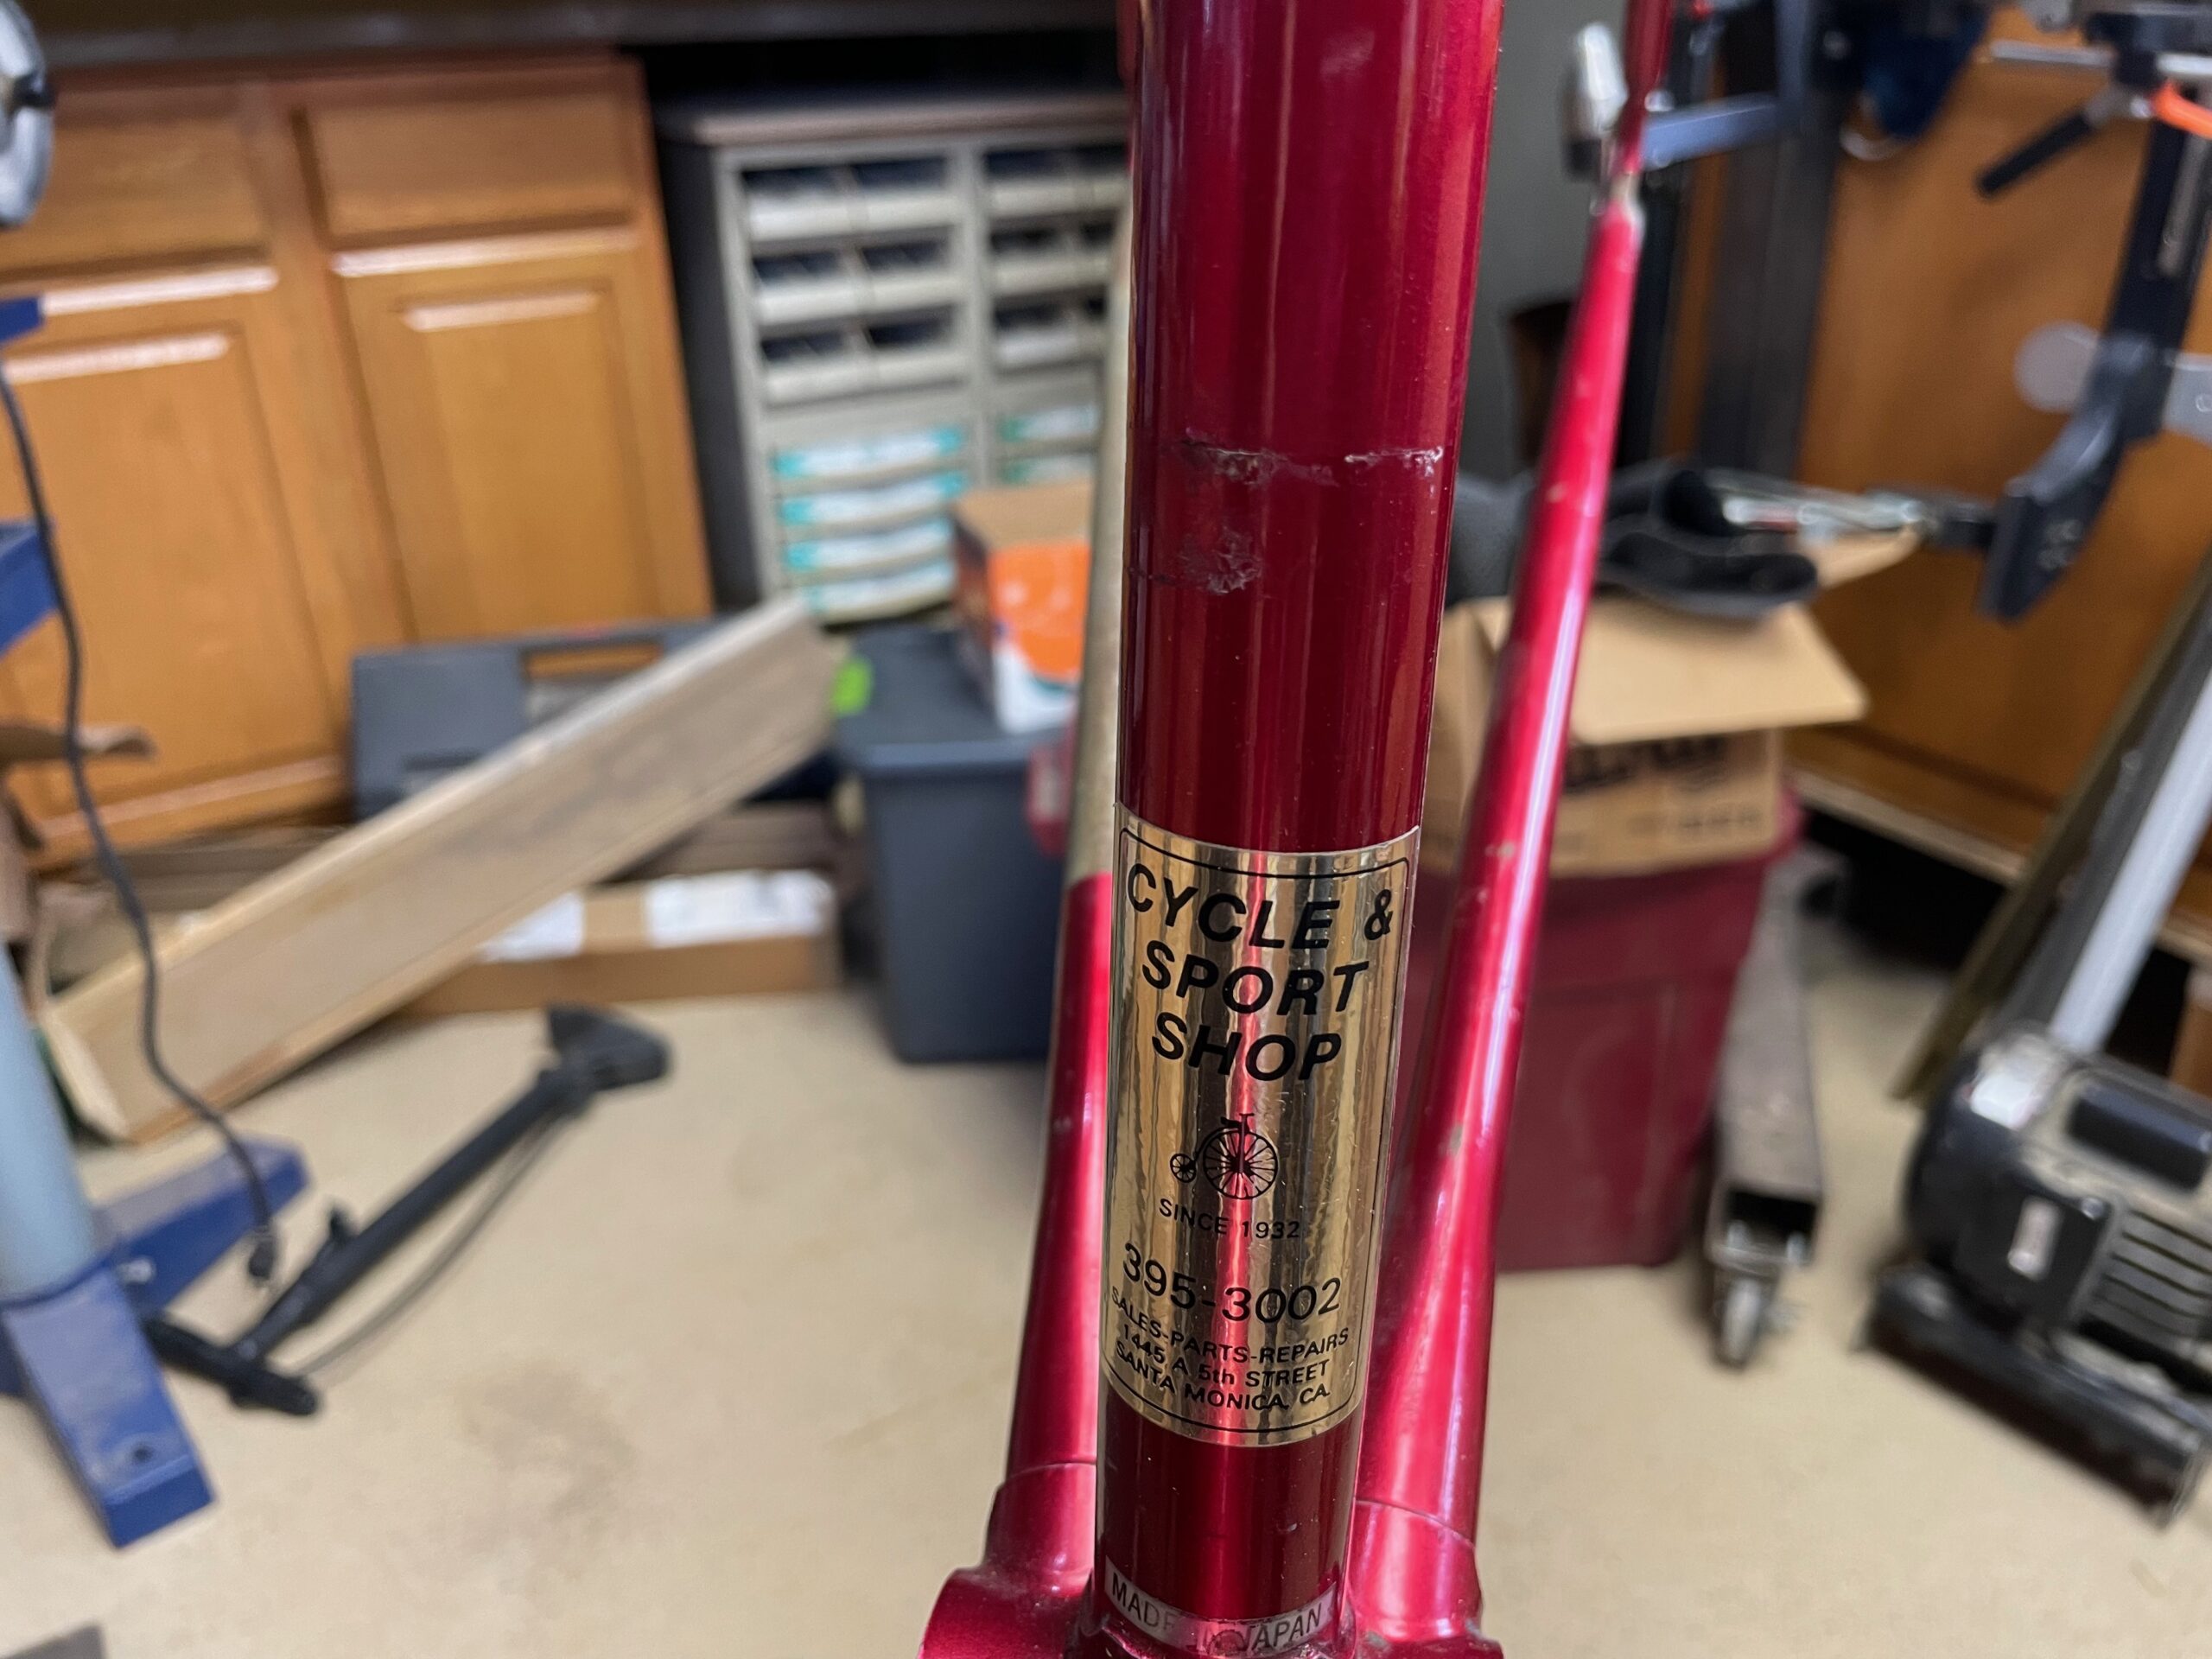
That is the total of what I have been able to gather and reduce to these few paragraphs from a variety of sources: hearsay, catalogs, my own vague recollections and those of third-parties. The two frames with which I have direct experience were age-verified against the comprehensive General Asian Serial Number Guide for Classic Japanese Bicycles. One of these (SR Semi-Pro Racing, 1978) was made in Japan by Miki; the other (the subject of this renovation) was manufactured in Japan by Araya in 1983. Their serial numbers seem to correlate well with the pieced-together history.
My personal experience with SR was having ridden my brother’s SR Semi-Pro Racer during the early 1980s (which he still owns today) and seeing the other SR models at the local bike shop during the late 1970s and early 1980s. In my memory, it was always a “best value” bicycle brand (its entire line-up) compared to similar offerings from well-known companies (like Kabuki, Miyata, Schwinn, Raleigh, or Motobecane) during the time when I first started dreaming about owning a “top-end” bicycle.
History
I came across a 40+ year-old SR Maxima frameset on eBay by chance. It evoked some nostalgia (related to riding my brother’s SR Semi-Pro Racer, which is very nimble and still a pleasure to ride) and some presumptive sadness at the thought that this perfectly wonderful frame might end up thrown away if it didn’t sell. I had to do something to rescue it from the [imagined] landfill or, worse yet, prevent it being [imagined] up-cycled into a stool or wall lamp. Also, I happened to have many spare parts that could suit it well [trying to justify buying it…] – parts I might not otherwise ride, sell, or give away. So, I finally purchased the frame on eBay after several months of hesitation. Thus, I found myself with a renovation project on my plate.
The primary goal of this project was to gain more practical experience and hone my skills with bicycle frame painting, which is just as much fun as building frames (and requires just as much finesse and attention to detail). Plus, colors!
That eBay SR Maxima frameset is the subject of this renovation. By the time I acquired it, the frameset was already 42 years old and stripped of all parts by the seller, except the headset. Photos on eBay showed that the fork and stays had pitted chrome; the frame and fork had some chipped paint and surface rust. It was purchased with an eye to renovation, in an attempt to give it another 40 years of life. With proper maintenance, a steel frame can last several lifetimes, which is the secondary goal of this project: my reward would be a fun-to-ride, renovated bicycle.

Evaluation & Prognosis
The eBay photos conveyed a sense of the past life it had led, but not enough to be certain the frame was still road-worthy. I was a bit worried: what if the frame could not be salvaged? I didn’t have long to worry, though, because I was able to assess its condition for myself: the frame arrived from California ten days after I ordered it, at the end of January, 2025. I was, to quote Jane Austen, “all anticipation”.
The frame was very sturdily packed in a double-wall cardboard box, the tubes safely padded and the fork zip-tied to the frame, also with padding. Upon first inspection, the frame was dirty, and the rust seemed to be nothing more than surface rust.
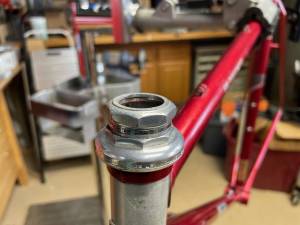
I took the frame into the workshop and did a more thorough visual inspection. There was minimal pitting in the chrome, which looked worse in the eBay photos than in-person. Still, the chrome could not be restored to like-new condition without considerable expense, but I didn’t want any bare chrome showing anyway. The completely dry headset bearing grease suggested that the frame had been unused for several decades. The headset bearing races were heavily Brinelled, so I was going to need a replacement headset.
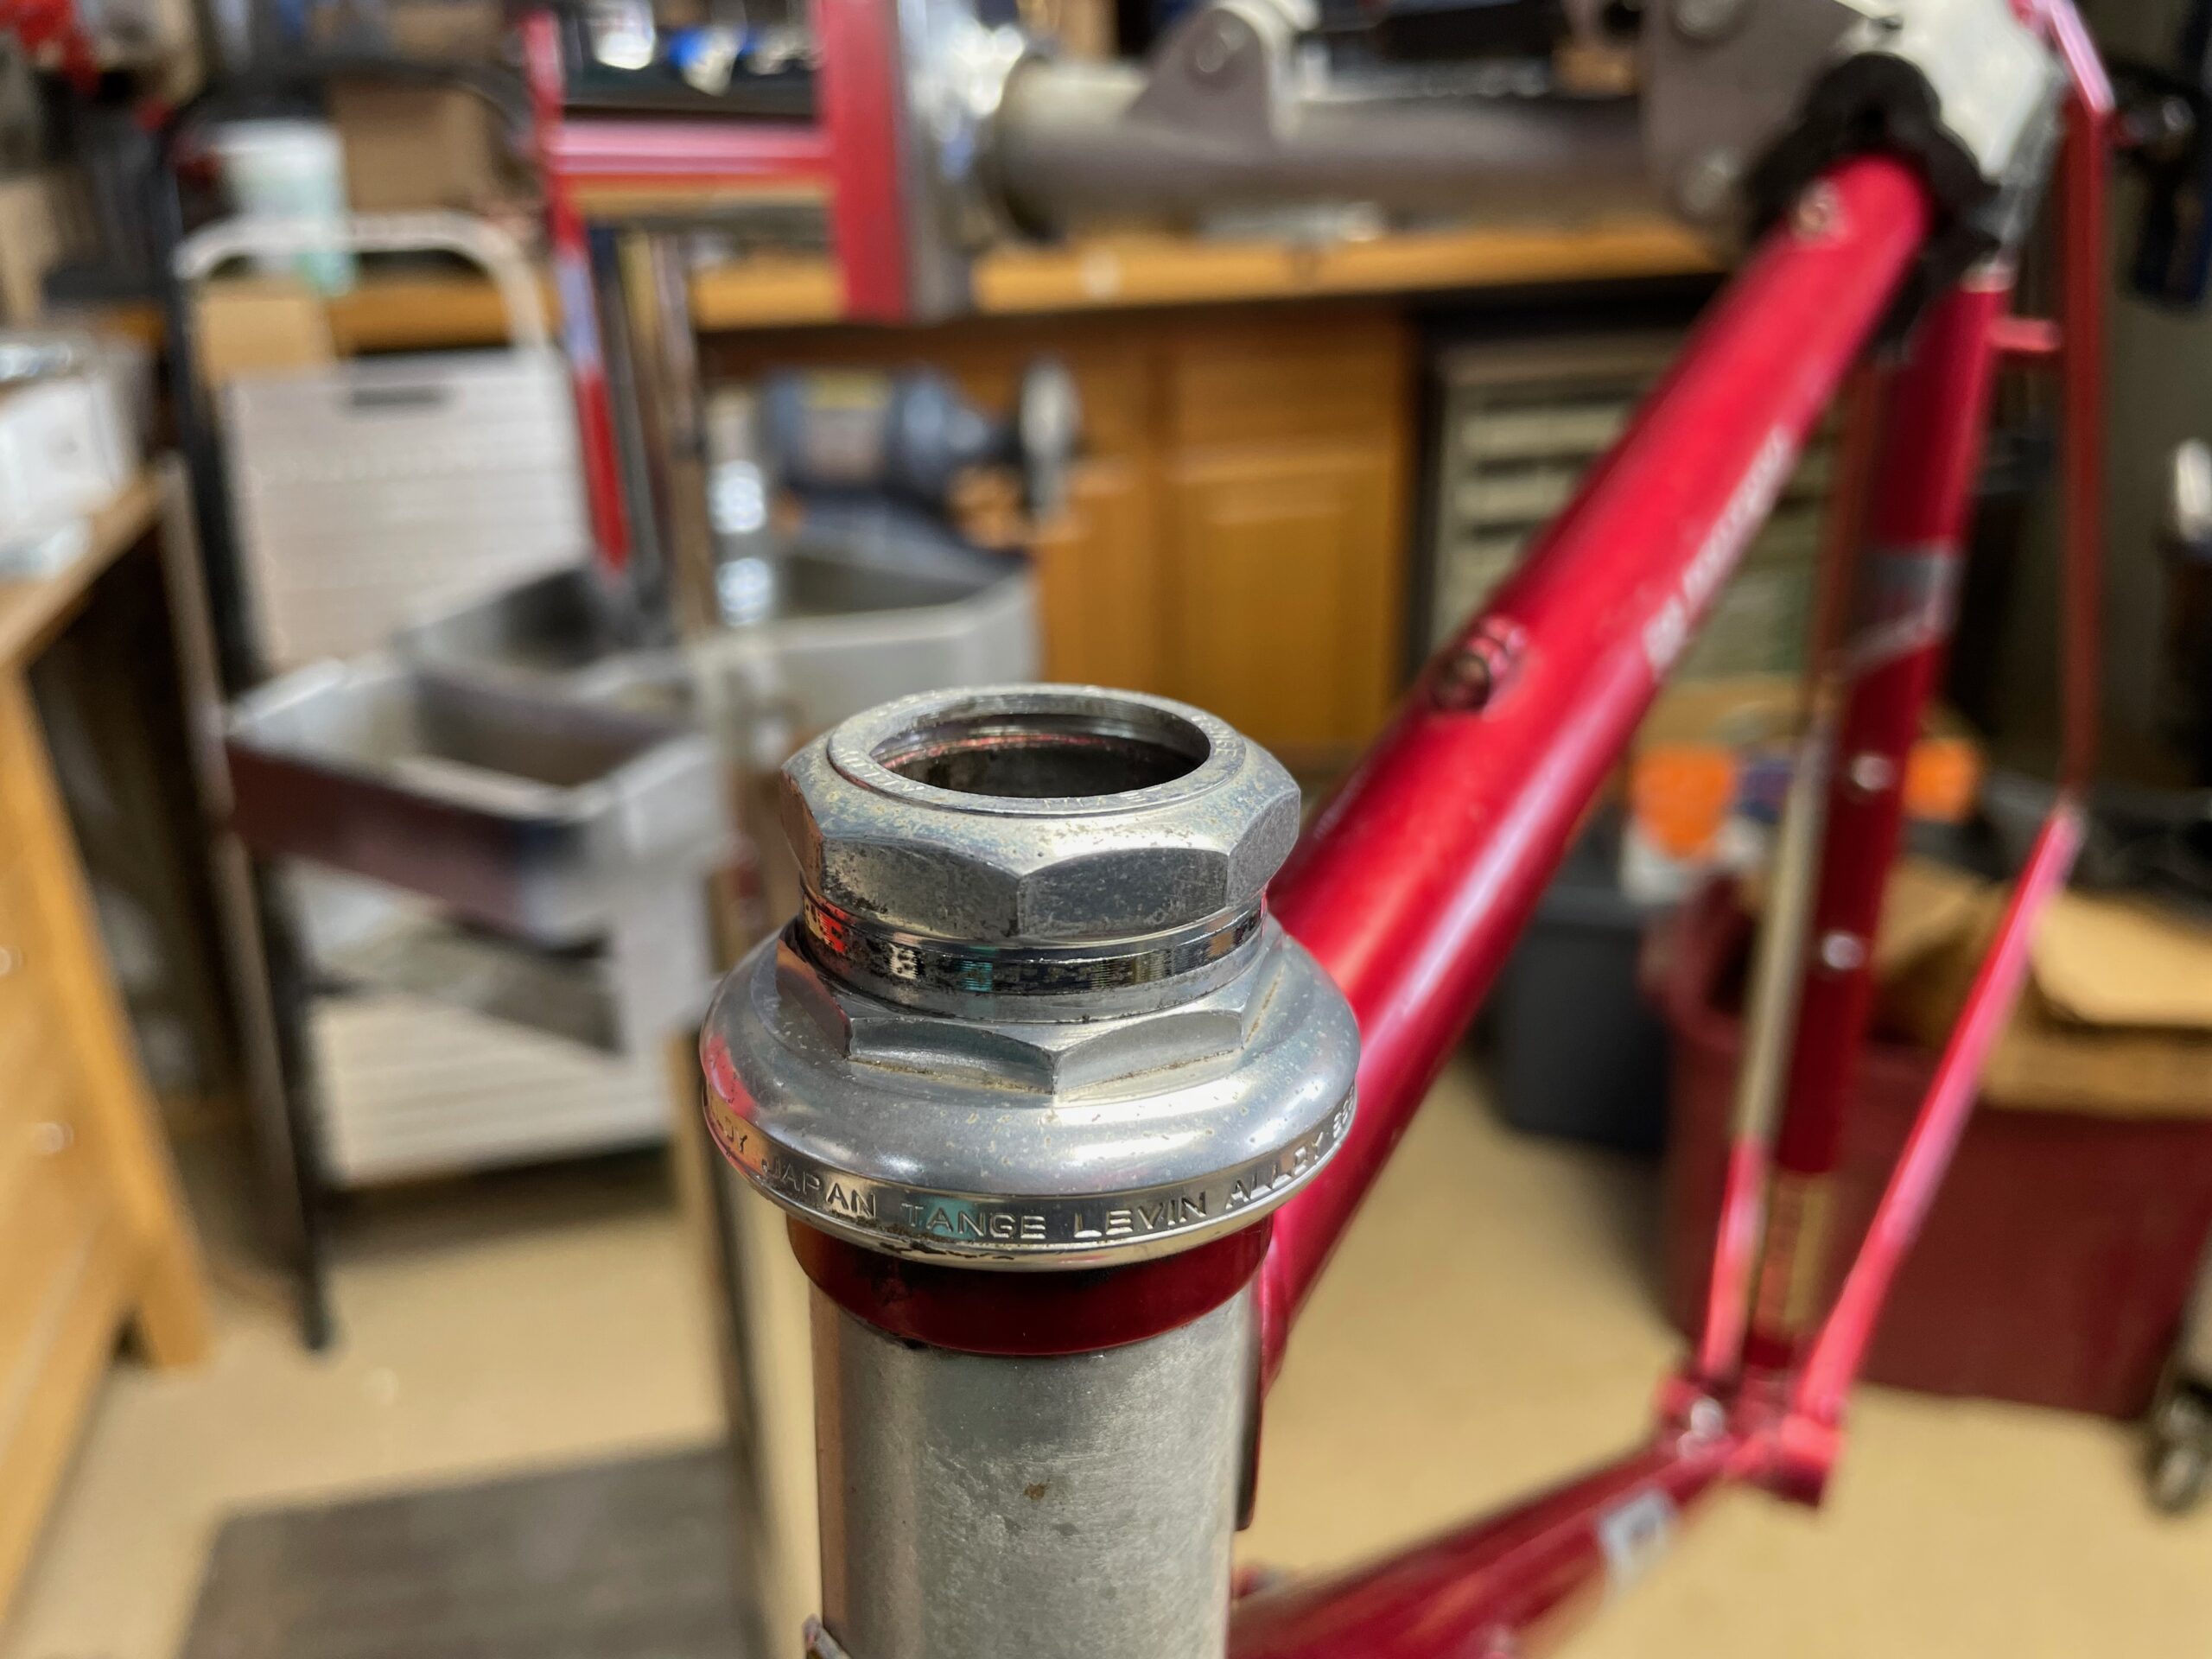
I cleaned out the minimal surface rust (no flaking) in the bottom bracket shell, which told me that the frame had not been subjected to standing water, salt water (sweat), or prolonged rain, and stored in a relatively dry space, despite lacking a drain hole in the bottom bracket shell. My main concern was internal rust at the dropouts, which can be caused by brazing flux (acid) not being properly removed within the tubes, as well as trapped water, both of which work together to eat through steel. Although an imperfect test, careful tapping on the tubes to listen for changes in tone suggested that there was no significant thinning of the tubes from rust.
Visual inspection of the frame and fork did not reveal any cracks, dents, kinks, buckling, or other obvious deformation of the tubes, so it is unlikely the frame was seriously crashed. But, I would verify further with an alignment check on the Bringheli surface plates (frame and fork, separately), just to be sure I hadn’t missed anything that would compromise the frame.
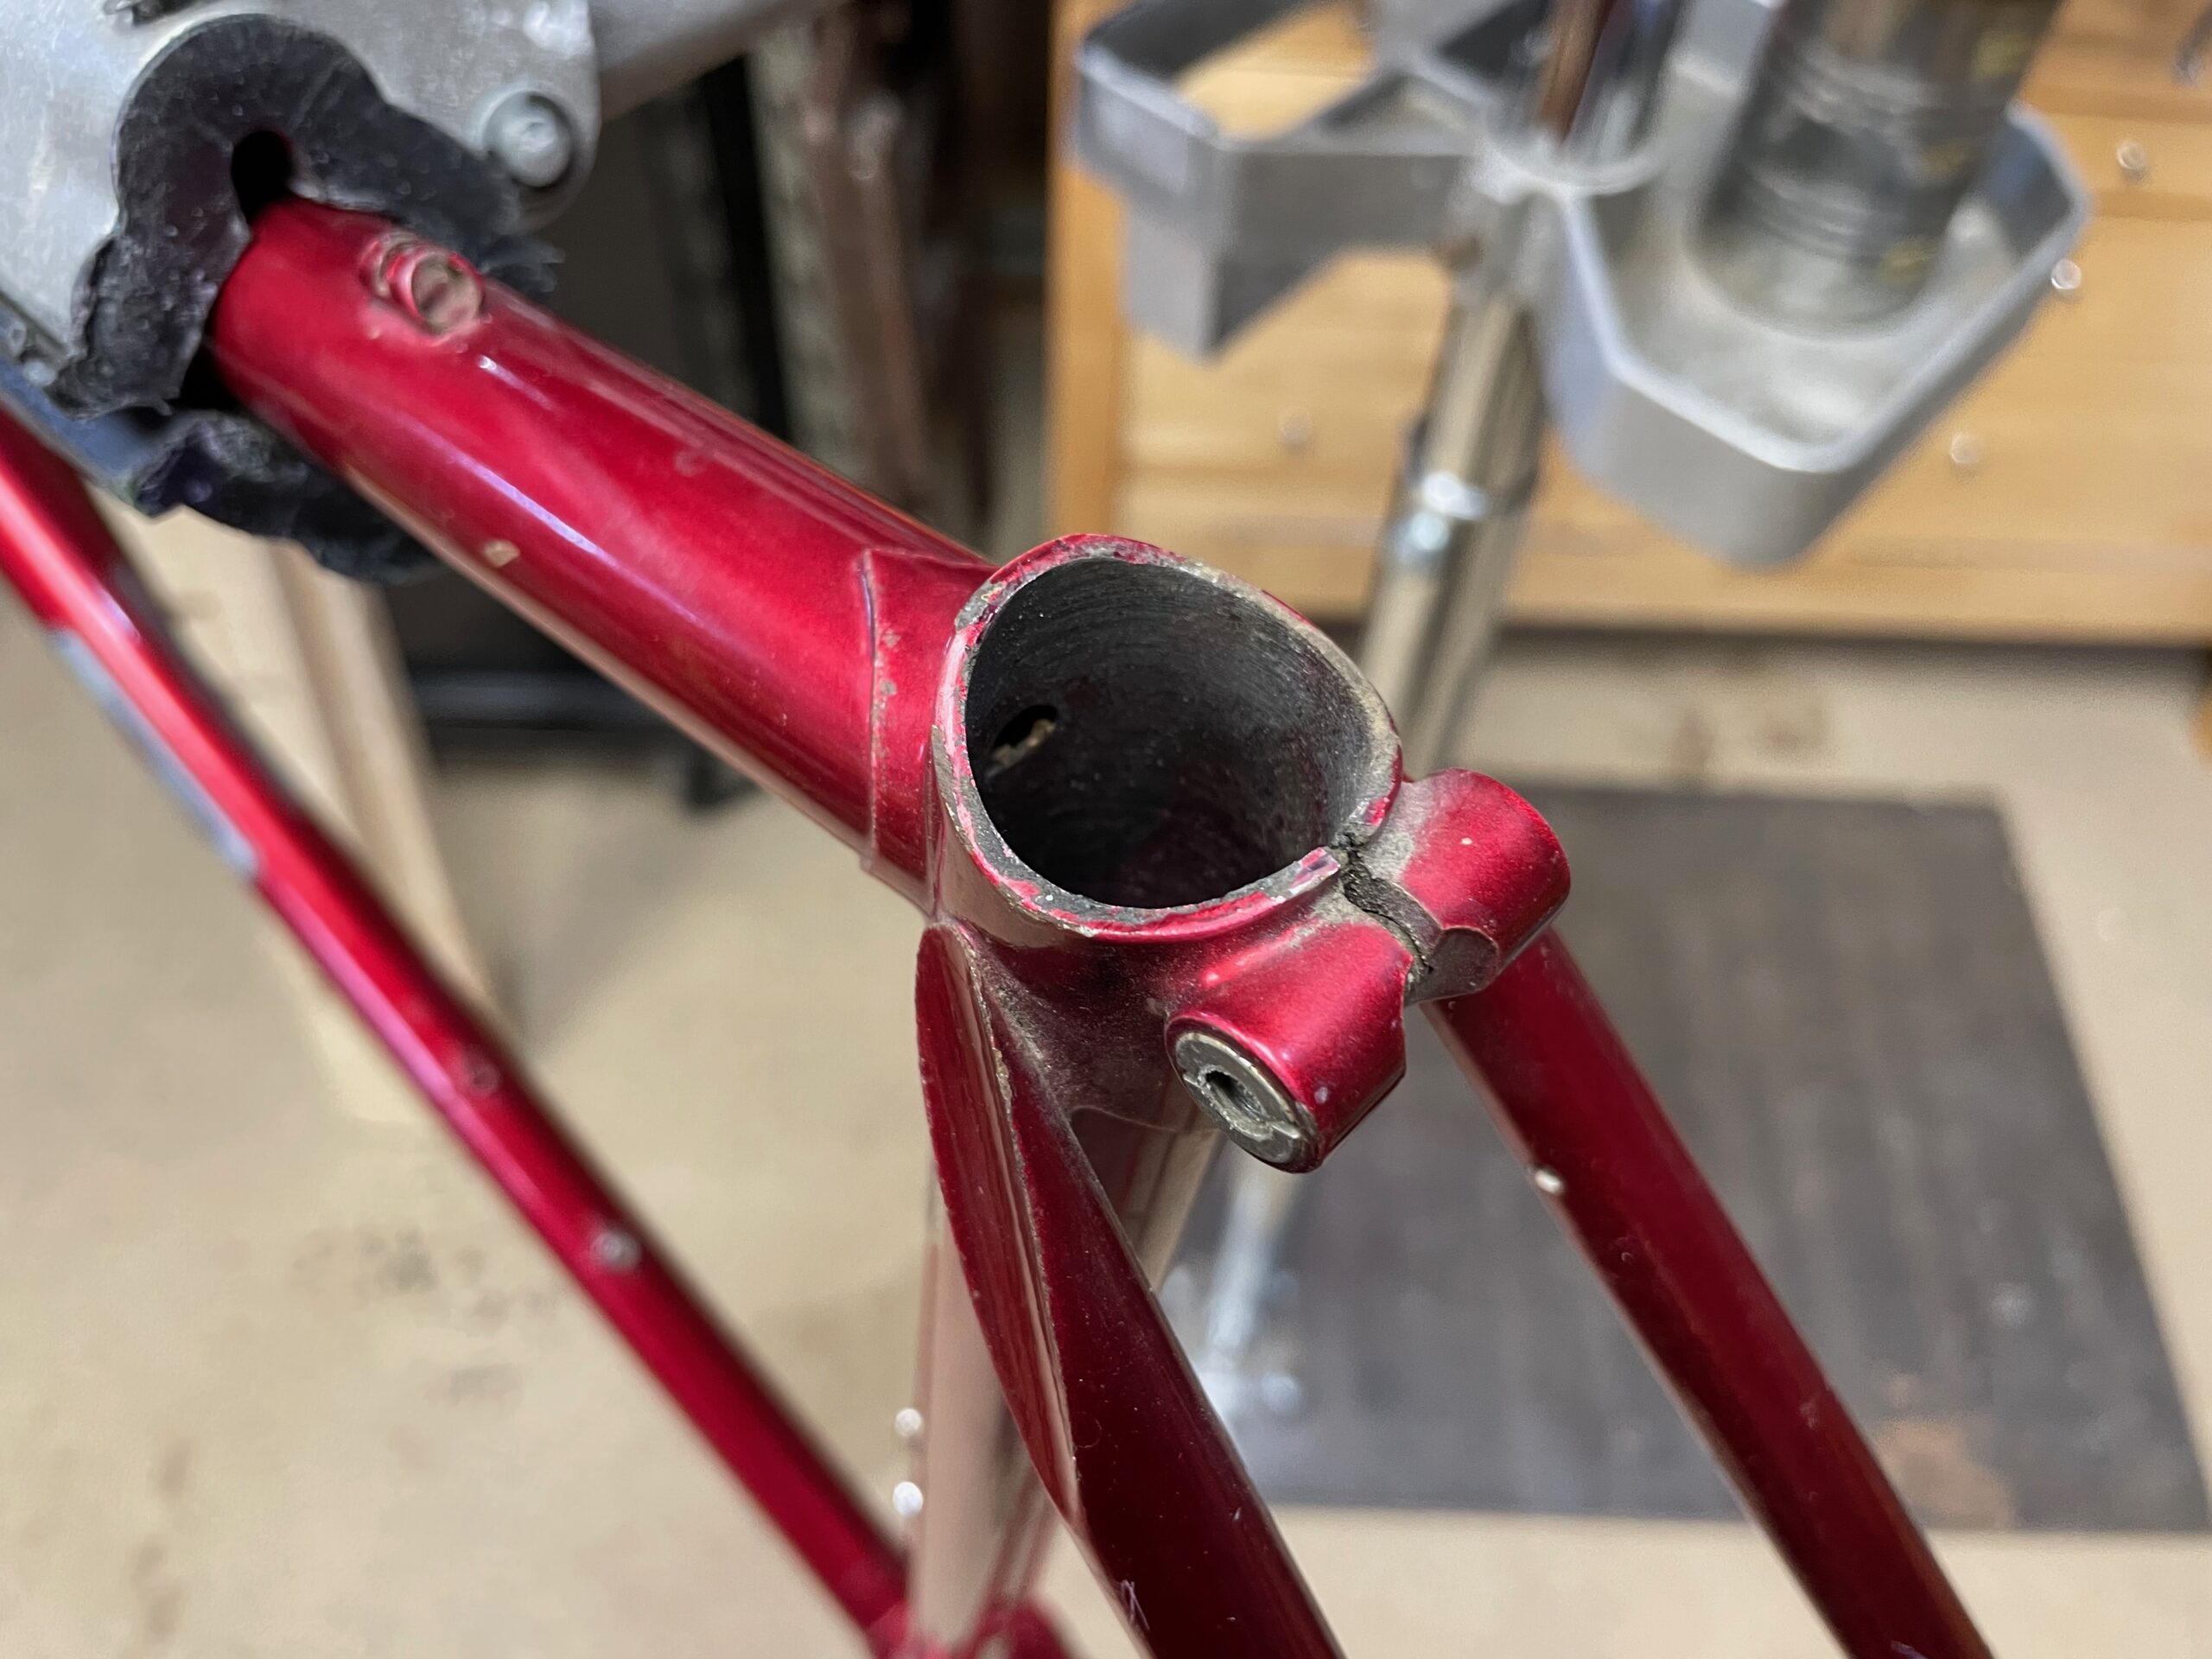
The fork crown race seat was originally 27.0mm (JIS), which I chased with a cutting tool to make sure it was square and unmarred (it was). I did not want to cut it down to 26.4mm (ISO) unless I was sure of the headset I was going to use: leave my options open. I also chased the steerer threads to make sure they were clean and undamaged (they were).
A triple-check of the Tange factory fork revealed that it was perfectly in alignment: the steerer was straight and square to the Bringheli fork alignment table; the fork ends were parallel, spaced 101mm apart, each measuring 50.5mm on the inside face from the fork center-line; the fork blades were parallel to each other along their entire length, and square to the Bringheli fork alignment table. I have not previously come across a fork this symmetrical and perfectly aligned, unless it was one I built or cold-set myself! The Tange factory really has their production process dialed in! It’s impressive, whether by luck or by design.
Before I could put the frame on the alignment table, I needed to wire-brush clean and chase the bottom bracket threads so that I could face the drive-side (at least) of the bottom bracket shell: the drive-side face was slightly marred and could affect measurements on the alignment table.
Luckily, the bottom bracket shell was over-wide (68.4mm) and there was leeway to remove a little material without going undersize (for which I could compensate on the non-drive side, if necessary). With the Campagnolo sleeves threaded into the bottom bracket shell (used for facing and to hold the frame square to the alignment table, later), the drive-side was faced to remove paint and wear marks, leaving a flat surface at 90-degrees to the spindle axis. This established the reference face for the alignment table. To make sure I hadn’t taken off too much material, I determined the centerline of the down tube at the bottom bracket shell and measured from that to the reference face: 34.0mm exactly! Well, that was lucky!
Once firmly fixed to the alignment table, a triple-check of the frame showed that the front end was twisted to the non-drive side at the top of the head tube by 0.5mm — an insignificant amount over 50cm of measurement through the steering axis. Still, I pursued “perfection”: a light cold-setting took the twist out.
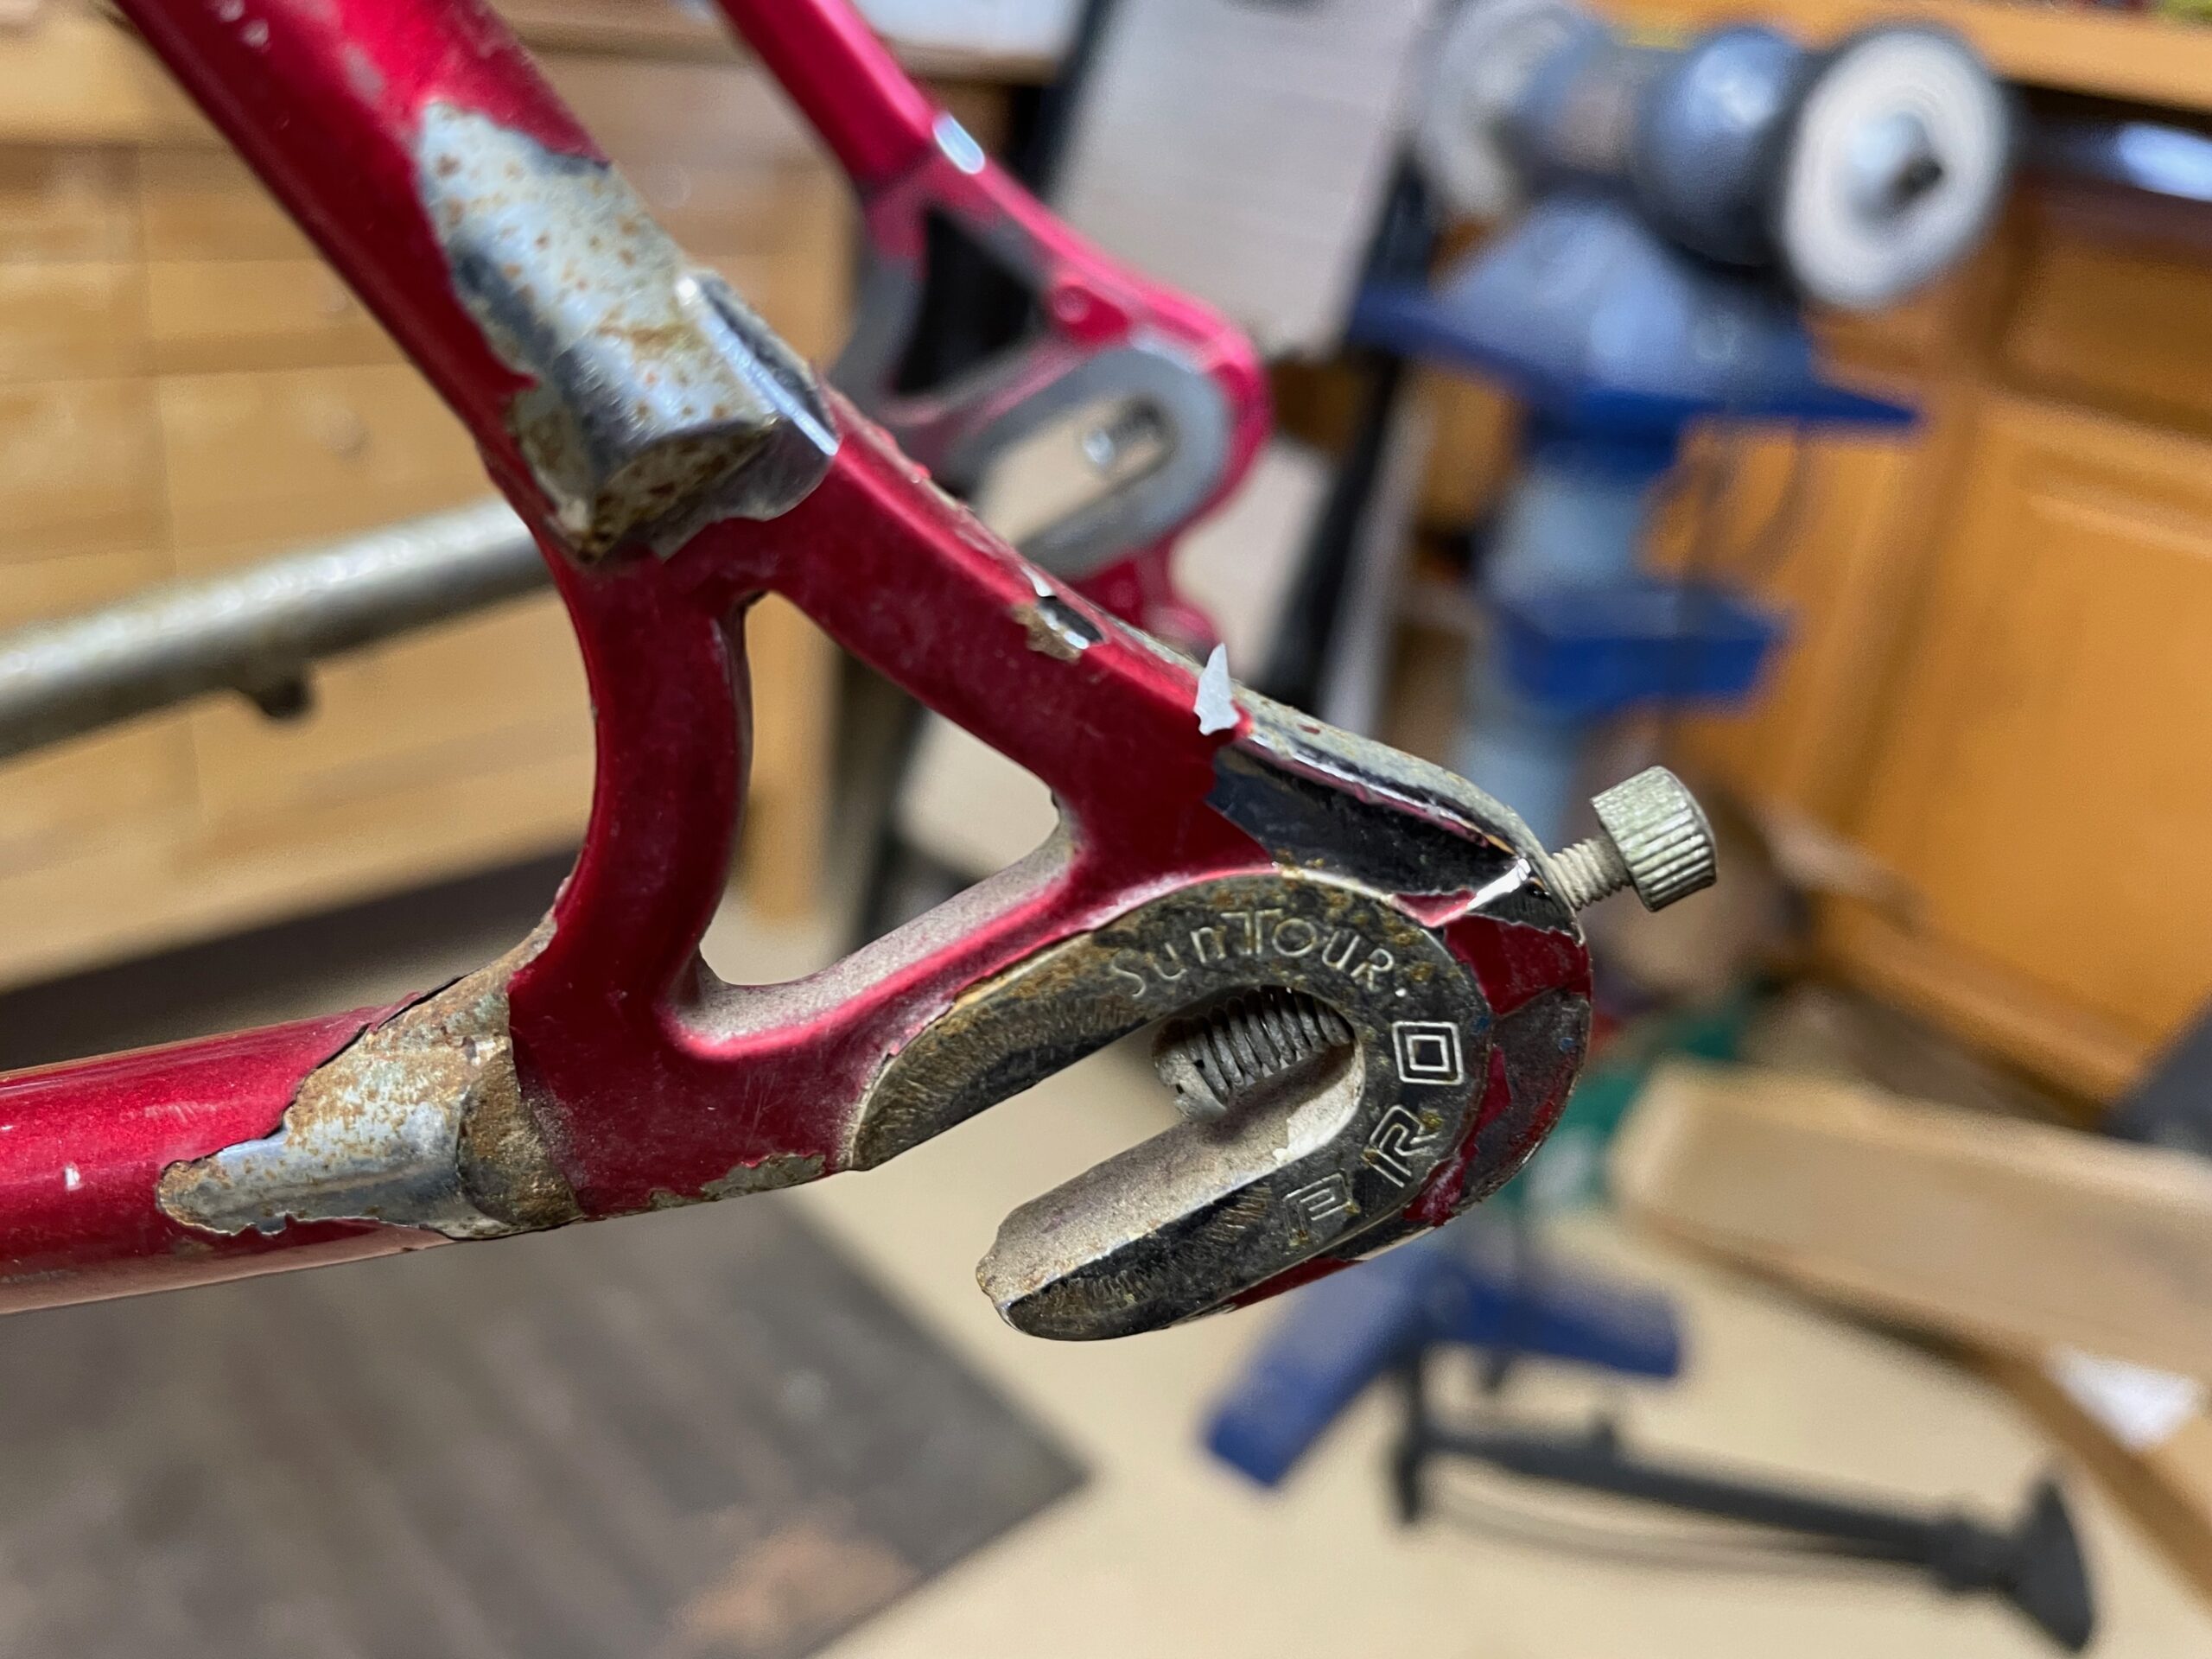
However, the rear end was quite misaligned: the drive-side dropout was 1.5mm too far from centerline; the non-drive side dropout was 1.0mm too close to centerline; the dropout faces were skewed, but parallel to each other; the dérailleur hanger was slightly bent inward. This suggested that the bicycle may have been involved in a rear-end (left-)side collision that primarily affected the rear end (but may have put the twist in the head tube, too). Or, it was damaged sitting around in storage. In any case, it’s unlikely the frame left the factory that way.
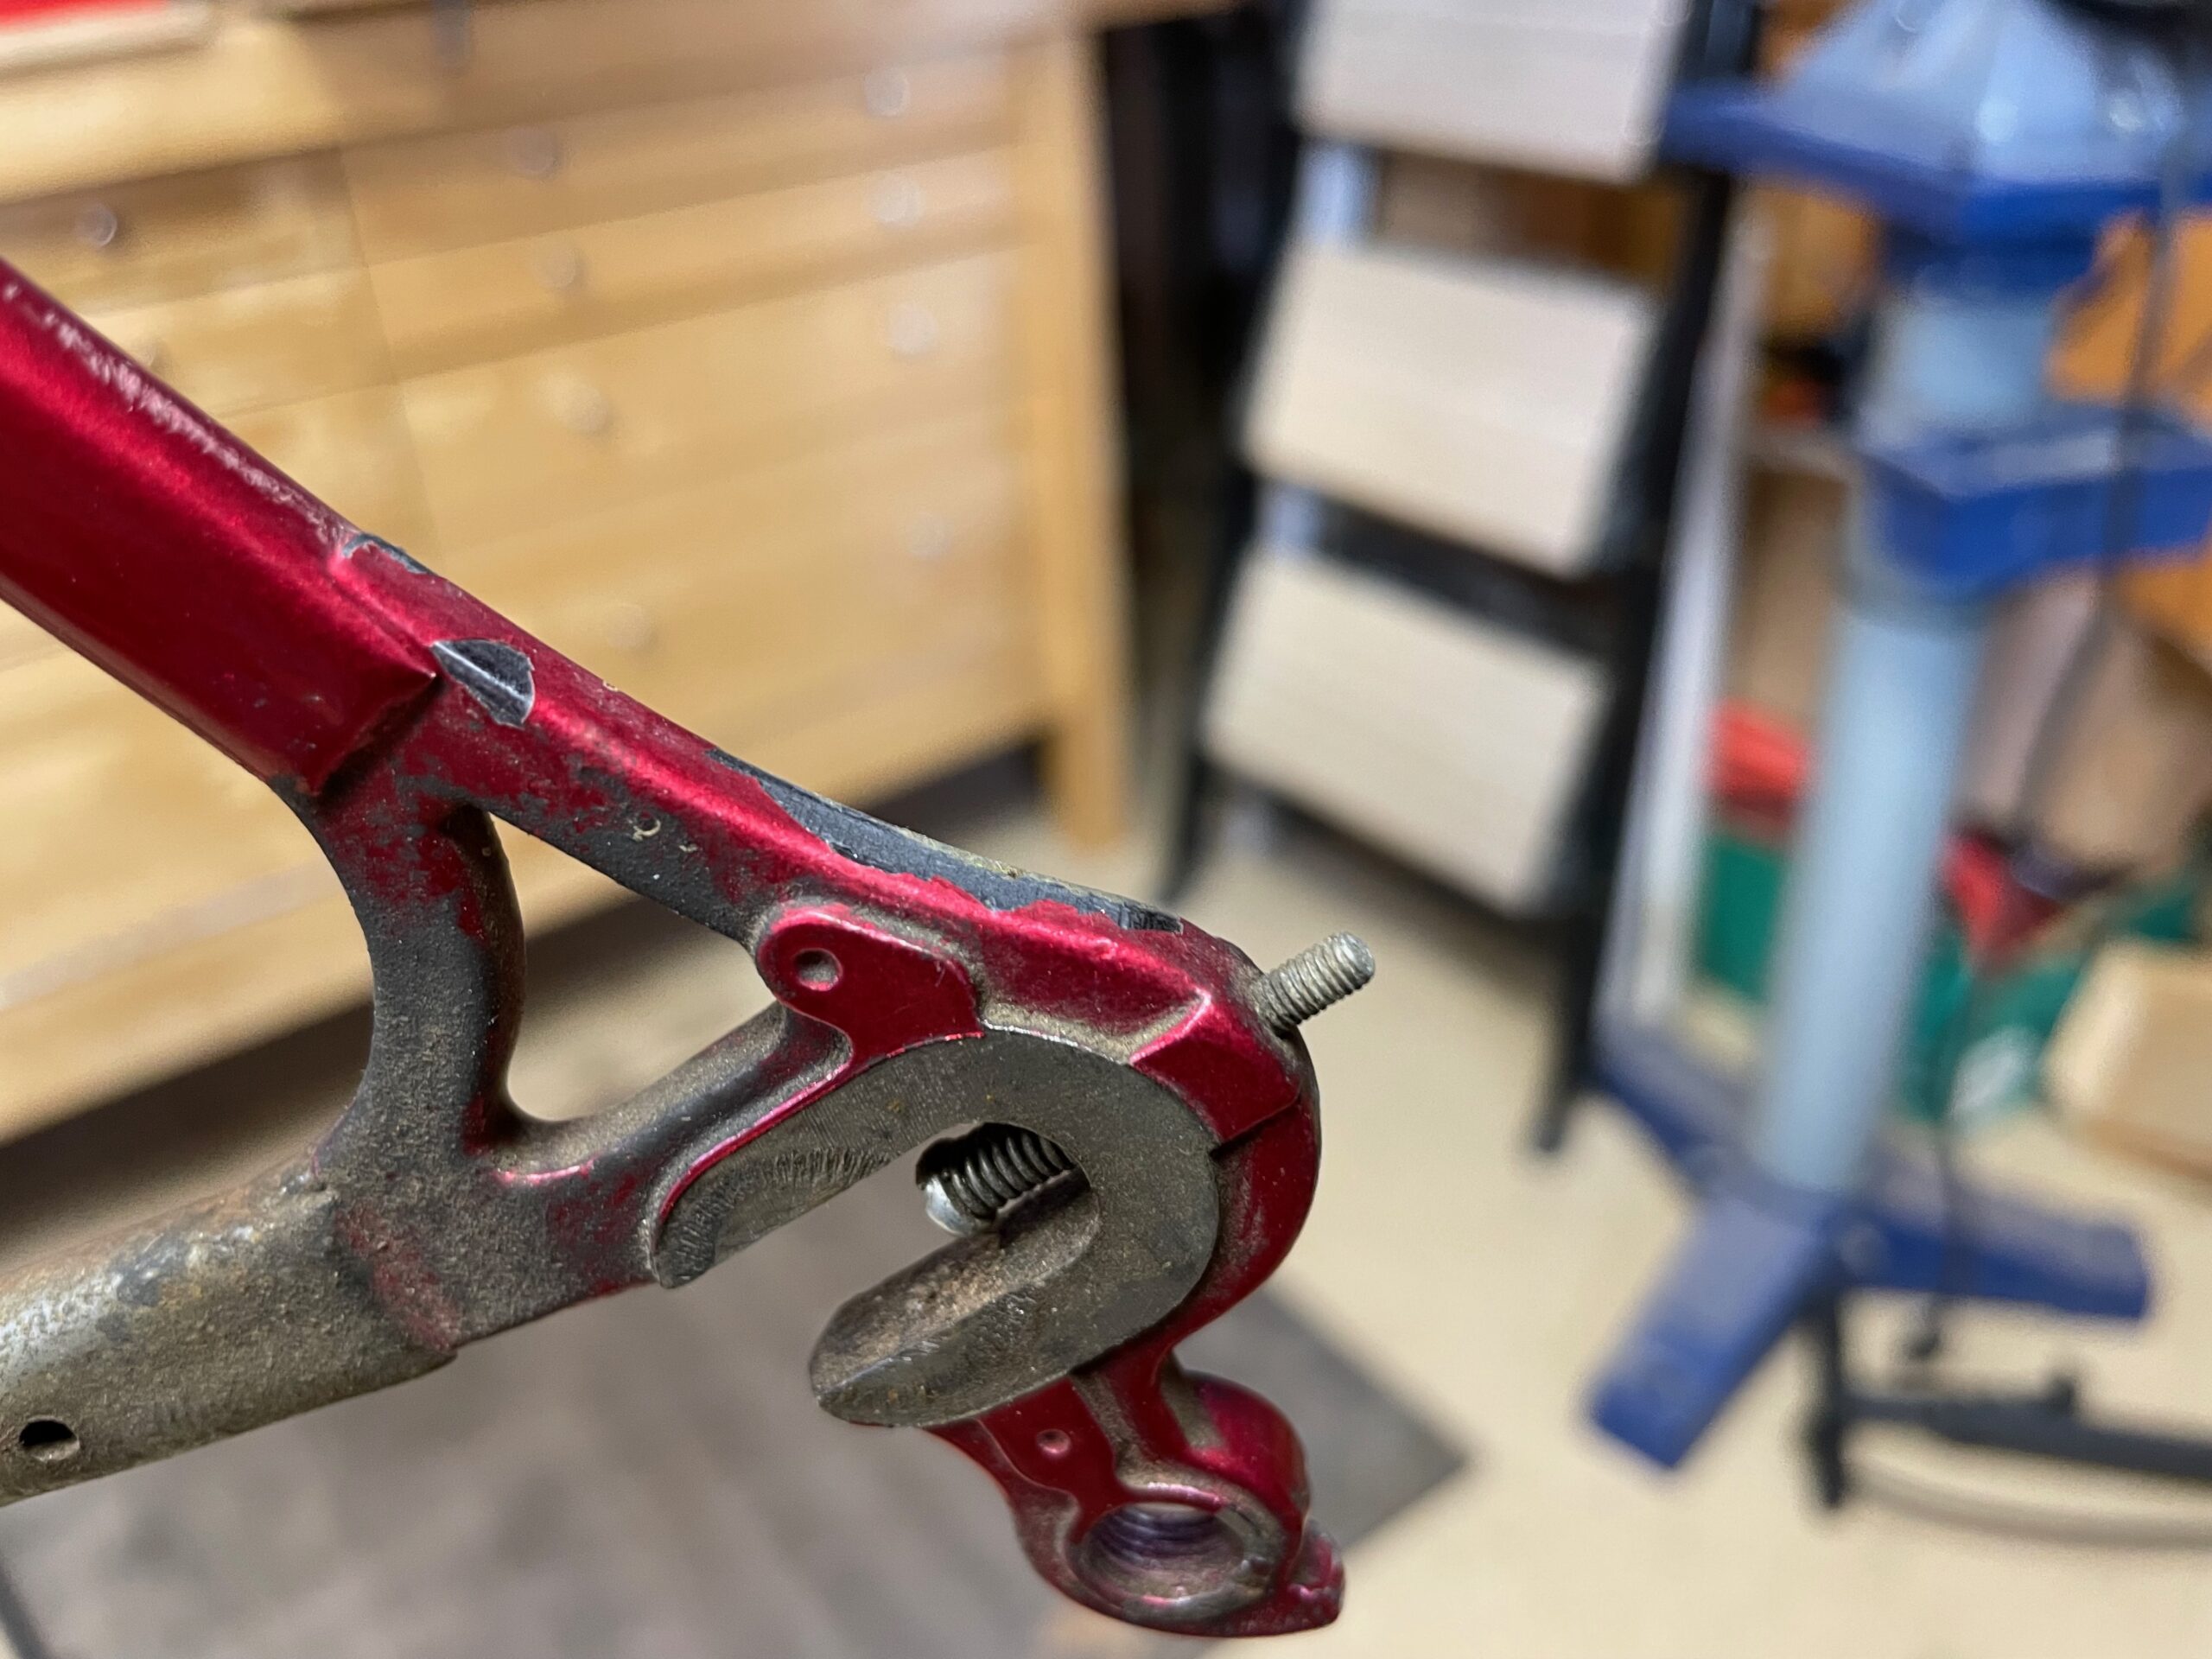
As part of the renovation, and to make the frame compatible with 130mm rear spacing (instead of the original 126mm), I cold-set the rear end to center and align the dropouts (parallel to each other and the horizontal long axis of the frame) and to re-space the rear end to 131mm (leaving a bit extra space for paint and to get the back wheel in easily). I left correcting the dérailleur hanger misalignment until after I had chased the remaining threads.
A final measurement after cold-setting the frame made sure the frame was aligned with less than 0.5mm deviation from expected dimensions (everything was at 0mm deviation, except for the dropout spacing). I left the dropout spacing at 0.5mm (equally divided from the centerline) wider than my target of 131mm, to minimize the amount of cold-setting done to the frame — it was “good enough” for me. For all perceivable and meaningful purposes, the frame was now perfectly aligned.
Even now, before I could give my stamp of approval for the project, I had to make sure all the threads were serviceable. I had already stripped the headset, dropout adjusters, and water bottle bolts from the frame. So, I simply wire-brush cleaned and chased all the remaining threads with the appropriately sized taps. I then placed a known round and true wheel in the dropouts as a last check of rear-end alignment: perfectly centered in the stays at the rear-most position (Araya has their frame build processes perfect, too!), without adjusters. A light cold-setting aligned the dropout hanger, too.
And, the prognosis is positive! I was confident the frame was sound; and, at this point, I was satisfied the frame was salvageable. This frame could have another forty years of life in it, with a bit more work to make it new again.






Alteration & Restoration
While the frame was suitable for restoration, some aspects of the frame were changed to make it more to my liking.
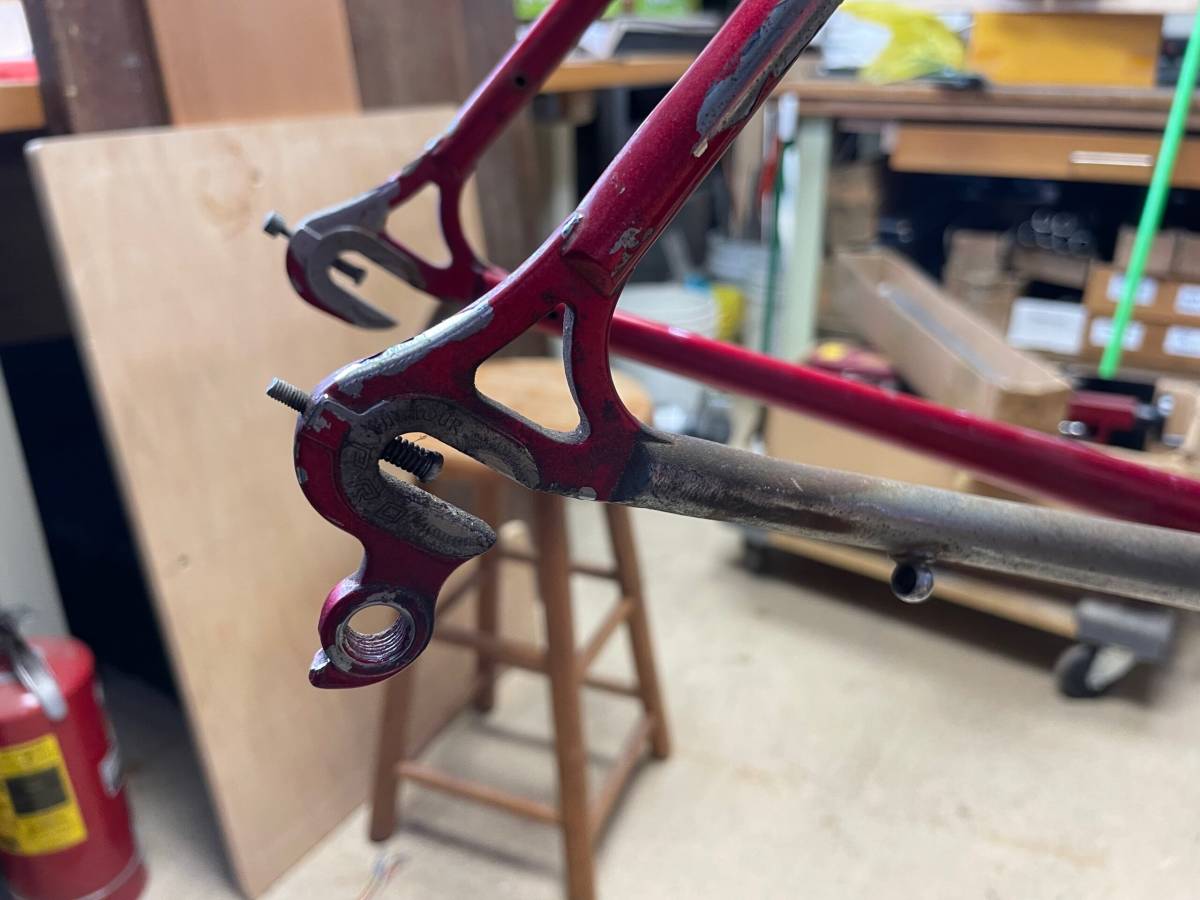
I was never fond of top tube cable guides (see images above). They are just not that comfortable if you dismount onto the top tube unexpectedly, for whatever reason. Also, they tend to rust (as these did) from sweat getting on the top tube. A stainless internal rear brake guide would smooth things out and obviate the rust problem, so that was one update on the to-do list.
My dislike for tubing clamps ruining a perfectly good paint job necessitated a brazed-on front dérailleur hanger, which also went on the to-do list.
Quite frankly, the chain hanger was serviceable, but ugly. It had to go or be replaced by something prettier, and it had to be stainless because when using it, the chain would remove any paint eventually.
Then there were some brazing uglies and gouges on the frame that needed clean-up: gouges in the solid seat stay caps (easy enough to file smooth); an unappealing seat lug contour (also simple to reshape); spots of excess bronze filler (a little sandpaper here and there). There was also the missing bottom bracket shell drain hole, which is essential for longevity.
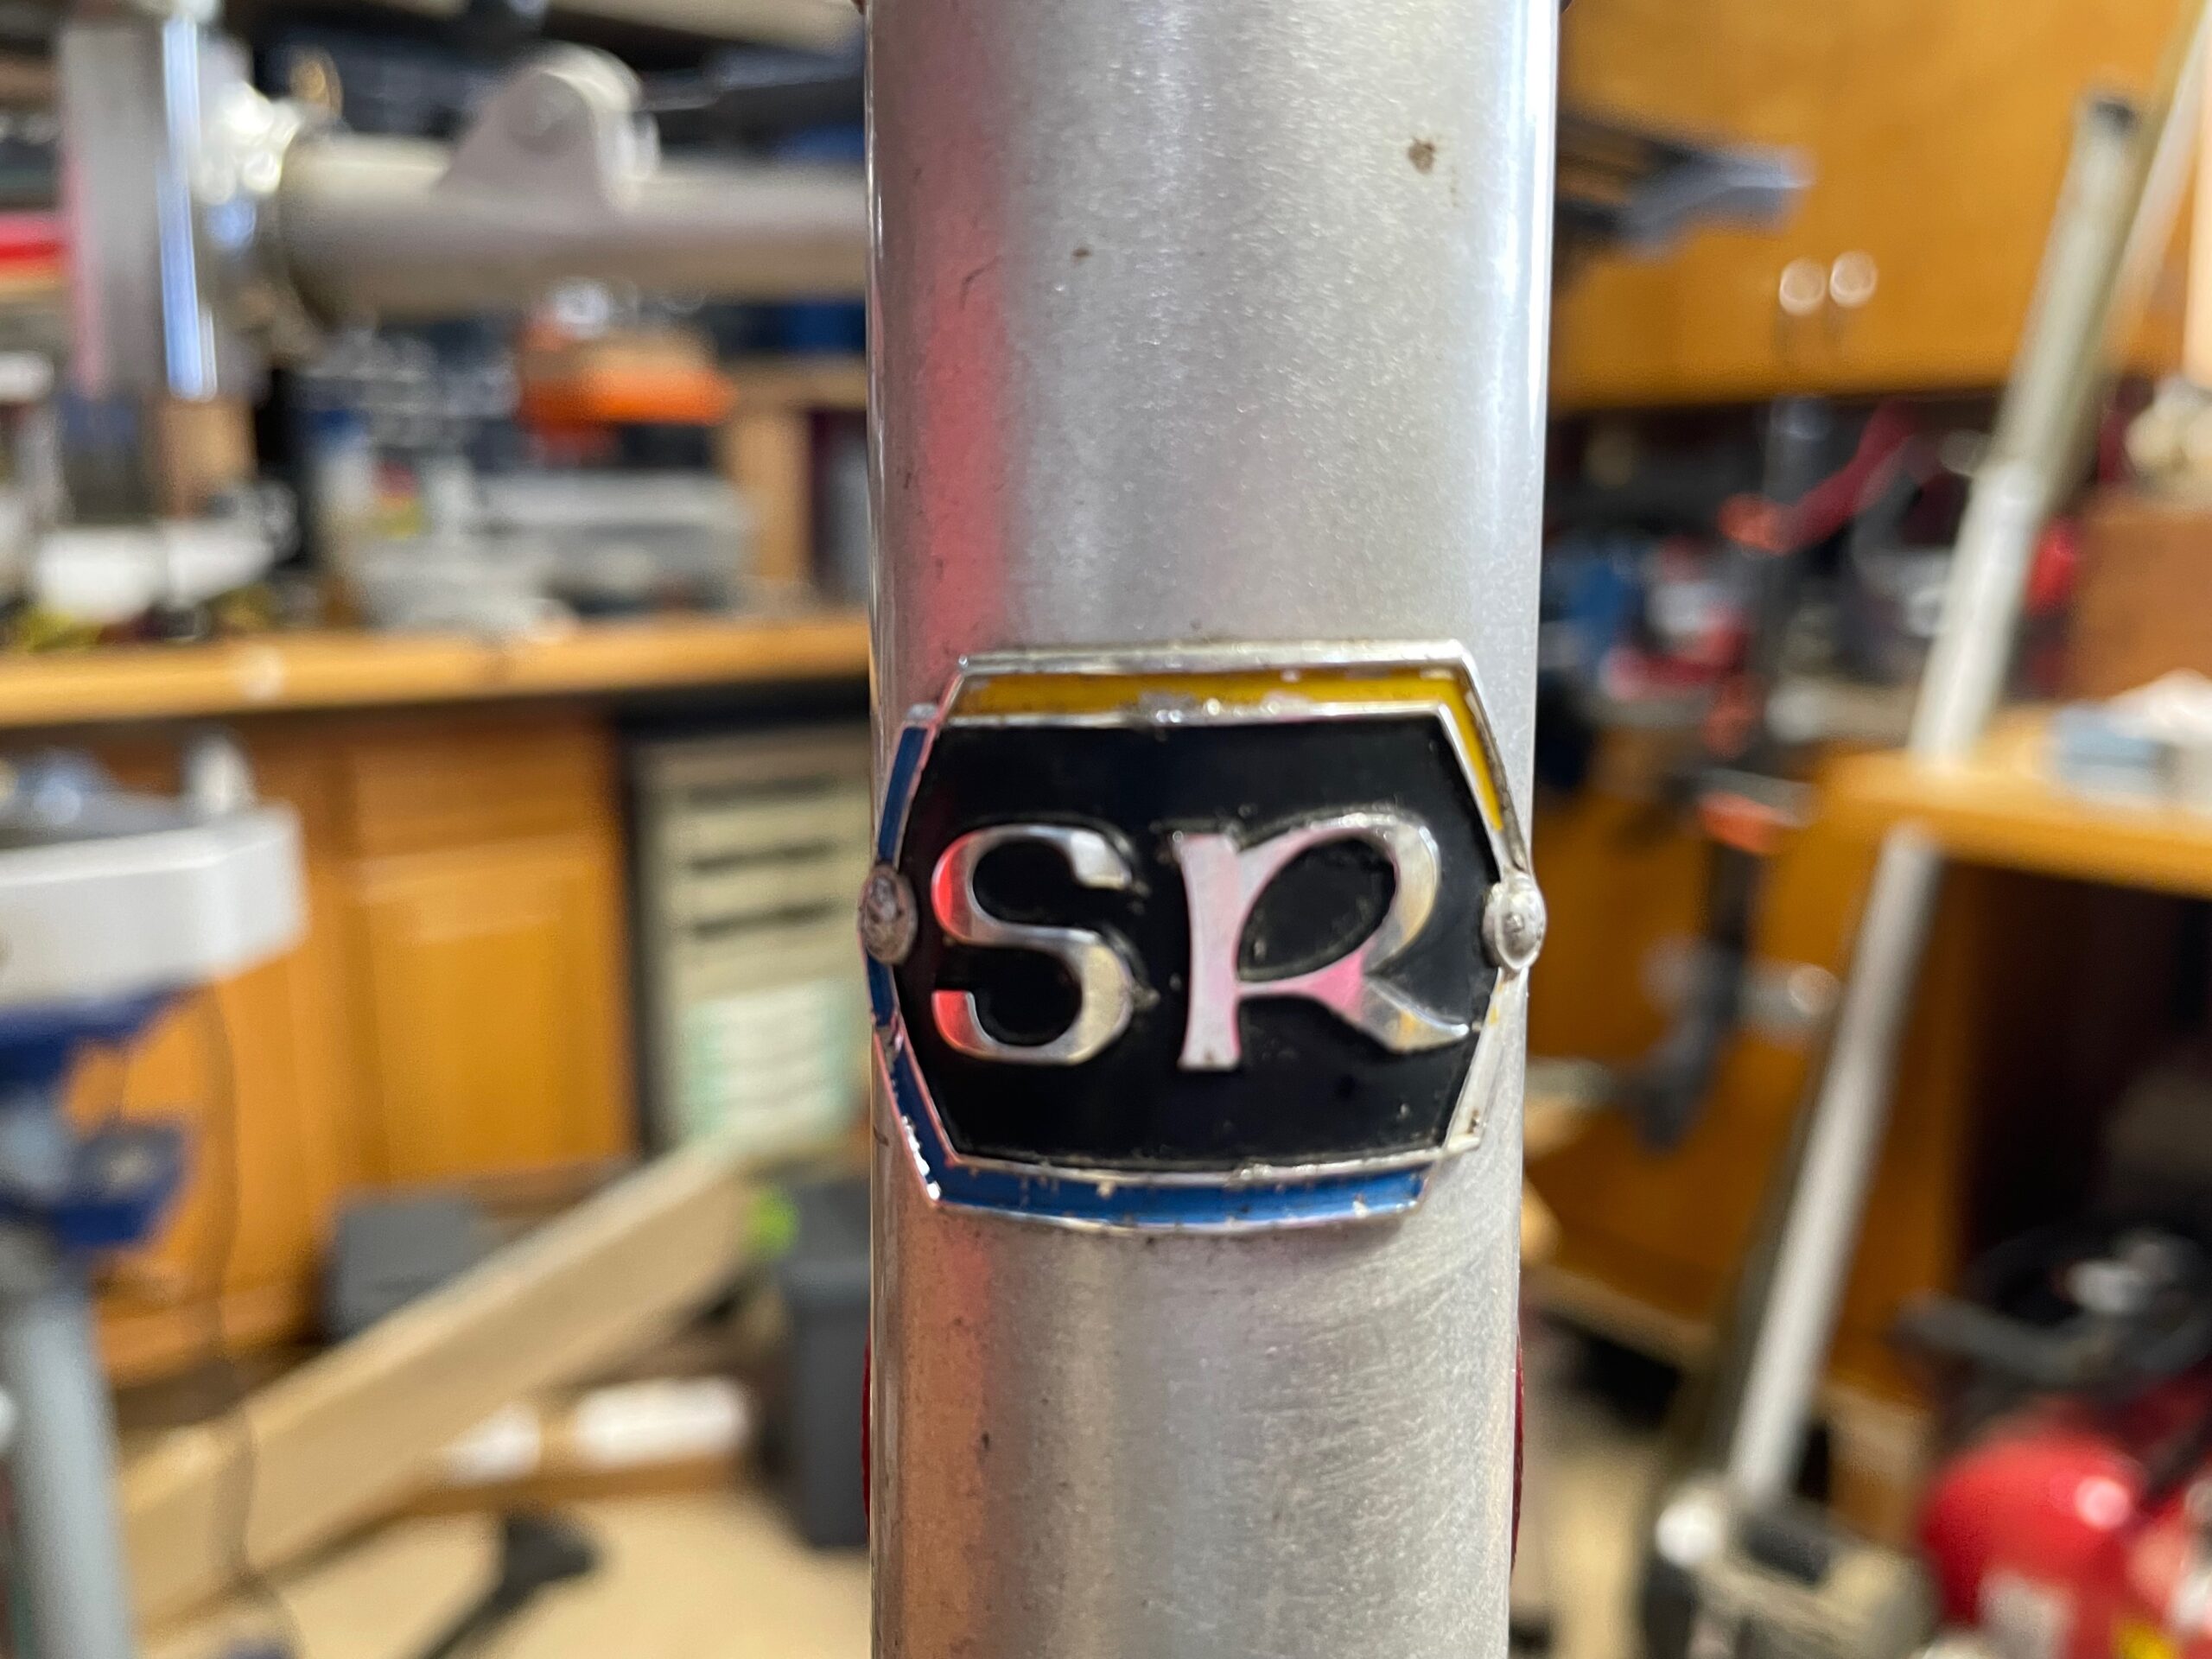
I removed the seat binder for refurbishment later, as well as drilling out the rivets that held on the “SR” head tube badge. The drill slipped a little and gouged the aluminum head badge, but not so badly it couldn’t be fixed. I also drilled out and tapped the rivet holes for remounting the restored head badge later with stainless M3 button head screws.
The first step was to remove the top tube cable guides completely. A hacksaw, a file, and some sandpaper removed them completely and left a blemish-free top tube.
Then, I had to position the entry/exit points of the internal rear brake cable guide. My right hand is dominant, so my non-dominant (left) hand operates the rear brake. For a smooth cable run, the brake cable (aero routing) runs from the left brake lever to the right of the head tube, entering the top tube on the lower right side and crossing to the left side internally to exit on the left near the top side of the top tube, running to the rear brake caliper. With the entry/exit points marked, some drilling and filing of the top tube let me place a seamless 1/4″ x 0.020″ stainless steel tube that was silver-brazed in place with stainless steel stampings to reinforce the top tube cutouts (placed more for appearance than reinforcement). Some more filing and sandpaper cleaned up any excess silver and shaped the ends to my satisfaction.
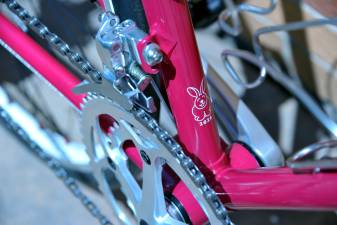
The next step was to install the stainless steel front dérailleur hanger, which was positioned to support the front dérailleur so that it could work with chainrings as large as 53 teeth and as small as 34 teeth. The selected crankset uses a double chainring with 39 and 53 teeth. The brazing was clean enough that no filing was necessary.
The last brazing step was to install the stainless steel chain hanger, which replaced the overly large stock hanger. The stock hanger was easily removed with a hacksaw and some sandpaper. The sandpaper was used to remove the chrome plating on the right seat stay for a secure bond. Mere minutes later and the new hanger was in place with a bit of silver filler.
The next metalworking step was removing the gouges in the drive-side seat stay cap, which was accomplished with a fine file. For symmetry, I reshaped the non-drive side to match. In total, it barely took five minutes. It took a little longer to reshape the seat lug until it was more to my liking.
I spent a little bit of time cleaning up the head tube lugs, but didn’t want to do anything more than remove excess bronze or nicks in the lugs themselves. I wasn’t trying to “improve” the work of the Araya factory ‘bots and workers, but simply cleaning things up so the painting will be less problematic for me later.
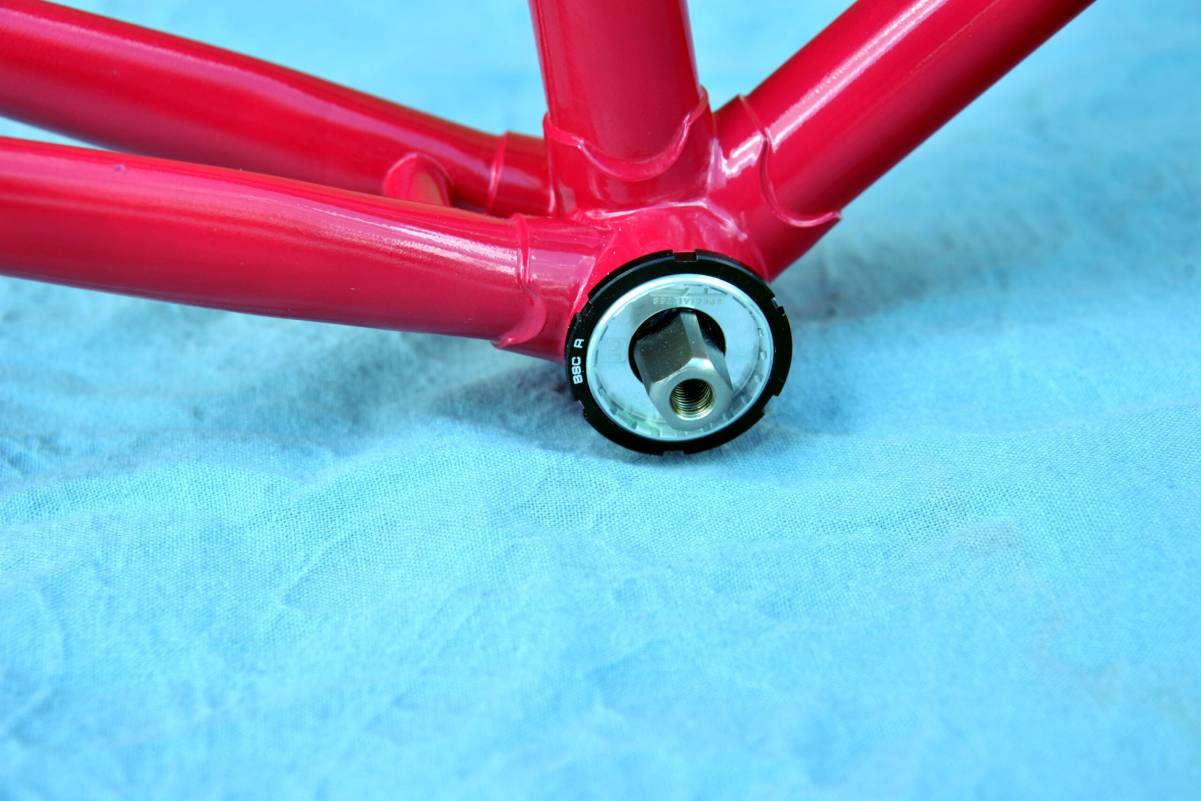
The final step was putting in a drain hole in the bottom of the bottom bracket shell. While I was there, I cleaned up the rough edges of the brazed-on dérailleur cable guides.
I did not face the head tube at this point. The faces were unmarred and I would ream and face the head tube after the paintwork was done to leave a pristine, square and flat bare-metal surface, to be well-greased when installing the headset later.
The frame was now ready for paint preparation.
Painting
The 1984 SR Maxima was available in two colors: “Red with Silver head tube” and silver fork crown cutouts; “Blue with Silver head tube” and silver fork crown cutouts. I’m not enamored of most reds; blue is very appealing. Both original options were pretty, but I wanted something a bit different from the usual red or blue. Still, other than the colors themselves, I would keep the color placement similar to the original.
Before any painting could happen, the original paint had to be removed. Some was removed during the metalworking phase (when I also stripped the paint from the head badge), but all of it had to go to make way for new paint. That meant a trip to Paul Wyganowski’s workshop, where the frame and fork would be stripped of paint and dunked in a heated bath of zinc phosphate (acid). The bath would remove any remaining rust inside and out, and also coat the steel with zinc, which acts as a sacrificial rust inhibitor (the zinc bonds to the steel and oxidizes in place of the steel, acting as a barrier and protecting the steel itself from rusting). The zinc leaves the steel with a dull gray coating, except where chrome-plated or stainless steel is used (which aren’t affected).
While I was there, and before dipping in the zinc phosphate, I noticed a metalwork ugly on the drive-side chain stay near the dropout: a rough area under the chrome that could have been rust. But, it was odd since the chrome was on top of it and there was no visible rust on the chrome itself. Using the Dynafile, I removed the chrome from the area. As it turned out, it wasn’t rust, just excess bronze brazing. Also, there was a bulge in the tube here, but that turned out to be from the factory as well: the tube was flattened to clear the smallest cog, which bulged the top and bottom sides of the tube in this area. What a relief! It all worked out well in the end.
However, there were two other issues that I had overlooked: the stress-relief in the seat lug slot was missing and the upper vent holes in the fork blades were placed mid-way in each fork blade (not a good place for them, which could lead to premature failure of the fork blade from internal rust or too-high stresses).
To correct the first issue, I drilled a hole at the base of the seat lug to mitigate the chance of the seat tube cracking in this area. The second issue was corrected by drilling new holes on the backside of each fork blade through the fork crown tangs, then bronze-brazing the original fork breather holes closed. [Imagined] fork failure averted!
The frame and fork were then dipped in the zinc phosphate and dried in the drying oven after a good rinse. Time to head back to my workshop!
Back in my workshop, I could begin cleaning the frame. Cleanliness is the most important aspect of painting. Contamination at any stage can ruin an otherwise perfect paint job. I wasn’t looking for “perfect” or flawless, but “good enough” for me was close to that. That meant degreasing the frame and fork before I did anything else (and just before each coating was applied).
After degreasing, holes were plugged so blow-back from painting wouldn’t cause spattering. Also, holes were plugged where paint wasn’t supposed to go (inside the head tube, inside the bottom bracket shell, inside the seat tube). This meant a lot of tape and paper. Threaded rods or bolts kept paint out of the threads (seat binder holes, water bottle mounts, rear dérailleur hanger, brake bridge, fork crown). Plastic covers went over the shift lever bosses. The steerer was papered and taped from the crown race seat to the steerer threads; tape went everywhere else it needed to go. A friction-fit PVC pipe was inserted into the steerer tube to give me a longer handhold while painting. One more round of degreasing and the frame and fork were ready for primer.
The primer does not need to etch the metal, since that was accomplished with the zinc phosphate dip over already rough-sanded bare metal, which both provide a good surface for the primer without further scuffing. Two coats of white primer were laid down, with 10-15 minutes between coats.
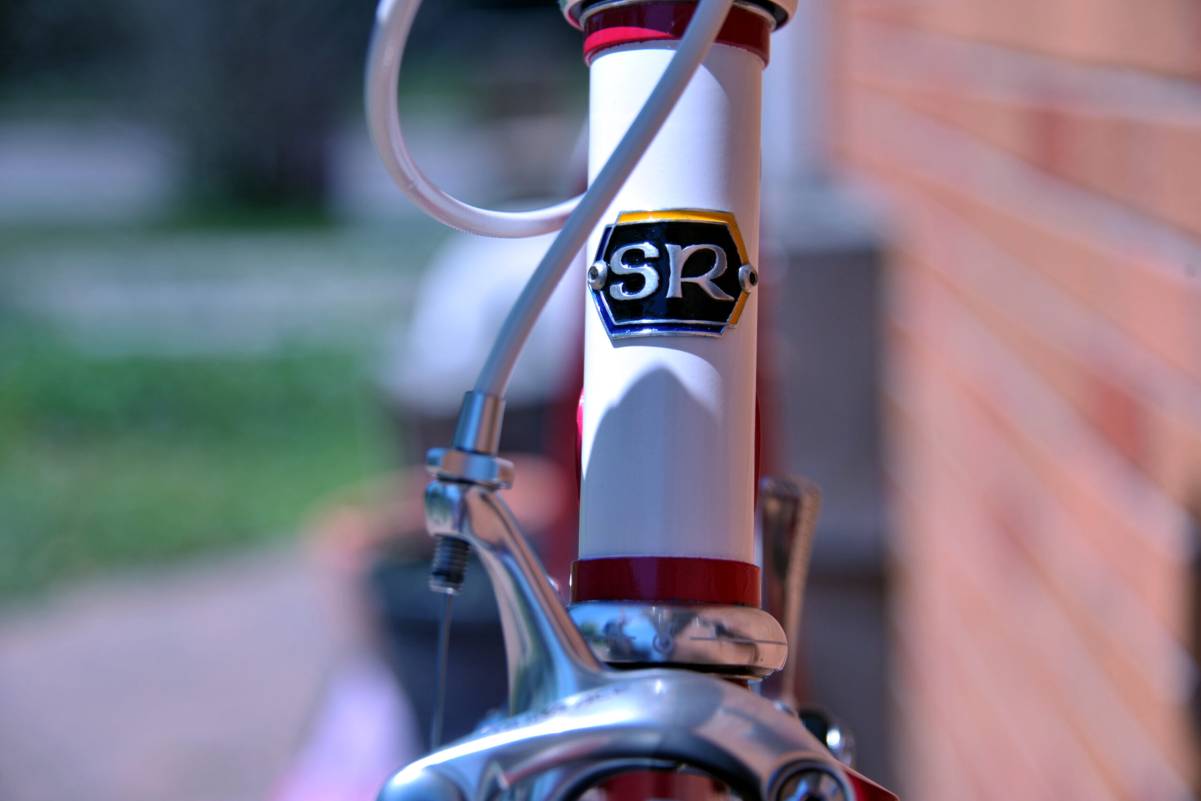
Not to be over-looked, the head badge also needed to be restored. Having previously removed the paint, I went over the aluminum head badge with a file (to remove the scratch I put into it drilling out the rivets) and super-fine steel wool. The raised areas were polished with metal polishing compound and a cotton cloth. It was then degreased and two coats of white primer were applied to the entire surface, waiting 5-10 minutes between coats.
The primer on the head badge, frame, and fork was left to dry for an hour.
Then, the frame and fork were lightly wet-sanded with 800-grit sanding sponge to remove any dust or imperfections. The primer was carefully scraped away from the raised areas of the head badge using my OEM fingernails so as not to scratch the polished aluminum.
The head badge, frame, and fork were again degreased to remove any contaminants.
Using a fine paint brush, acrylic paints were used to fill in the colored areas of the head badge: blue (darker than the original), yellow, and black. The head badge was set aside until it was time to clear-coat.
On the frame and fork, because the contrast color is lighter than the main color, the contrast color would only be applied to those areas receiving masks. The main color is sufficiently opaque to cover the contrast color with only one stage of masking.
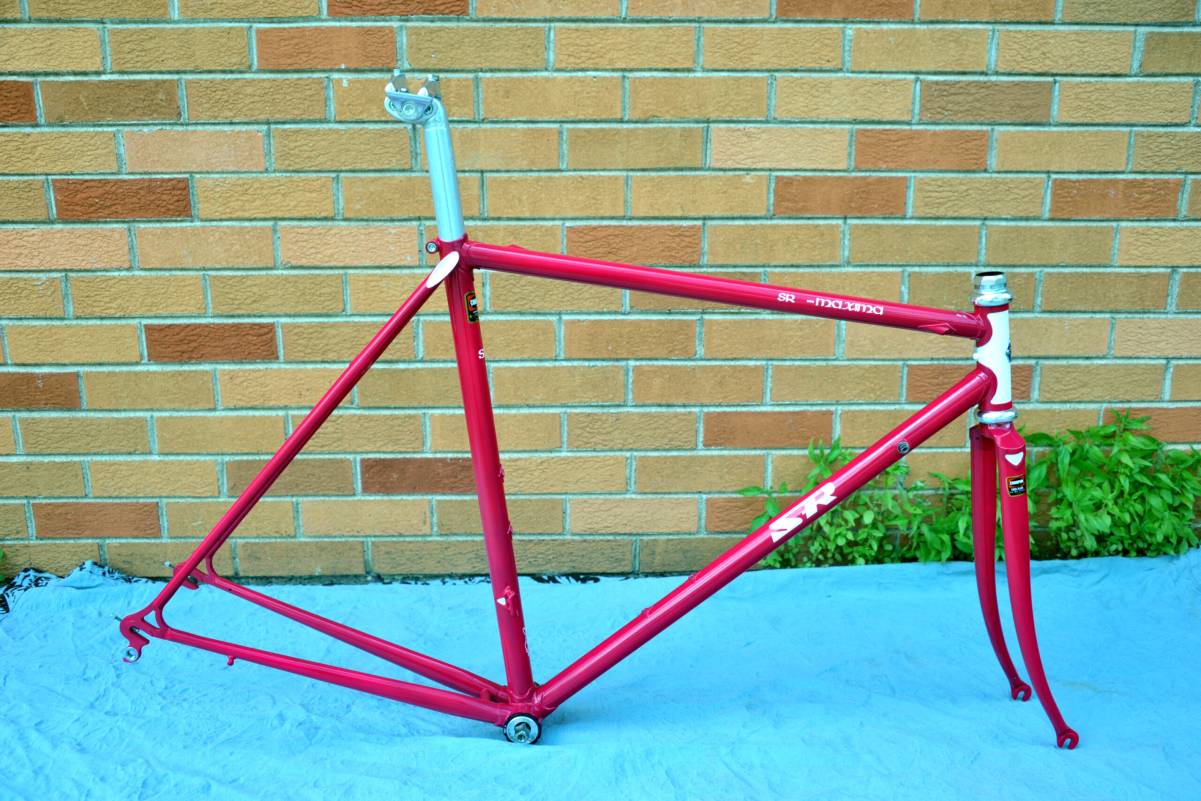
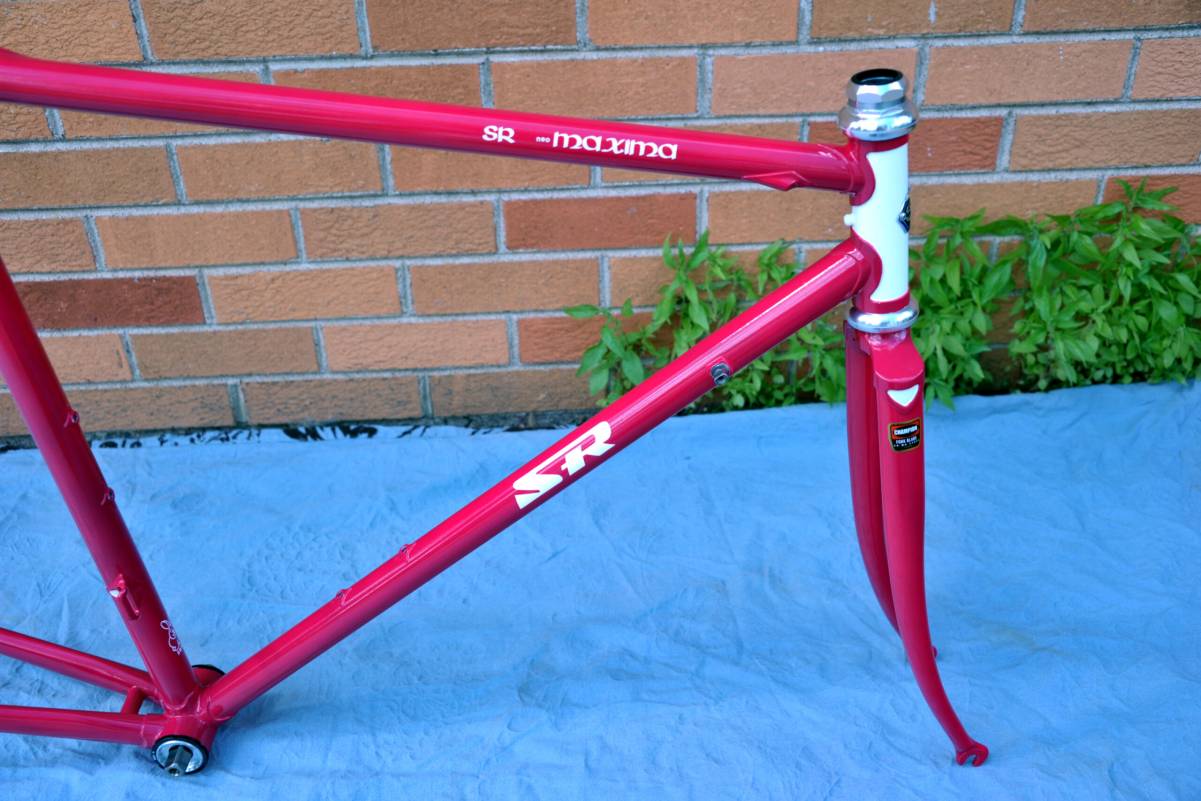
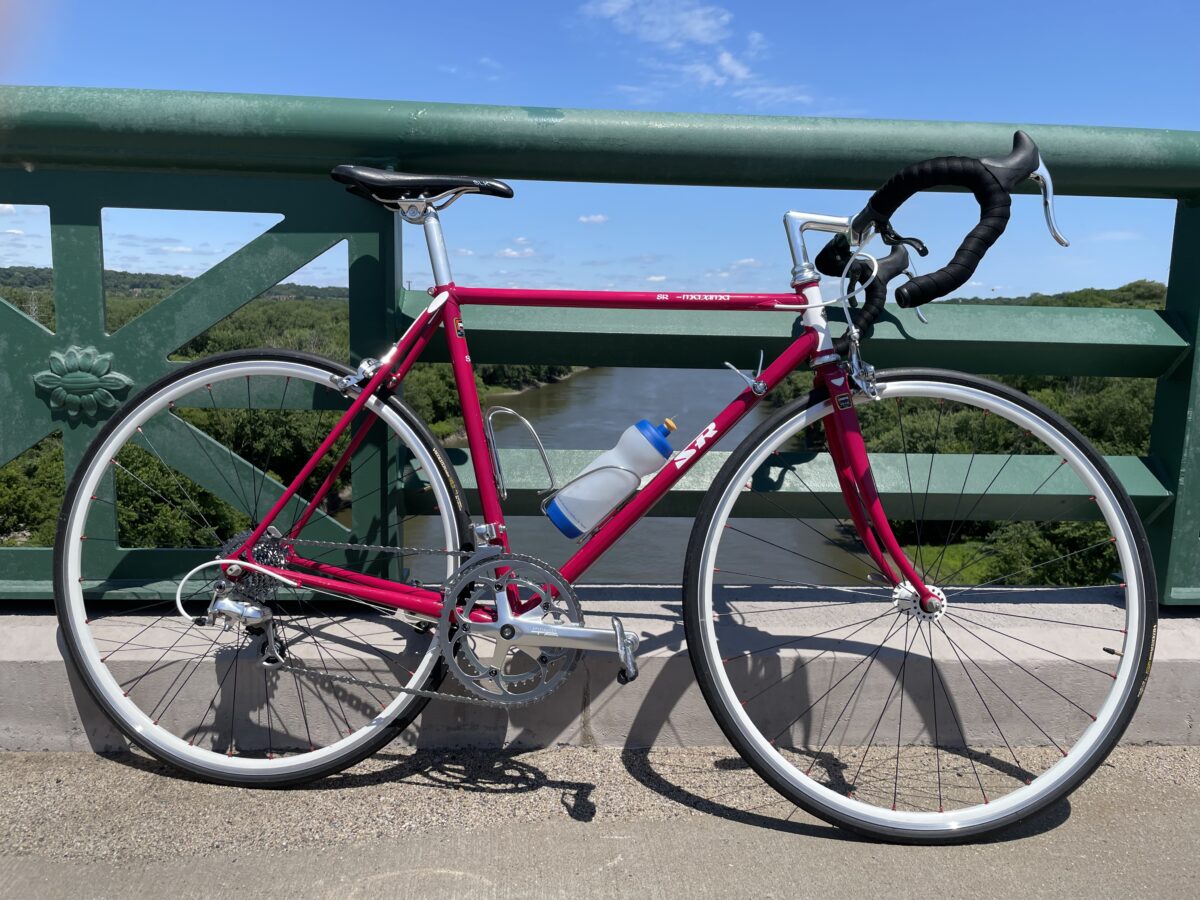
I picked magenta (Fruit Punch) for the main color: a rich pink for the frame and fork that complemented the majority of silver- and black-anodized components, as well as the white factory rims and hubs. The contrast color was bright white, not at all like the original (silver).
The frame was hung up so it could be positioned using the handholds previously placed for that purpose, without much risk of touching the wet finish. The contrast color (white) was applied in three light coats, waiting 5-10 minutes between coats, on specific areas of the frame and fork. The fork was held in one hand while I sprayed contrast color with the other. The fork was simply clamped in a repair stand while it dried. The paint was left to dry for two hours after the final coat.
Tape, pre-cut artwork, and machine-cut lettering masks were applied where the white contrast paint had been applied: both sides of the top tube, front of the seat tube, and the down tube on both sides. Tape was used to mask the head tube, fork crown cut-outs, the brake bridge cut-outs, seat stay caps, and the front dérailleur hanger cut-outs.
Three coats of Fruit Punch main color coat were then applied to the entire frame and fork, waiting 5-10 minutes between coats.
After the final coat of main color was applied, the paint was left to dry for two hours before removing all of the masks. A light, wet-sanding with sanding sponges to 800-grit prepared the color coats for the first layer of two-part clear-coat. The frame and fork were again degreased to remove any contaminants.
A single layer of two-part clear-coat was applied to the areas receiving decals and dry transfers. After waiting two more hours for the clear-coat to cure, a light, wet-sanding with sanding sponges to 800-grit prepared the clear-coat to receive the decals and dry transfers. A set of Tange Champion no.2 tubing decals was placed on the frame and fork.
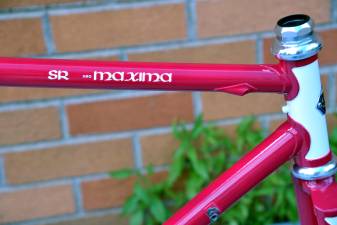
The “neo” part of the lettering of the “neoMaxima” name was done using individually placed white dry transfer letters, between the white “SR” and “Maxima” lettering on the top tube. I ended up putting more space than needed between the “SR” and “Maxima” lettering for the “neo” lettering. I’m not happy about that mistake, but it can be corrected the next time I paint the frame. Maybe in ten years?
The stencils, masks, and tubing decals were obtained from Screen Specialty Shop, North Carolina. They are always my first choice for decals because the quality is so high. Thanks, and keep up the excellent work, Gary & company!
Three layers of two-part clear-coat were applied to the entire frame and fork, waiting 5-10 minutes between coats. The frame was left to cure for 48 hours, then given a wet-sanding with 800- to 1200-grit sanding sponges in preparation for mechanical polishing.
All holes and threads were unplugged, except those used for handling the frame.
The head badge and entire frame and fork were then mechanically polished using a plastic polishing compound and a buffing wheel set at low speed.
Once satisfied with the finish, the seat tube and steerer tube were mechanically honed to remove any burrs that might mar the seatpost or stem later, and to make their adjustment smooth. The head tube was reamed and faced using the Campagnolo head tube cutting tool; the fork crown race was milled just enough to remove over-spray from the crown race seat. All remaining hand-holds, bolts, rods, plugs, covers, and whatnot were removed. All threads were chased again. New dropout adjusters and water bottle cage bolts were greased (calcium sulphonate grease) and installed. Zinc phosphate solution was applied to the freshly cut head tube and bottom bracket shell faces to prevent corrosion. The penultimate touch was to attach the head badge (still crooked) using two stainless steel M3 button-head screws. Double-sided hold-down tape was added to the head badge before mounting it with screws. Finally, the entire frame was degreased once again.
I was not very happy with the many painting mistakes I made: to much spacing between the “SR” and “Maxima” lettering on the top tube; inadequate coverage in some areas (primarily the fork) where white shows through; too thin a clear-coat; some “orange peel” in the clear-coat (insufficient coverage). But, this paint job was an intensive learning opportunity: I became familiar with the properties, quirks, and performance of my chosen brand of wet paint; developed my process for painting efficiently and safely; [re-]learned how to handle my painting tools; discovered new (to me) methods for masking; reinforced the reminder to work slowly, patiently, and methodically; and, overall, became more comfortable painting bicycle frames.

So, I was content to leave all the mistakes as a reminder to improve my future work. Fixing my mistakes would be an exercise for future me.
Overall, I was happy with the result, but there was still a lot to do, after all that.








Putting the “Neo” in Neo-Retro
Without exception, the parts chosen for this project were never found on the original SR Maxima. But, this is a “neo-retro” or “resto-mod” of a bicycle, not a restoration, using an anachronistic mix of modern parts.
In anticipation of Assembly Day, the parts were gathered long before. Here’s the parts list:
| Part | Description |
|---|---|
| Headset | Velo-Orange - Al alloy, silver, JIS 27.0mm ø CRS, threaded |
| Stem | Dia-Compe Gran Compe - Al alloy, silver, 100mm |
| Handlebars | Ritchey Pro - Al alloy, 44cm x 26.0mm, black |
| Handlebar tape | Velo-Orange Foamy Bar Tape - PU, black |
| Handlebar ends | Velox - rubber, black |
| Seatpost | Kalloy Uno (SP-359) - Al alloy, silver, 26.8mm x 350mm, set-back |
| Saddle | Selle Italia SLK - leather/MnMo, black/chrome |
| Brake levers | Tektro Cross - CF/Al alloy, black, in-line |
| Brake levers | Shimano Ultegra (BL-R600) - Al alloy, silver, aero, SLR |
| Brakes | Shimano Dura-Ace (BR-7700) - Al alloy, silver, SLR |
| Brake shoes | KoolStop - Al alloy, silver |
| Brake pads | KoolStop - salmon, wet-weather |
| Brake cables | Velo-Orange - stainless |
| Brake cable housing | Velo-Orange - Fe alloy/plastic, white |
| Shift levers | Shimano Dura-Ace (SL-7900) - Al alloy, silver, SIS, index/friction, 10-speed |
| Shift cables | Shimano - stainless |
| Shift cable housing | Velo-Orange SIS - Fe alloy/plastic, white |
| Dérailleur – front | Shimano Ultegra (FD-6600) - Al/Fe, braze-on, silver |
| Dérailleur – rear | Shimano Ultegra (RD-6600) - Al alloy, short cage, silver |
| Bottom bracket | Spécialités T.A. Axix - SS alloy, BSA, 103mm ISO square-taper, sealed-bearing |
| Crankset | Spécialités T.A. Alizé - Al alloy, silver, 175mm, 39/53T |
| Pedals | Shimano Ultegra (PD-6620G) - Al alloy, grey |
| Chain | Wipperman 10S0 - Fe alloy, 3/32", silver |
| Hub - rear | DT Swiss 240s - Al alloy, white, 28-hole, 130mm |
| Hub - front | DT Swiss 240s - Al alloy, white, 28-hole, 100mm |
| Rims | DT Swiss RR1.1 - Al alloy, white, 599mm ERD, 700C x 20mm, 28-hole with eyelets |
| Spokes | DT Swiss Champion - 2.0mm, black, radial/2x |
| Rim tape | Ritchey - plastic, 13mm, yellow |
| Cassette | SRAM Apex (PG-1050) - Fe alloy, chrome, 11-28T, 10-cog |
| Tires | Vredestein Fortezza - black, 700C x 25mm (24mm) |
| Inner tubes | Michelin - butyl, black, 700C x 23-28mm, presta (40mm) |
| Quick-releases | Shimano Ultegra (QR-6600) - Fe alloy/plastic, grey |
| Water bottle cages | Velo-Orange Moderniste - SS alloy, polished |
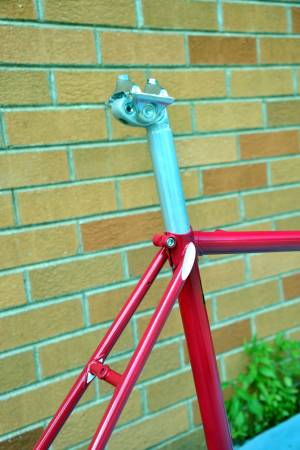
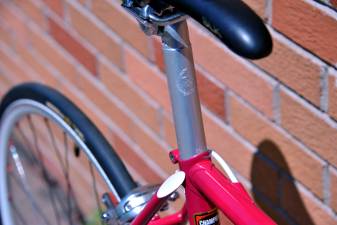
The SR LaPrade seatpost fitted to the original 1984 Maxima is functional and economical. Initially, I used an SR Royal seatpost (pictured), but it was repurposed for use with another project. Instead, I substituted a more economical Kalloy seatpost, fitted with my favorite Selle Italia saddle. The headset is different from the original Tange Levin (aluminum version): a Velo-Orange sealed-bearing headset, picked for function and economy.
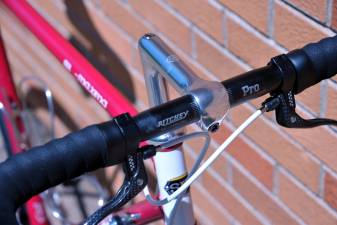
The 1984 SR Maxima was fitted with an SR Aerox stem and SR Champion handlebars. I recently re-acquired my original SR Aerox stem and SR Champion handlebars that were used on my 1985 3Rensho for many years. However, for me, the handlebars are too narrow and the stem too short. Instead, I substituted the higher-quality Dia-Compe Gran Compe ENE stem (100mm) and some refurbished Ritchey Pro handlebars (44cm) for a comfortable fit.
The 1984 SR Maxima used SunTour Superbe brakes with recessed nuts. This build is mostly Shimano and I decided on a refurbished set of Shimano Dura-Ace (BR-7700) dual-pivot brakes for this project. The brakes looked and functioned like-new. The brake shoes and pads were replaced with modern KoolStop replacement shoes and pads for maintainability and enhanced stopping power over the original Shimano parts. Offering a variety of hand positions from which to safely brake, the handlebars are fitted with Shimano Ultegra aero brake levers and Tektro in-line brake levers. Velo-Orange white brake cable housing is used with stainless steel cables.
The 1984 SR Maxima used SunTour Superbe Pro hubs, the rear hub threaded for a freewheel. I used a set of new, old-stock DT Swiss Mon Chasseral factory wheels, providing me with the option to fit any HyperGlide-compatible cassette of my choosing. Rather than a six-cog SunTour New Winner freewheel (13-23) as found on the original SR Maxima, I decided on an SRAM 11-28T 10-cog cassette for this build, which provides a nice low-end gear when climbing long, steep grades, along with the ridiculous and unnecessary (for this slow me) 11- and 12-tooth high-gear cogs.
Instead of the original friction-only shifting offered on the 1984 SR Maxima, I elected to use Shimano Dura-Ace (SL-7900) selectable friction- and index-mode down tube shift levers. The dérailleurs were also from Shimano: Ultegra (FD-6600) front, braze-on version; Ultegra (RD-6600) rear, short cage version (large cog limit of 28T). Both dérailleurs were de-badged. The chain is a modern Wipperman 10S0 chain, which is ten-speed-compatible. Velo-Orange white shift cable housing is used with stainless steel cables.
Tires are black-wall, modern-ish Vredestein Fortezza 700C tires in 25mm (24mm actual) width, functionally similar to the original 25mm tires. The tires have black sidewalls instead of the original gum walls found on the 1984 SR Maxima. While the brakes will fit tires as wide as 32mm, the frame will only fit tires as wide as 30mm (actual width), so those are an option for the future.
The crankset is a Spécialités T.A. Alizé crankset, fitted with 39- and 53-tooth chainrings without pins and ramps (shifting is very quick and smooth though). T.A. Axix bottom bracket sealed-bearing assembly with stainless steel spindle is matched to the crankset.
Rather than toe clips and straps on vintage-style pedals, this neoMaxima is fitted with contemporary Ultegra (PD-6620G) clipless pedals.
The 1984 SR Maxima didn’t come with water bottle cages, although the frame has two braze-on mounts. Nor did it come with a pump. For this build, I fitted refurbished, polished stainless steel Velo-Orange Moderniste water bottle cages and a recent Zéfal HpX frame pump in polished aluminum.
Assembly Day & Afterwards
During some spare time, over the course of three days, the 1984 SR Maxima frameset was transformed into an SR neoMaxima bicycle – a bicycle that could have blended in around 2014, if it had existed then.


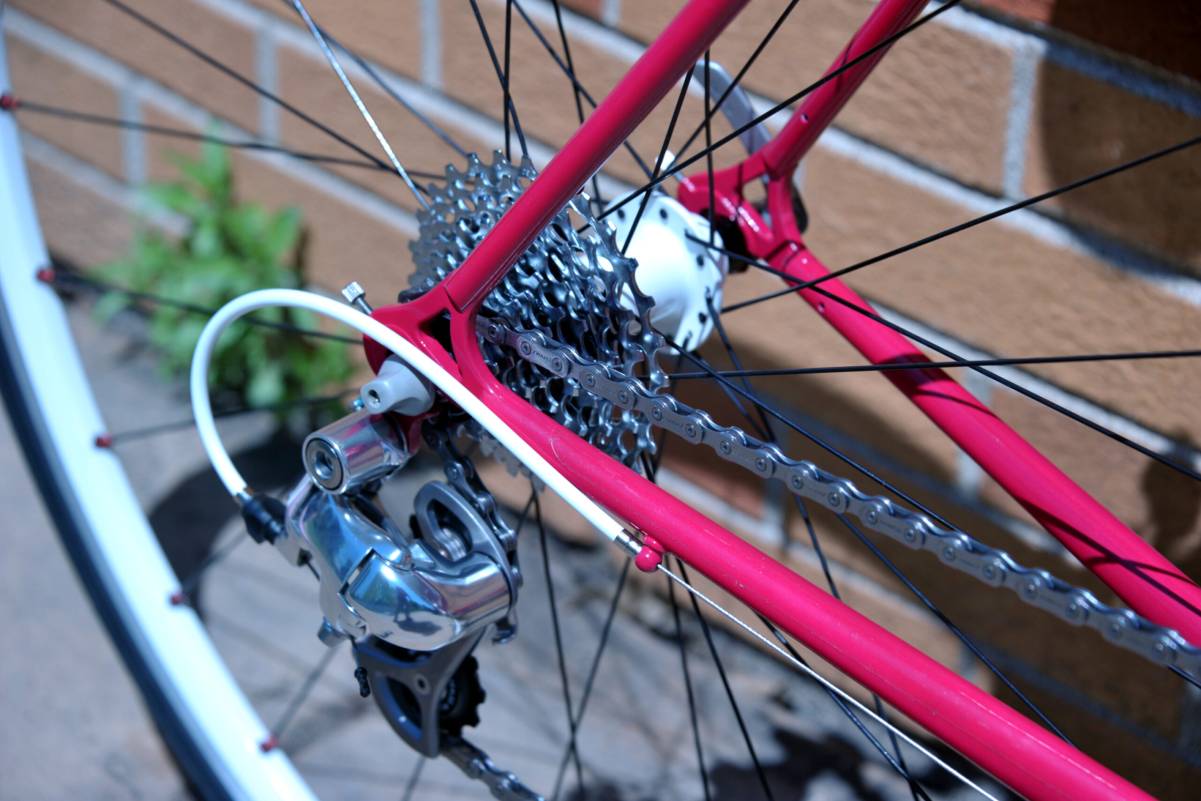




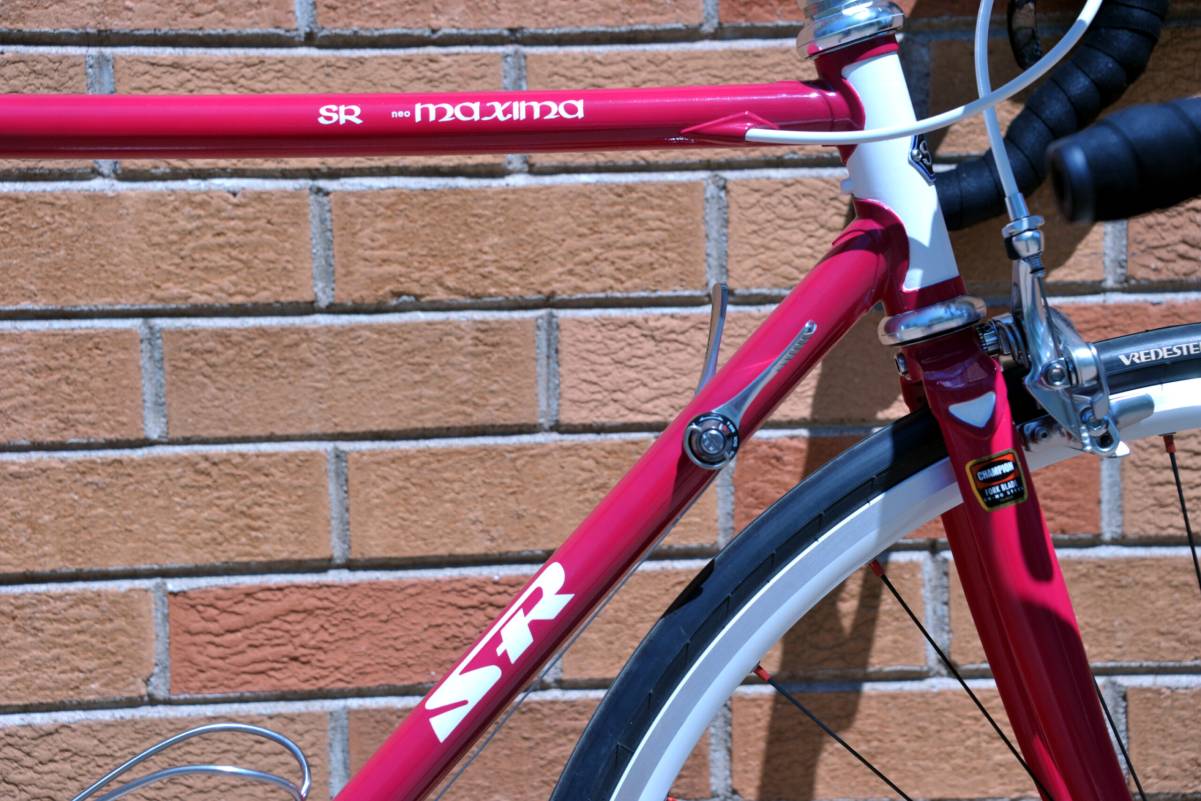


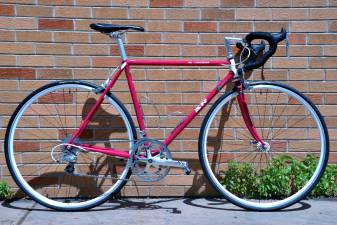




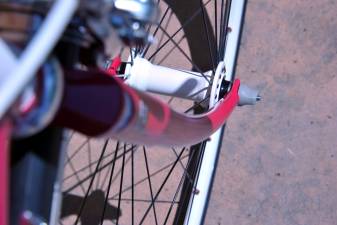


The first in-depth ride on this bicycle was a 40.4-mile (65Km) ride around the Minnesota/Mississippi river valley, Minneapolis and Saint Paul. It fit me perfectly and the ride was comfortable and fast. This bicycle rides and handles as well as any road racing bicycle I have ever ridden, including those with handmade, custom frames. I’m glad I took the chance and made the effort to renovate it.

What long lost bicycle do you have that could become a functional, treasured keepsake in the future? It might be worth your while to find it and give it new life. Or, ask someone you know who can do it for you.