

“…gang aft agley, an’ lea’e us nought but grief an’ pain, for promis’d joy!” ― Robert Burns, To a Mouse
Wherein the first phase of the plan leads to both disappointment and delight.
The frame was readied for travel to have it stripped of paint and rust, and to make the desired alterations.
Preparation
Before any metalworking alterations could be made to the frame, the head badge and seat binder had to be removed and the paint stripped.

The head badge was attached using a felt-like pad with adhesive on both sides. A nubbin on the backside of the gold-anodized aluminum head badge fit into a hole drilled in the center of the head tube. Not the way I would (nor do) center a head badge, but it works.

The head badge and seat binder were set aside for later restoration.
A Lie Exposed
A great surprise and disappointment awaited me when the metal was laid bare. Ten minutes in the stripping tank and a rinse with cold water exposed the lie printed in the 1979 Koga-Miyata catalog about the MXA frame:
“…Soldeertemperatuur beneden 600°C…” – 1979 Koga-Miyata catalog.
This statement made in the Koga-Miyata catalog was not true. Empirical evidence revealed that the brazing temperature used had to have been well above 600°C!
The color of the filler was the first hint: reddish-gold. It was clearly evident that every braze-on, every lug and tube…all were assembled using a copper alloy filler. And that means a brazing temperature of at least 815°C (1500°F). But, how do I actually know?
A Verifiable Truth
A test: heat a braze-on until the filler metal holding it to the frame liquifies. A little flux (working temperature 565°C-870°C/1050°F-1600°F) on the water bottle bosses on the down tube. Apply a carburizing flame. The result? Not even close to melting when the fluoride-based flux was at working temperature, and beyond. A fitting that had been attached at less than 600°C (1112°F) would have separated or, at the very least, the filler would have become liquefied. It did not. And that same tell-tale reddish-gold filler was on every visible joint.
Disappointment
Of course, I didn’t heat every joint to see whether I could separate it at low-temperature brazing temperatures. Perhaps the prototype frames were low-temperature brazed? Regardless, the MXA frame I had was not low-temperature brazed.

My Frown of Disapproval was earned by the 1979 Koga-Miyata catalog content writers on this day.
However, my disapproval is only directed at the lie. In the end, the lie, the truth, my disappointment…all are unimportant: the use of bronze-filler makes repair more labor-intensive and subjects the steel to potential over-heating, but it won’t alter how the bicycle rides nor will it affect how much I enjoy it in the end.
Delight
In contrast, the Miyata constructeurs earned a standing ovation for their brazing prowess: the bronze-brazing was really top-notch! I was thoroughly delighted. The overall workmanship was genuinely excellent, and this outweighed my disappointment in the marketing lie.


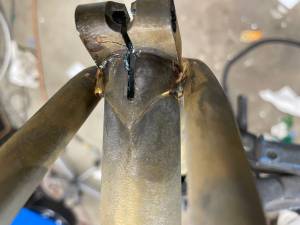


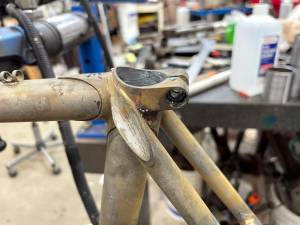
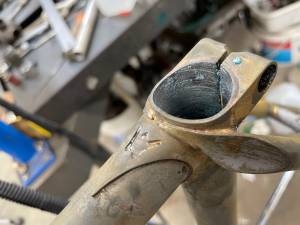


This frame was not sand-blasted, which is often used to cost-effectively remove evidence of sloppy brazing. The lug edges and excess bronze were hand-filed. The signs were in the bronze itself: file marks, without the tell-tale rough texture of sand-blasting. The bronze-brazing was meticulous and there was no excess bronze in any of the lug cutouts; the brazing inside the bottom bracket shell was thorough without being excessive. The only visibly heat-affected areas were seat and down tubes on the opposite sides from where the water bottle bosses and front-dérailleur hanger were attached. Possibly from using fixtured torches?


Preparation
Rather than using a torch to [over]heat the steel braze-ons to remove them, I used an abrasive cutting wheel to cut away the majority of material, followed by a file and sandpaper to remove the remnants and the filler bronze. This left behind just the tube underneath.

When filing silver alloy filler, it has a distinctive, slippery feel to it as it is filed; whereas, a file bites softly into copper alloy filler, with noticeable resistance, but quite a bit less than filing steel. One more way to know that a copper-based filler was used to fit the braze-ons I had just removed.
Remediation
As noted previously, the top tube was visibly dimpled under the two frontmost rear brake cable guides.

As with the other braze-ons, the top tube cable guides were removed with an abrasive cutting wheel, a file, and some sandpaper (in that order). Then, the top tube was squeezed and rotated between 1″ tubing blocks to see whether I could cold-work the dimples out of the top tube. I did this for each of the three cable guide locations.
It worked well enough, but there were a few areas that would need silver filler to completely smooth out the top tube.
Alteration
With the top tube cable guides, water bottle bosses and reinforcements, and shift lever bosses removed, their replacements could be fitted.
I replaced the Shimano type-A shift lever bosses with stainless steel Silva #296, Campagnolo-type bosses. These had been salvaged from another frame. They were placed in the same location on the down tube as the previous braze-ons:

The top tube was slotted at the front, centered on top where the original cable guide was attached; another slot was placed midway between the top and the side of the non-drive-side of the seat lug. A stainless steel guide tube of 1/4″ (6.35mm) diameter with 0.020″ (0.5mm) wall thickness was inserted between the two slots running within the top tube. It was brazed into place with 56% silver filler (that’s actual low-temperature filler, people). Where the ends exited the top tube, stamped stainless steel reinforcements were also fitted, silver-brazed into place. Paul Wyganowski donated the stainless steel guide shrouds and assisted me by keeping them clamped tightly against the top tube while I brazed. Thanks, Paul!


The water bottle boss reinforcements are my custom, laser-cut stainless steel, seven-tooth “gear” design, which complement the gear engraving in the fork crown. These must be bent to fit the outer radius of the tube on which they are fitted. To do so, they were squeezed in a vise, sandwiched between a 1″-diameter (25.4mm) steel rod and half of an aluminum tubing block of complementary size and profile. When removed from the vise, the parts sprang back a bit, just enough to fit a 1-1/8″-diameter (28.6mm) tube perfectly. Holes were drilled in the down tube (to remove remnants of the original boss) and the seat tube to fit a second set of water bottle bosses. These were fluxed and brazed into place using 56% silver low-temperature filler. Just thought I’d mention that I didn’t use bronze.


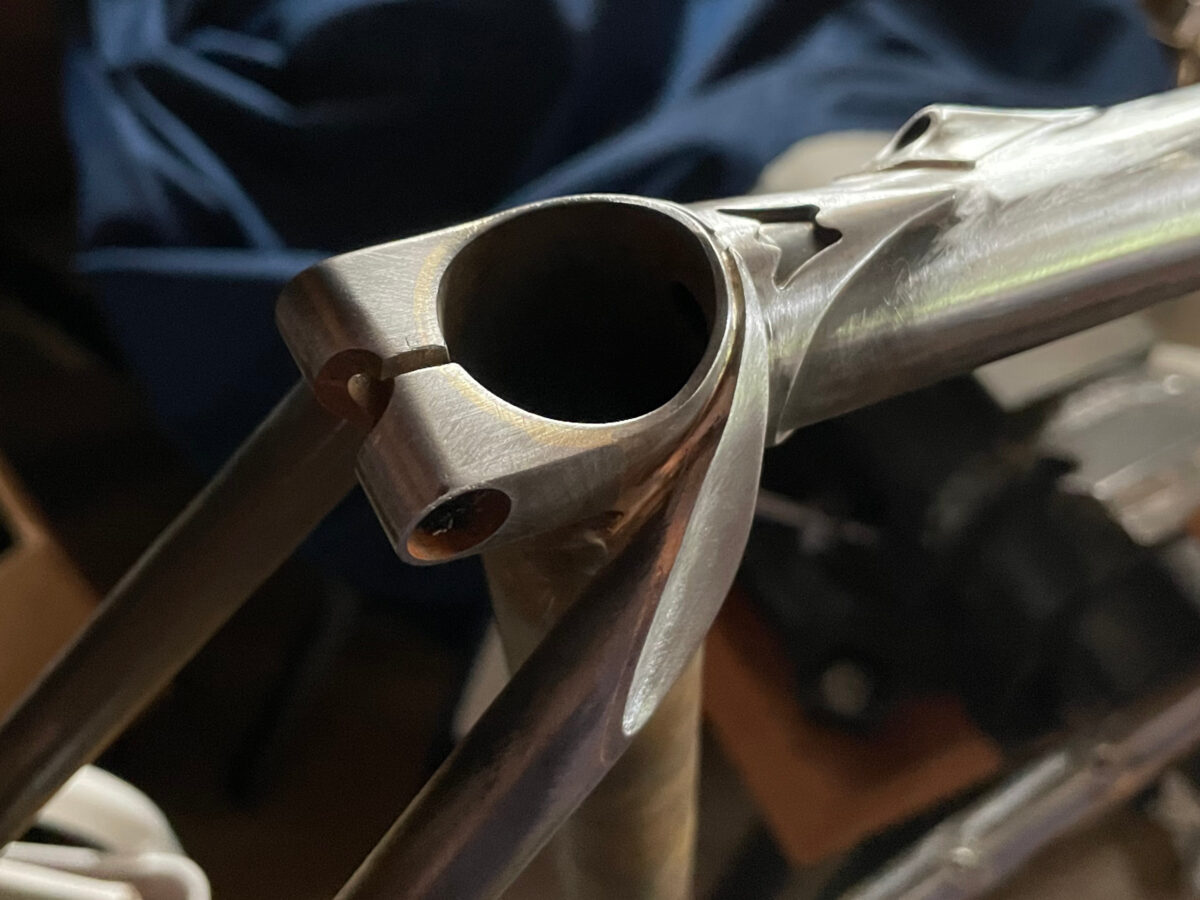
The bronze-brazing on the seat lug was very well done. I refreshed it with sandpaper and a jeweler’s file to make it even “better”. Really, it was unnecessary; I just like seeing the metal shine.

The chain hanger added was a stainless steel Silva #297 chain hanger. I sanded through the chrome plating high up on the drive-side seat stay and silver-brazed it into place.
I machined a custom pump peg to fit a Zéfal HpX frame pump under the top tube. This was turned on the lathe from a piece of 304 (18-8) stainless steel. One end was coped at an angle to fit the head tube contour and angle, then silver-brazed it into place. However, I brazed it on a little too low, and the peg is a little too long. It will need to be redone.

With the silver-brazing mostly done, the frame was soaked in hot water to remove the flux from the brazed areas.
I went over the newly brazed areas and all the bare-metal joints with a wire wheel to remove any paint or residue stuck in cutouts and along the lug edges. This would make it easier to spot any excess filler (bronze and silver) on the tubes.
Refining the Metalwork
This MXA frame had seen service, showing signs of being ridden and maintained: tool marks apparent on the bottom bracket shell from a slipped lockring spanner, as well as clamping marks in the chromed fork and stay ends. I wanted to make this frame as close to “new” as I could, but not necessarily “perfect”.
All the nicks (top tube, seat tube) were filled with silver and the scrapes (just the one under the bottom bracket shell) sanded smooth. The deformation of the top tube was addressed with tubing blocks previously, and this was as round and smooth as I was going to get the top tube with cold-forming – the dents I could not get out were filled with silver:

A lot of excess silver filler was removed around and from the added braze-ons. Hunger leads to sloppy brazing, people! The photos on this page show the in-progress finishing of the added braze-ons.
Excess bronze left by the Miyata factory (I noticed a little) was unnecessarily removed with files and sandpaper, just to be thoroughly obsessive:


The ends of the internal cable guides were removed and shaped to conform with the openings in the reinforcements. I was a little too generous with the silver, but I had to make sure the voids between the reinforcements and the cable guide were well-filled. A lot of sanding and filing ensued (see photos above). The pin holes on the rearward cable exit were a consequence of over-heating the silver. They would need to be gently re-heated and a touch of silver added to smooth them out. I was not so inattentive on the front cable exit.
Afterward
The fixes to the rear brake cable guide shroud, pump peg, and stress-relief hole, plus final finishing and polishing of the chrome, would have to wait for when I next have time to work on this project…
Postscript
Do you have a treasured bicycle that needs repair, alteration, renovation, or restoration? Do you need or want a beautiful custom bicycle or replica? Well, contact this hangry frame builder to do the work well, obsessively, and with great care, but only after he has fed.