
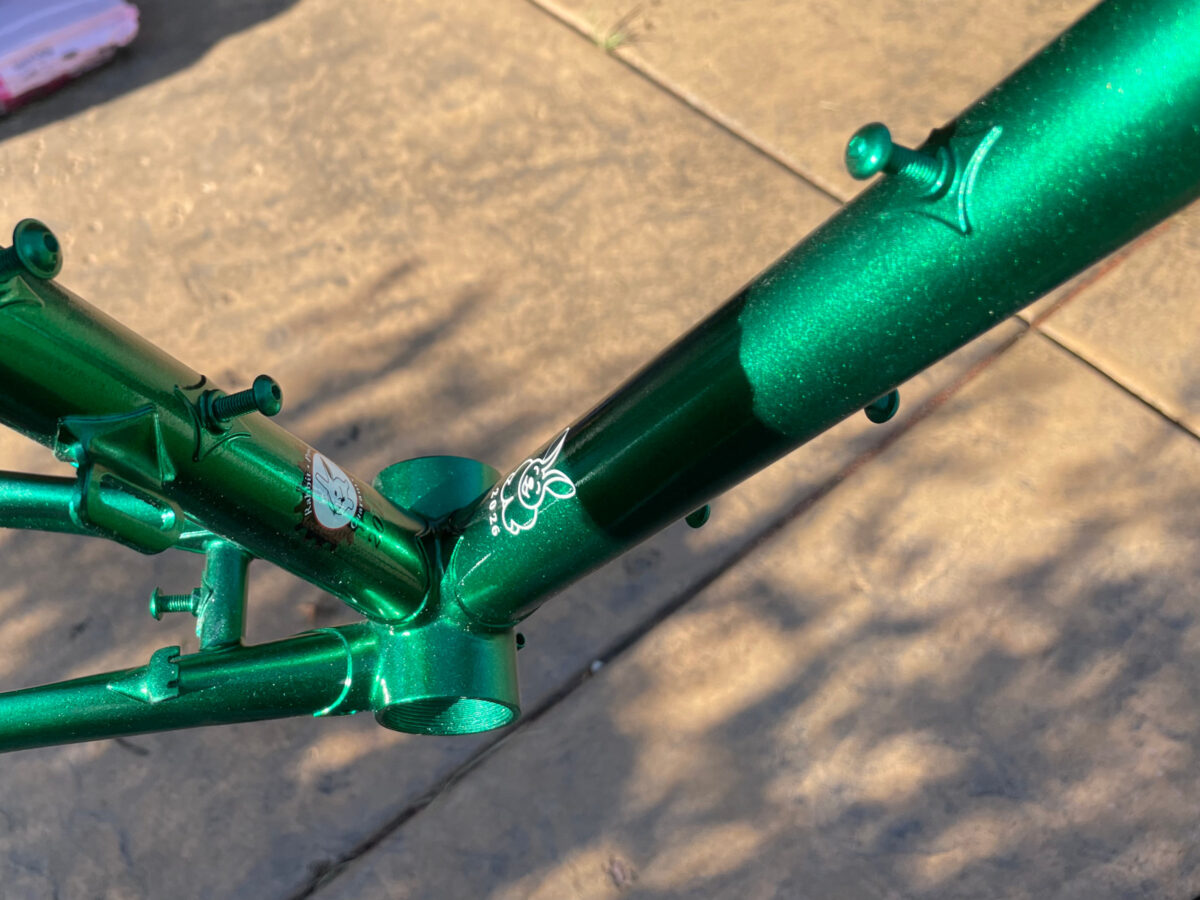

“I’m green and it’ll do fine…It’s beautiful, and I think it’s what I want to be” ― Kermit the Frog, reflections on Bein’ Green
The repair and resurrection of Road Pixie’s 2012 Summer Knight randonneuring bicycle.
Background
After nearly completing the 2015 edition of Paris-Brest-Paris (PBP), about 60km from the finish, Road Pixie was struck from behind by another cyclist. And that was the end of Road Pixie’s second PBP: she and Summer Knight could not continue without repair.
Assessment
Back from France, Summer Knight was given over into my care. The parts were stripped, inspected for damage, and stored away.
The frame and fork were inspected for dents and cracks. The down tube was dented and the drive-side seat stay was bent very slightly. The fork seemed unaffected, although the front rack was broken.
The frame and fork were put on their respective alignment tables and checked for further damage. As noted already, the drive-side seat stay was bent, which resulted in the rear spacing being 129mm. There was no twist in the frame or any other misalignment.
The fork was not misaligned or damaged in any way.
Not discovered until the paint was stripped, the left seat stay cap also had a hair-line crack, but it was non-structural.
Summer Knight was repairable. Unfortunately, Road Pixie had suffered the brunt of the damage.
Since that time, interruptions of one form and another prevented me from restoring Summer Knight promptly, but that turned out for the best: Summer Knight needed to be adapted to Road Pixie’s post-recovery requirements.
Four Years Later…
Years of recovery later, Road Pixie was back to riding her Waterford until I could get back to repairing Summer Knight. The Waterford didn’t fit her very well before PBP 2015, and it didn’t fit her any better afterwards.
While waiting very patiently for me to repair Summer Knight, Road Pixie completed her third PBP in 2019 on her Waterford. Needing a bicycle that fit her better, she was fitted for a titanium custom frame from Seven at the end of 2019. When the frame arrived the following year, she was very pleased with the ride and fit of her Seven, which accommodated her new range of mobility.
Another Six Years Later…
This repair is based on the design of her Seven, adapted for the properties of steel and the existing geometry of the fork. The new design was more than a repair: the front triangle was completely rebuilt, using handmade lugs and attempting to evoke imagery of a “Summer Knight”.
Salvage
The front rack, with its internal lighting wires, had one of its support legs broken in the crash. It was salvaged and repaired – a little bit of heat, a little bit of silver…violas and violins, good as new!
The rear rack was a little bent up, but easily straightened. Good as new!
The drive-side seat stay was bent, but readily straightened.
The rear triangle, including the bottom bracket shell, would be salvaged. The rear triangle was separated from the rest of the main triangle using a saw and heat, as needed. The main triangle was recycled – a new, step-through front triangle would replace it. All braze-ons from the main triangle were salvaged for re-use.
Lugs
The new design required lugs I did not have, so I made them. The head tube is a bi-laminate construction consisting of the head tube and two sections of 1-1/4″ (31.8mm) and 1-3/8″ (34.9mm) x 0.058″ (1.47mm) wall-thickness 4130 chrome-molybdenum (CrMo) steel tubing, each coped to specific angles. The lower seat tube lug was prepared in a similar way. The tubing sections were bronze fillet-brazed together according to the new plans. A sketch of the final lug outline was roughly drawn onto these assemblies, then filed to shape. Holes were drilled to remove excess material and for elegant effect. The lug wall-thickness was thinned and tapered with a file.

Instead of just using a seat binder at the top of the new seat tube, I modified an investment-cast seat lug, removing the top tube socket and filing the face smooth. This gives the impression of an open-visor helmet on a knight. That’s the intention, anyway.

Repair & Resurrection
The main tubes were replaced with Columbus (top tube, seat tube) and Dedacciai (down tube) tubing, the same mix as originally used. All the usual braze-ons were refitted. Because of the more constrained triangle, the third set of water bottle bosses (previously under the top tube and used for a pump) was moved underneath the down tube. Instead of my “gear” water bottle reinforcements, I used stainless steel “diamond” reinforcements to better reflect the style of the lugs.
The main triangle was fitted to the rear triangle with 56% silver filler. The lugs were gone over once more with a file and sandpaper to thin them down to their final thickness. Road Pixie elected not to have the S&S couplers re-installed: her travel case will fit a biycle without them.
The seat stay caps would be painted, so the cracked left seat stay cap was repaired by drilling out the small crack and filling it with nickel-bronze.
The fork was undamaged, but I removed the now-useless computer sensor hanger: Road Pixie uses her phone for navigation and data collection, so the sensor on the fork was no longer needed. And, although the fork did not need repair, I replaced the steerer tube with an uncut steerer, just in case Road Pixie needed more rise for her handlebars than previously. The steerer tube could be cut down once her position on the bicycle was finalized.

Once completed, the entire frame and fork were checked on the alignment table, making sure everything was where it should be.
All threads and bearing surfaces were also chased and faced, where needed.


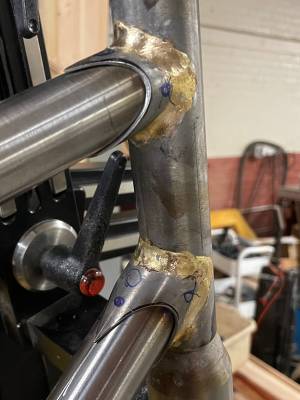


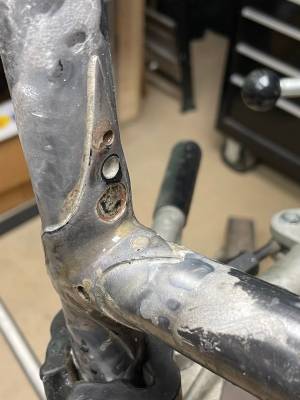


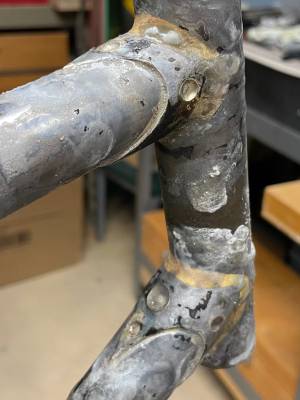


The metalwork on the frame was done. The resurrected Summer Knight was very different from the original design, but I tried to keep the handling and road feel the same.

Paint
The frame was ready for paint in late 2025. It went for powder-coat, but the green turned out much too dark:
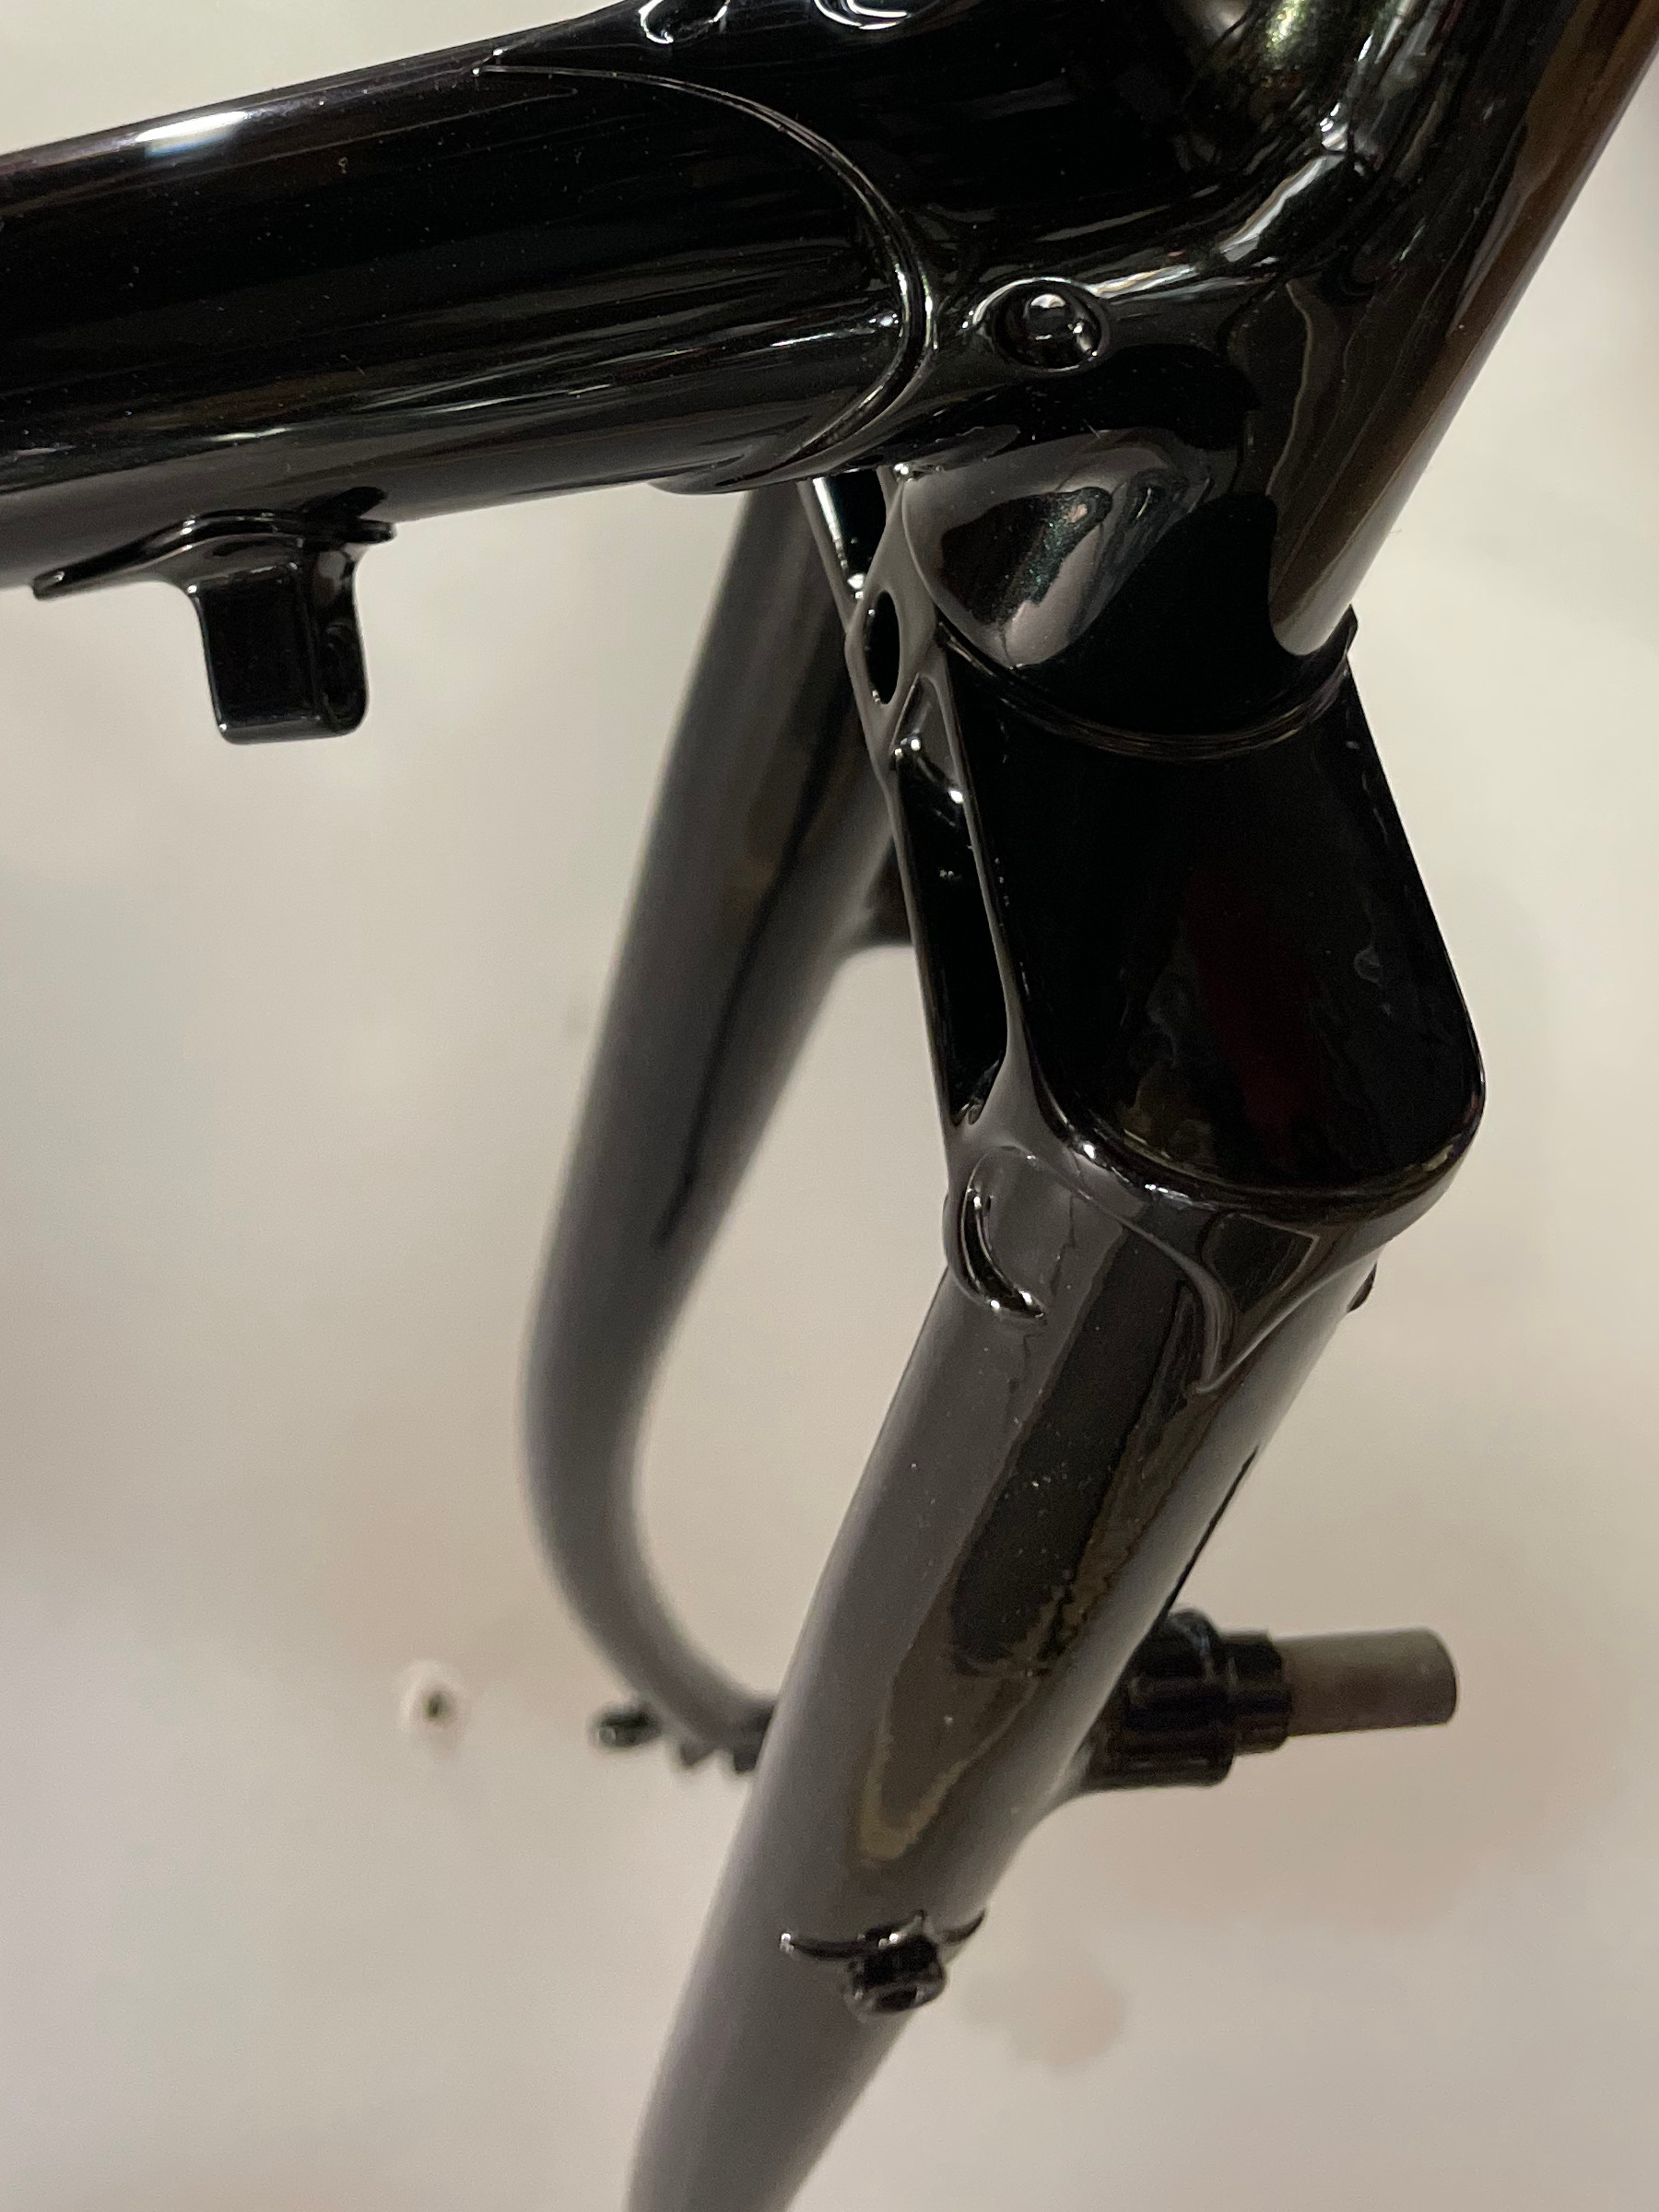

The front and rear racks were powder-coated black to match the mostly black-anodized parts used with this frame.
However, Road Pixie needed something bright for extra safety! By this time, I was working through my own painting processes and decided to try painting Summer Knight myself. Using solvent-based paint, I tried to match the original color more closely. Road Pixie approved Moss Green candy as a suitable color. The fork turned out perfectly; the frame turned out almost perfectly…

…until I ruined the clear-coat and tried to fix things, making it worse. Remember people, be patient, stay present, and pay attention!
Accepting that I had learned a lot about painting, I then had the frame and fork stripped entirely and ordered more paint so I could continue my ceaseless education and get Road Pixie back to riding Summer Knight…
…to be continued…
Postscript
Do you need or want a beautiful custom bicycle or replica? Do you have a treasured bicycle that needs repair, alteration, renovation, or restoration? Well, you can contact this attentive frame builder to do the work well and with great care.